
A sculpt is made of millions of small triangles in no particular order. That is right for sculpting and wrong for almost everything that comes after it: a game model, a rig, an animation all want a light mesh of four-sided faces whose rows run along the forms. Reflow makes that mesh for you. It lays clean quads over the active layer, following the shape, and puts the result on a new layer beside your sculpt.
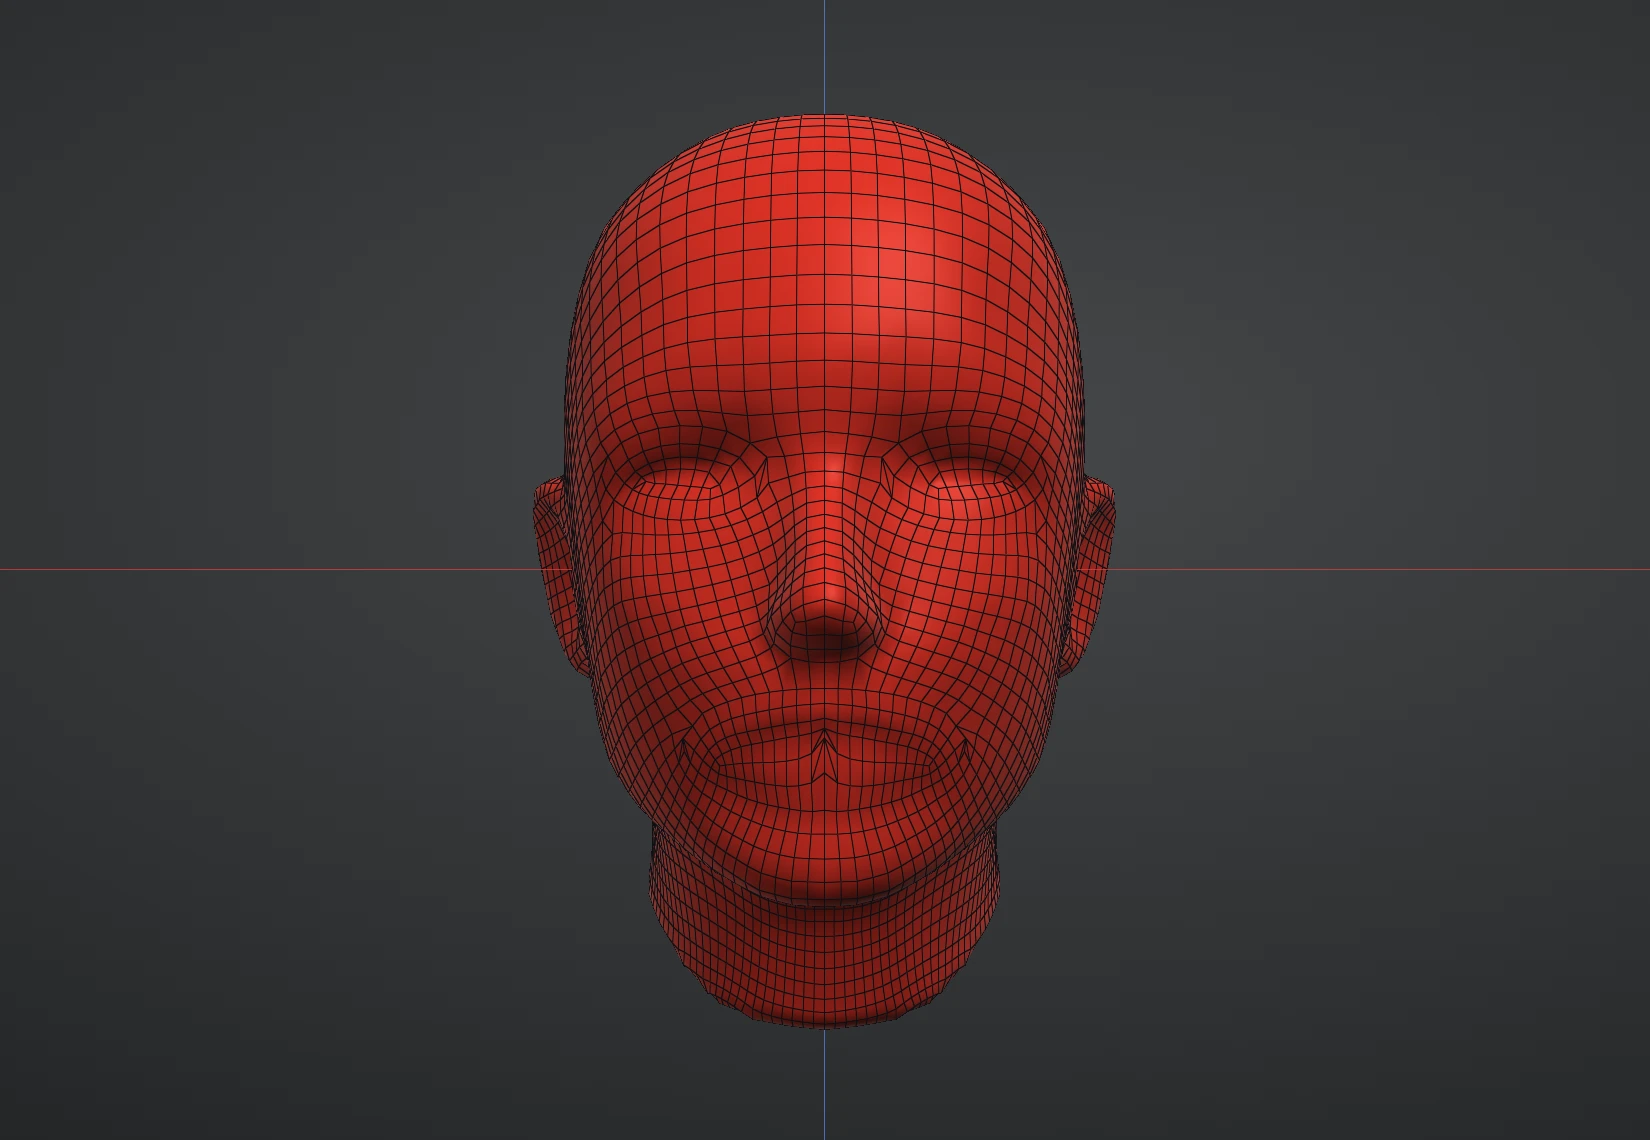
Entering Reflow
Click the Reflow tool on the left rail, under Blockout. The Brush section steps aside and the Reflow section takes its place. Any other tool on the rail, or a brush from the picker, leaves Reflow again.
While Reflow is the tool, the left mouse button draws guides or paints density instead of sculpting. Orbit, pan and zoom work as usual.
The controls
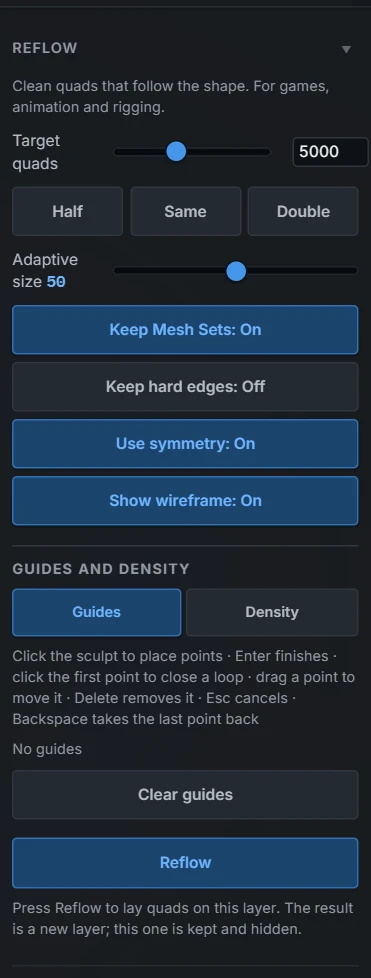
- Target quads — about how many quads the new mesh has, from 500 to 200,000. Drag the slider or type a number. The result lands within a few percent of it.
- Half, Same, Double — set the target from the layer you are on: half as many faces as it has now, the same number, or twice as many.
- Adaptive size — how much the quads change size with the shape. At 0 they are all the same size. Higher values make them smaller where the surface bends tightly and larger where it is flat. Up to 50 only their size changes; above 50 rows are added and ended to follow the detail, which adds irregular points.
- Keep Mesh Sets — rows of quads run along the borders between the layer's Mesh Sets, and the new layer keeps the sets.
- Keep hard edges — rows of quads run along sharp edges, so corners stay crisp. Edge angle says how sharp an edge must be to count.
- Use symmetry — the quads are laid on one side and mirrored across the model's symmetry planes, so both sides match exactly. It is on by default when the model's symmetry is on.
- Show wireframe — draws the quads' edges over the result when it arrives.
Guides
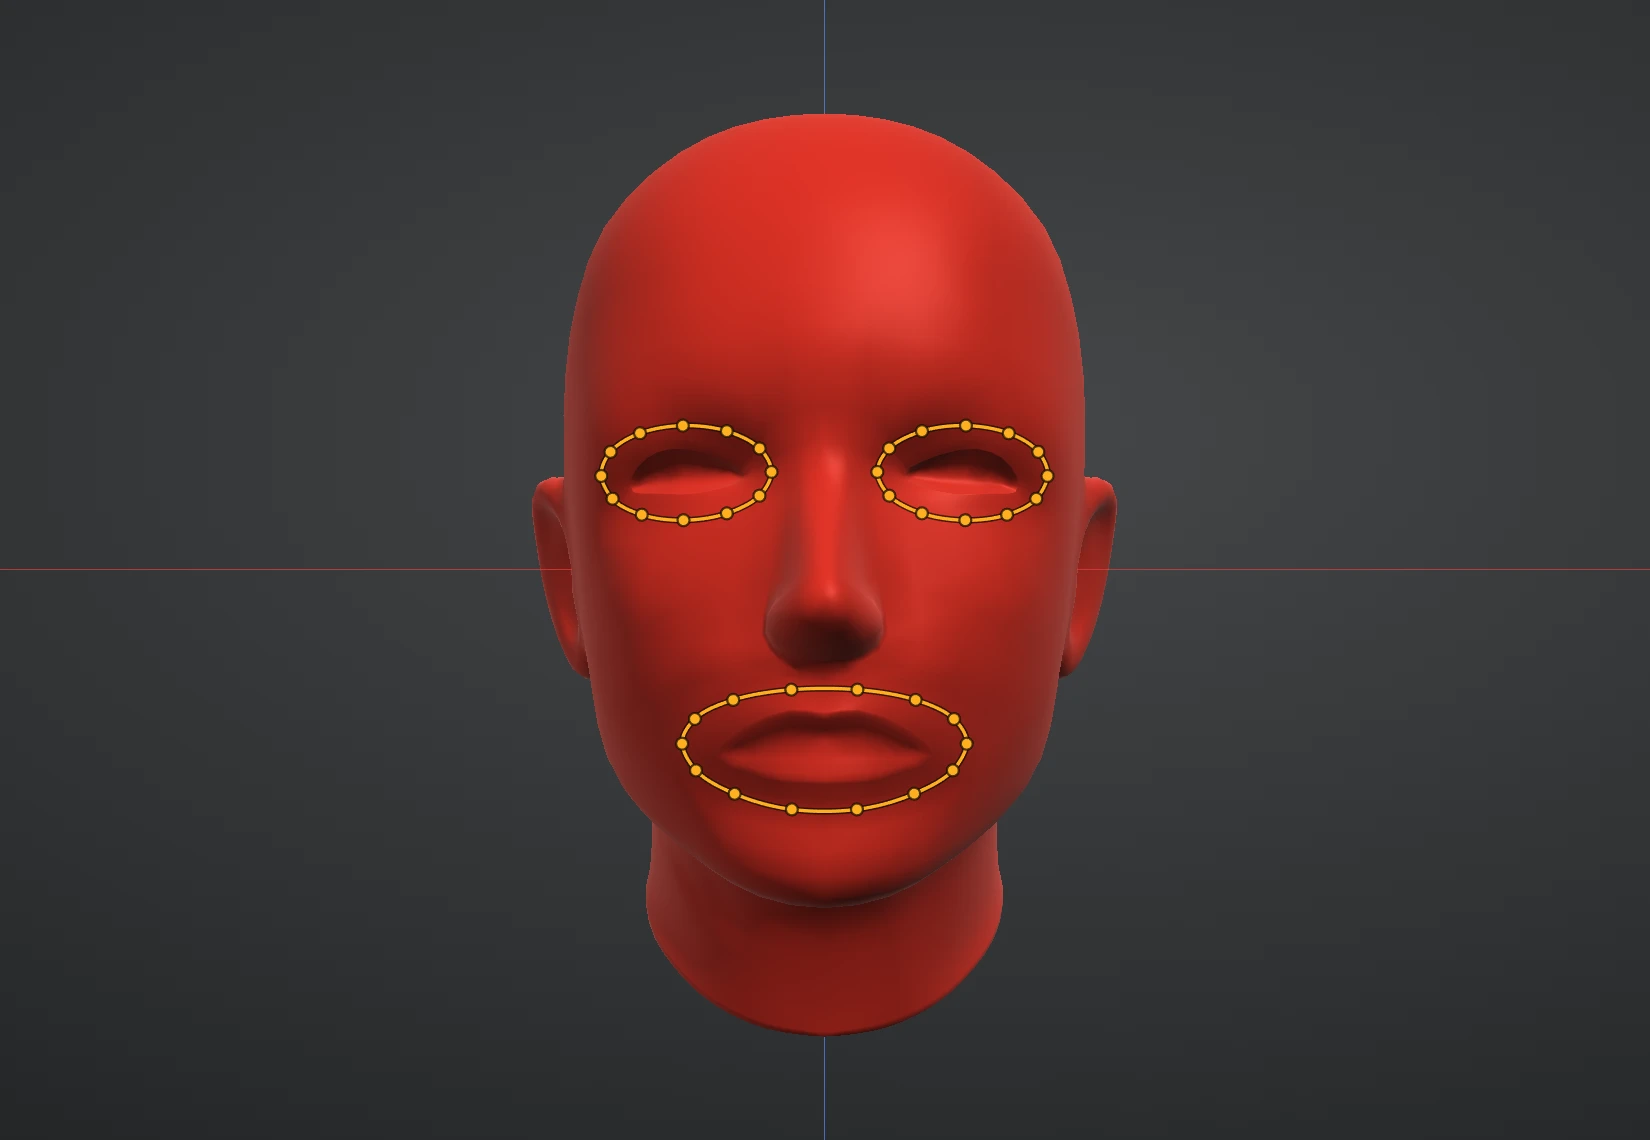
A guide is a curve you draw on the sculpt that a row of quads must follow: the rim of an eye, the line of a mouth, the edge of an armour plate.
With Guides chosen:
- Click the sculpt to place points. The curve runs smoothly through them.
- Press Enter to finish the guide, or click its first point again to close it into a loop.
- Backspace takes the last point back while you are placing. Esc cancels the guide.
- Click a guide to select it. Drag one of its points to move it; press Delete to remove the selected point, or use Delete guide for the whole curve.
- Clear guides removes every guide from the layer.
Guides are drawn in amber so they stand apart from everything else in the view. They belong to the layer they were drawn on and are saved with the project.
Density
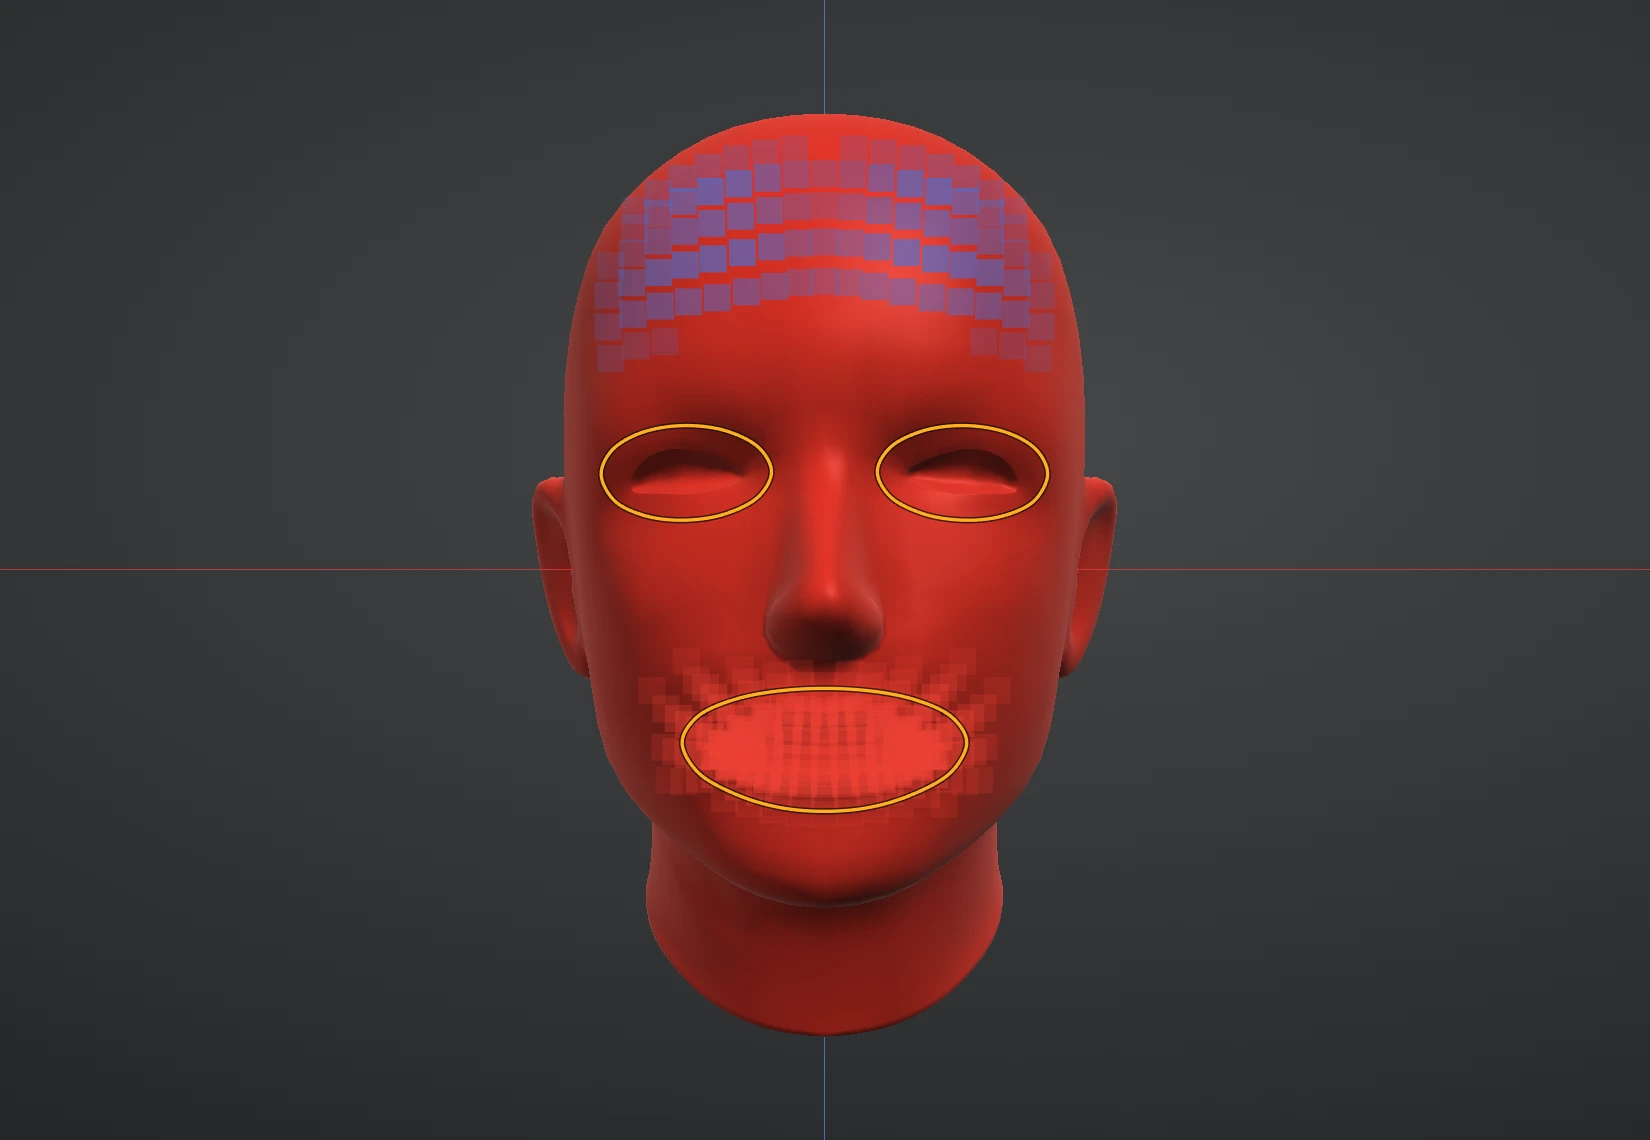
With Density chosen, the brush paints where you want more quads or fewer:
- Drag to ask for more quads. The area turns red.
- Ctrl+drag to ask for fewer. The area turns blue.
- Shift+drag smooths what is painted.
- Brush size sets the radius. Clear density goes back to the same density everywhere.
Density is its own channel. Painting it does not touch the mask or the paint colours, and it follows the model's symmetry. It belongs to the layer and is saved with the project. If the layer's point count changes afterwards (a Subdivide, a Remesh), the painted density no longer fits and is cleared.
Running it
Press Reflow. A progress card names each step and has a Cancel button; Cancel stops the work and changes nothing.
When it finishes:
- The result is a new layer named after the one you started from, for example Layer 1 – Reflow. It becomes the active layer.
- The layer you started from is hidden, not changed and not deleted. Click its eye in Layers to see it again.
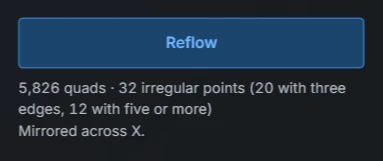
- The panel shows the quality report: how many quads were made and how many irregular points there are (points where three, or five or more, quads meet instead of four).
- One Undo takes the whole Reflow back.
You can change a setting, switch back to the sculpt's layer and run Reflow again as often as you like. Each run makes its own layer.
Dense sculpts
A sculpt of many millions of triangles is first made lighter inside Reflow, and the quads are laid out on that lighter copy. The panel says so when it happens. This is automatic and has nothing to do with the Remesh section: none of its settings are read or changed. Reflow reads layers of up to 25 million triangles; above that, step down a subdivision level first.
With Live Topology on, Reflow switches it off first, as every other whole-mesh action does.
Exporting quads
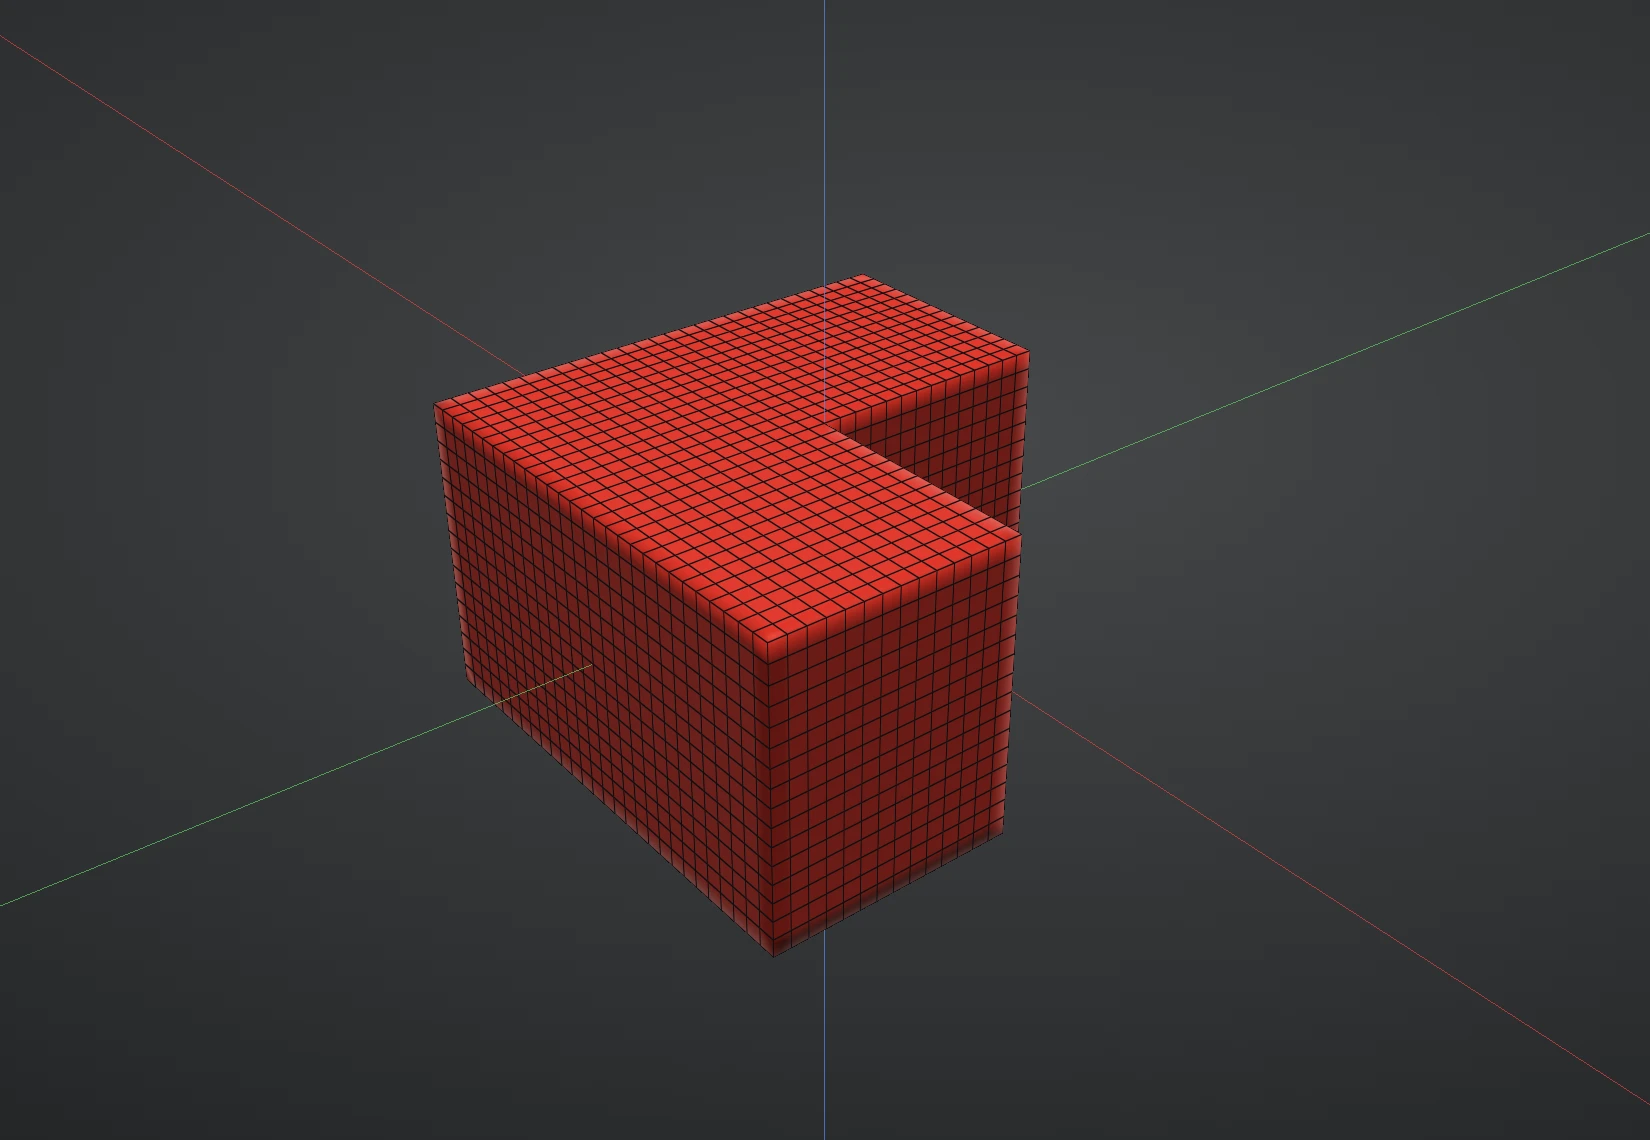
OBJ and FBX exports of a Reflow layer write real four-sided faces, so the mesh arrives in other software as the quads you see here. GLB and STL are triangle formats and stay triangles. Every other layer exports exactly as before.
A Reflow layer keeps its quads for as long as its topology is the one Reflow made. You can sculpt on it and it still exports quads. If you subdivide it, remesh it or cut it, it becomes an ordinary layer and exports triangles.
Tips
- Start low. Five thousand quads is plenty to judge the flow; raise the target once the rows run where you want them.
- Put guides where a loop matters most: around the eyes and the mouth, along a hard edge you want a row to sit on.
- Split a model into Mesh Sets by part and keep Keep Mesh Sets on to get a row of edges along every border.
- A lower irregular-point count is not always better. A hand needs them between the fingers; what matters is that they sit where the surface is calm.