Everything in the studio, explained.
Re:Form is a complete sculpting toolset on a GPU engine built for one job: staying smooth while the polygon count climbs. Here is what is in it, section by section — and every guide linked from here goes deeper.
Thirty-four brushes and tools, each with its own memory.
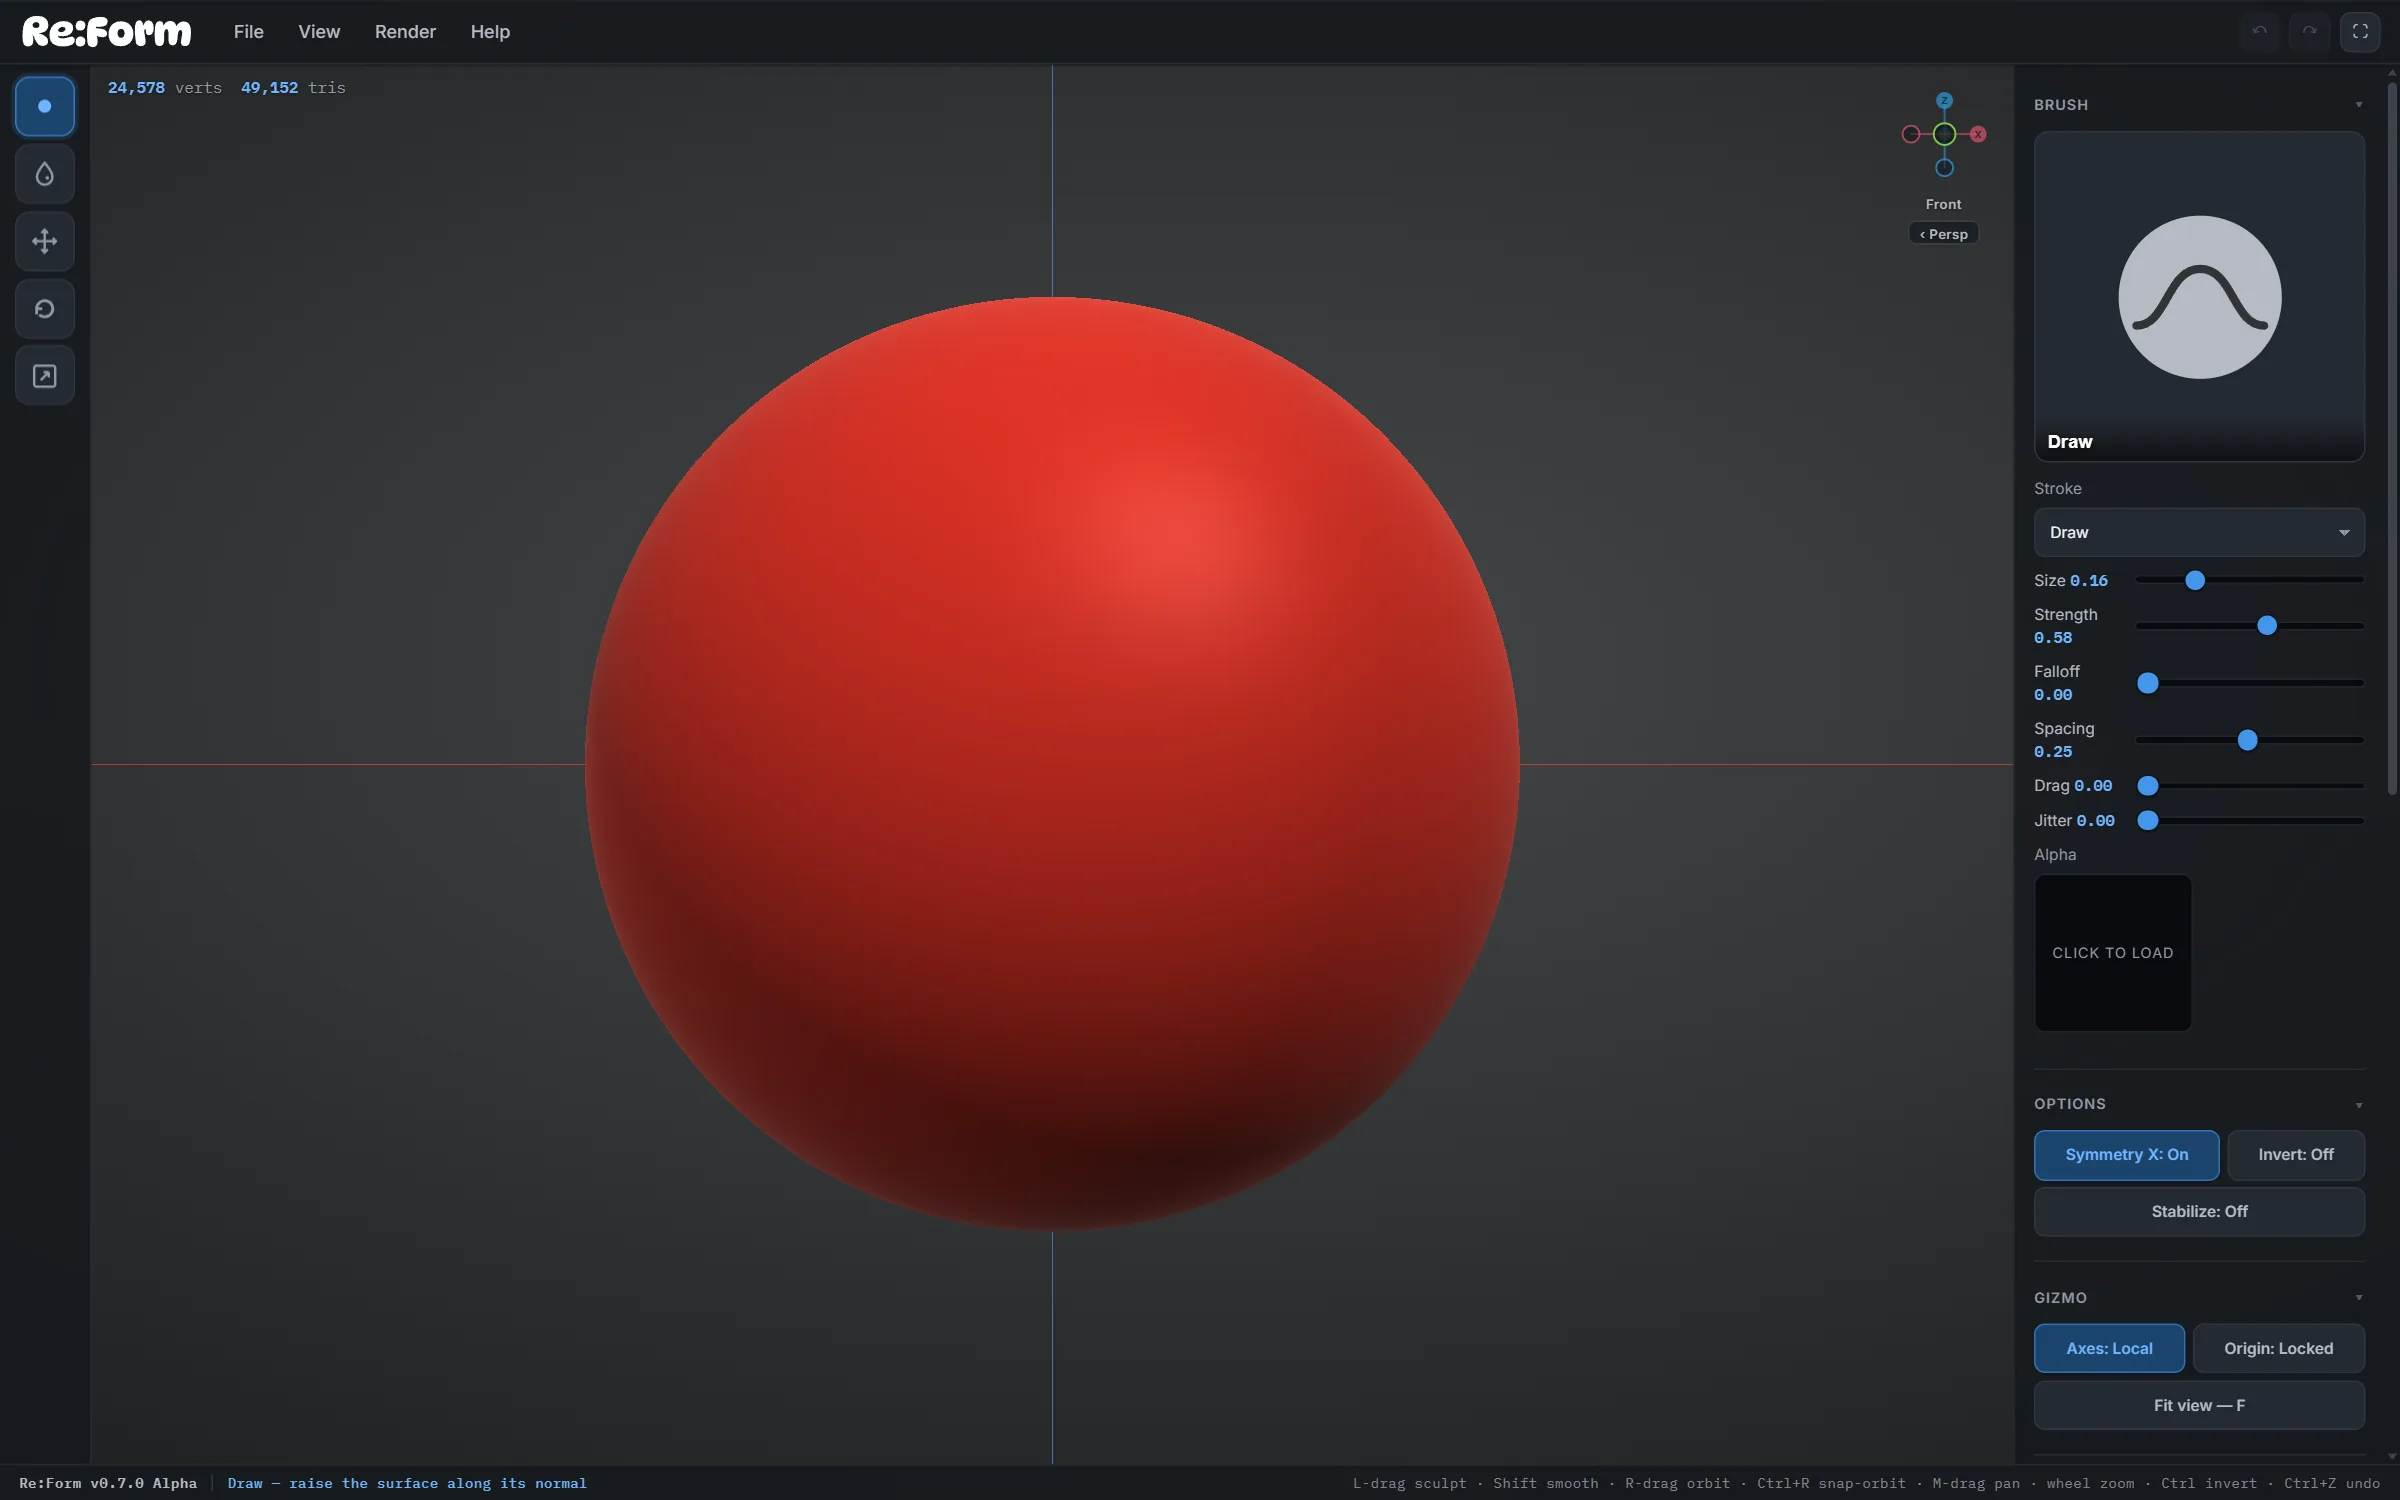
Every brush sits in a group named for its job. Build: Draw, Clay and Inflate. Lines: Draw Sharp, Carve, Crease, two Fissure cutters and Pinch. Smooth: Smooth, Relax and Polish. Texture: Noise and Rake. Planes: Flatten, Fill, Scrape and Trim. Move: Grab. Mask: Mask, plus Mask Rect, Mask Circle, Mask Lasso and Mask Line to mask a clean shape through the whole model. Clip: cut a model along a line, a rectangle, a circle or a curve. Plus a six-brush paint set.
- Every brush remembers its own Size, Strength, Falloff, Spacing, Drag and Jitter — switch away and back and it is exactly as you left it.
- Falloff runs from −1 (softer than soft) through 0 to 1 (a hard edge), and typed values go past the slider's range.
- Stroke types: freehand, Line, Dot, Drag and Spray, with a live preview of where the stroke will land.
- Hold Ctrl to invert any brush, Shift to smooth with any brush, and turn on Accumulate to keep building while the brush is held still.
- Carve, Draw Sharp and Crease cut true V-section lines that stay a clean single line no matter how slowly you draw them; Clay lays flat-topped slabs that level as they build.
A stamp library, and your own on top.
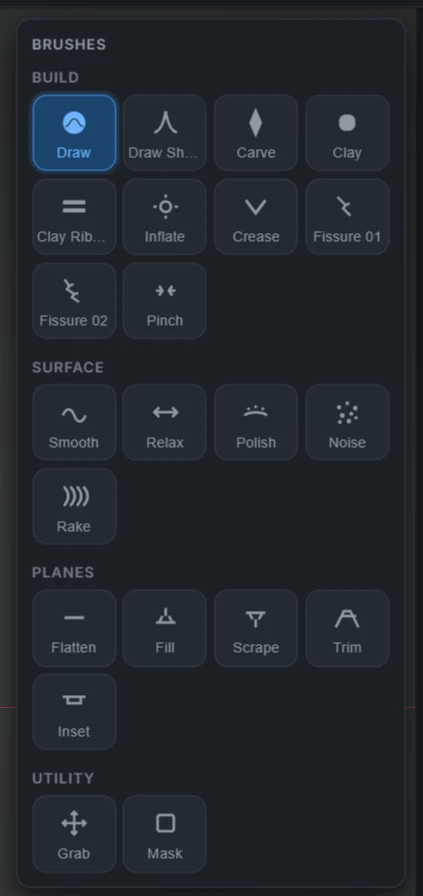
Any brush can stamp through a grayscale alpha: white builds, black leaves the surface alone. The alpha library opens with a starter set of the shapes sculptors reach for most — soft, hard and sharp dots, rings, squares, polygons, stripes, grids, noise, cracks, scales, bricks, stitches and more — generated in the app, nothing to download.
- Import your own PNG, JPEG, WebP, TIFF or PSD alphas; they stay in the library for next time, and you can rename or remove them.
- Contrast, Blur and Sharpness sliders shape the alpha live; Stamp or Roll it along the stroke.
Millions of triangles, on the GPU you already own.
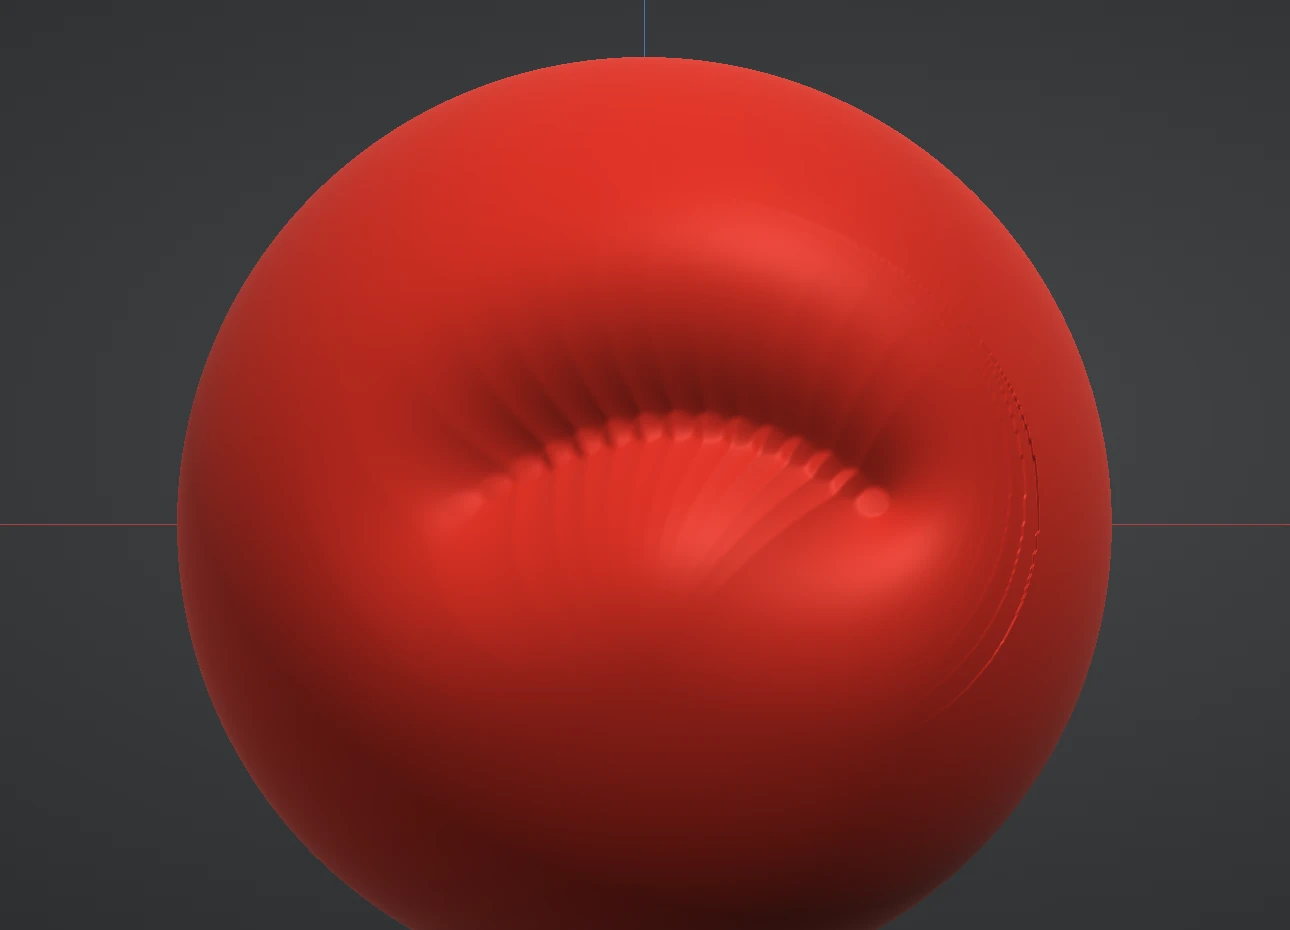
Subdivision runs on the GPU at every level, so a blockout becomes a multi-million-triangle sculpt in seconds and the brushes keep up. The mesh lives in graphics memory the whole time; nothing round-trips through the CPU between strokes. How far you can push it comes down to your graphics card: a capable desktop GPU with 8 GB works comfortably in the tens of millions, a laptop or tablet GPU is happiest a few levels lower.
- Subdivide up and back down, with the live triangle and vertex counts always on screen.
- Undo and redo are GPU snapshots — instant at millions of triangles.
- The Free plan sculpts to 12.58 million triangles; Pro lifts the ceiling to eighty million for machines that can carry it.
One click, even topology.
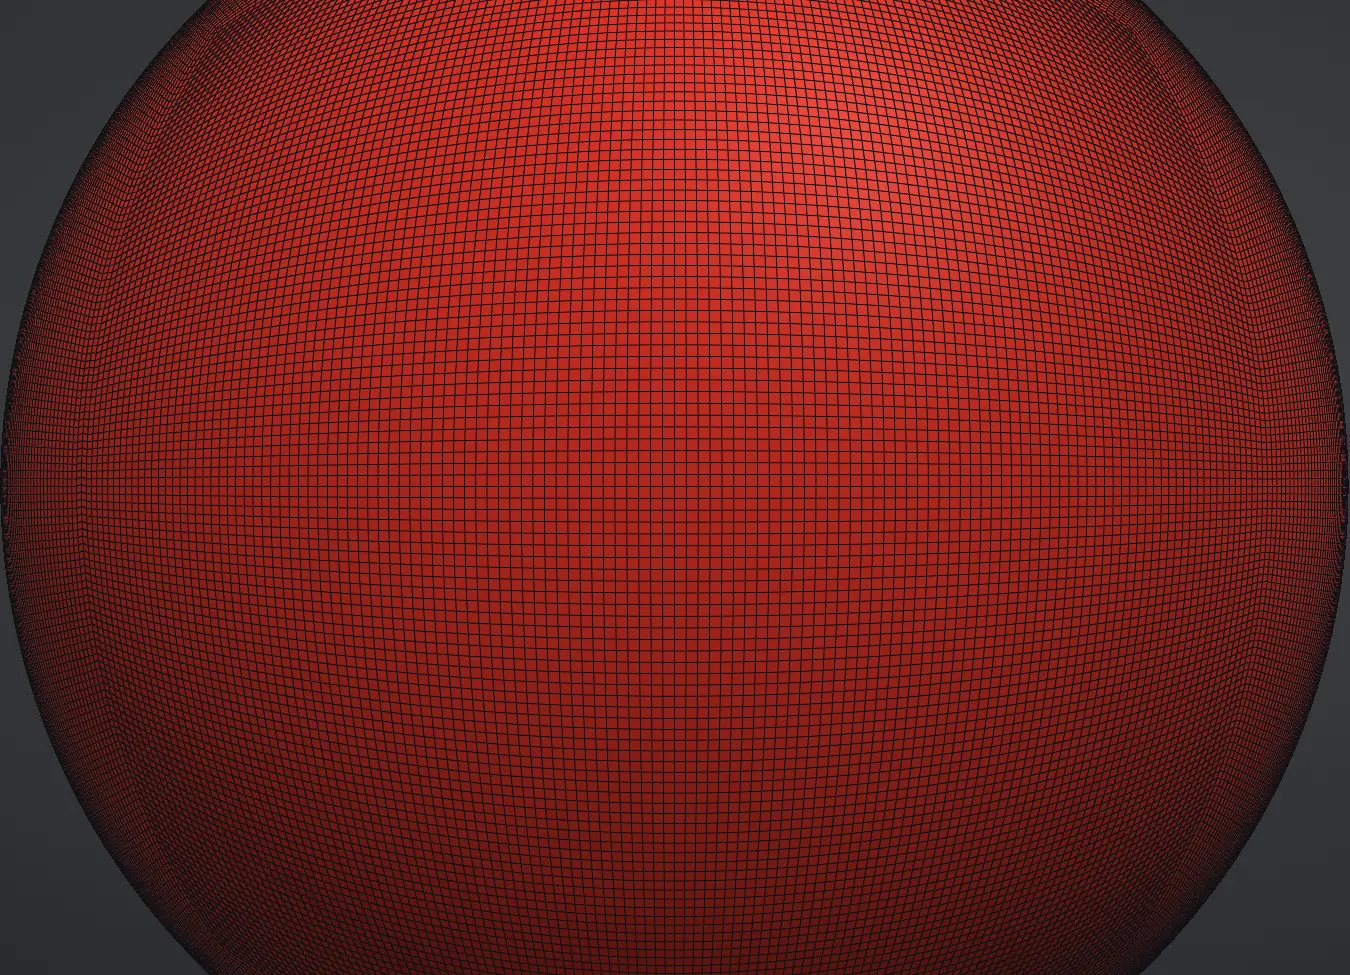
Stretched triangles fight the brushes. Remesh re-flows the whole surface into clean, even triangles at the resolution you choose — without losing the form — and you keep sculpting like nothing happened. Imported meshes get the same treatment.
Remesh guide →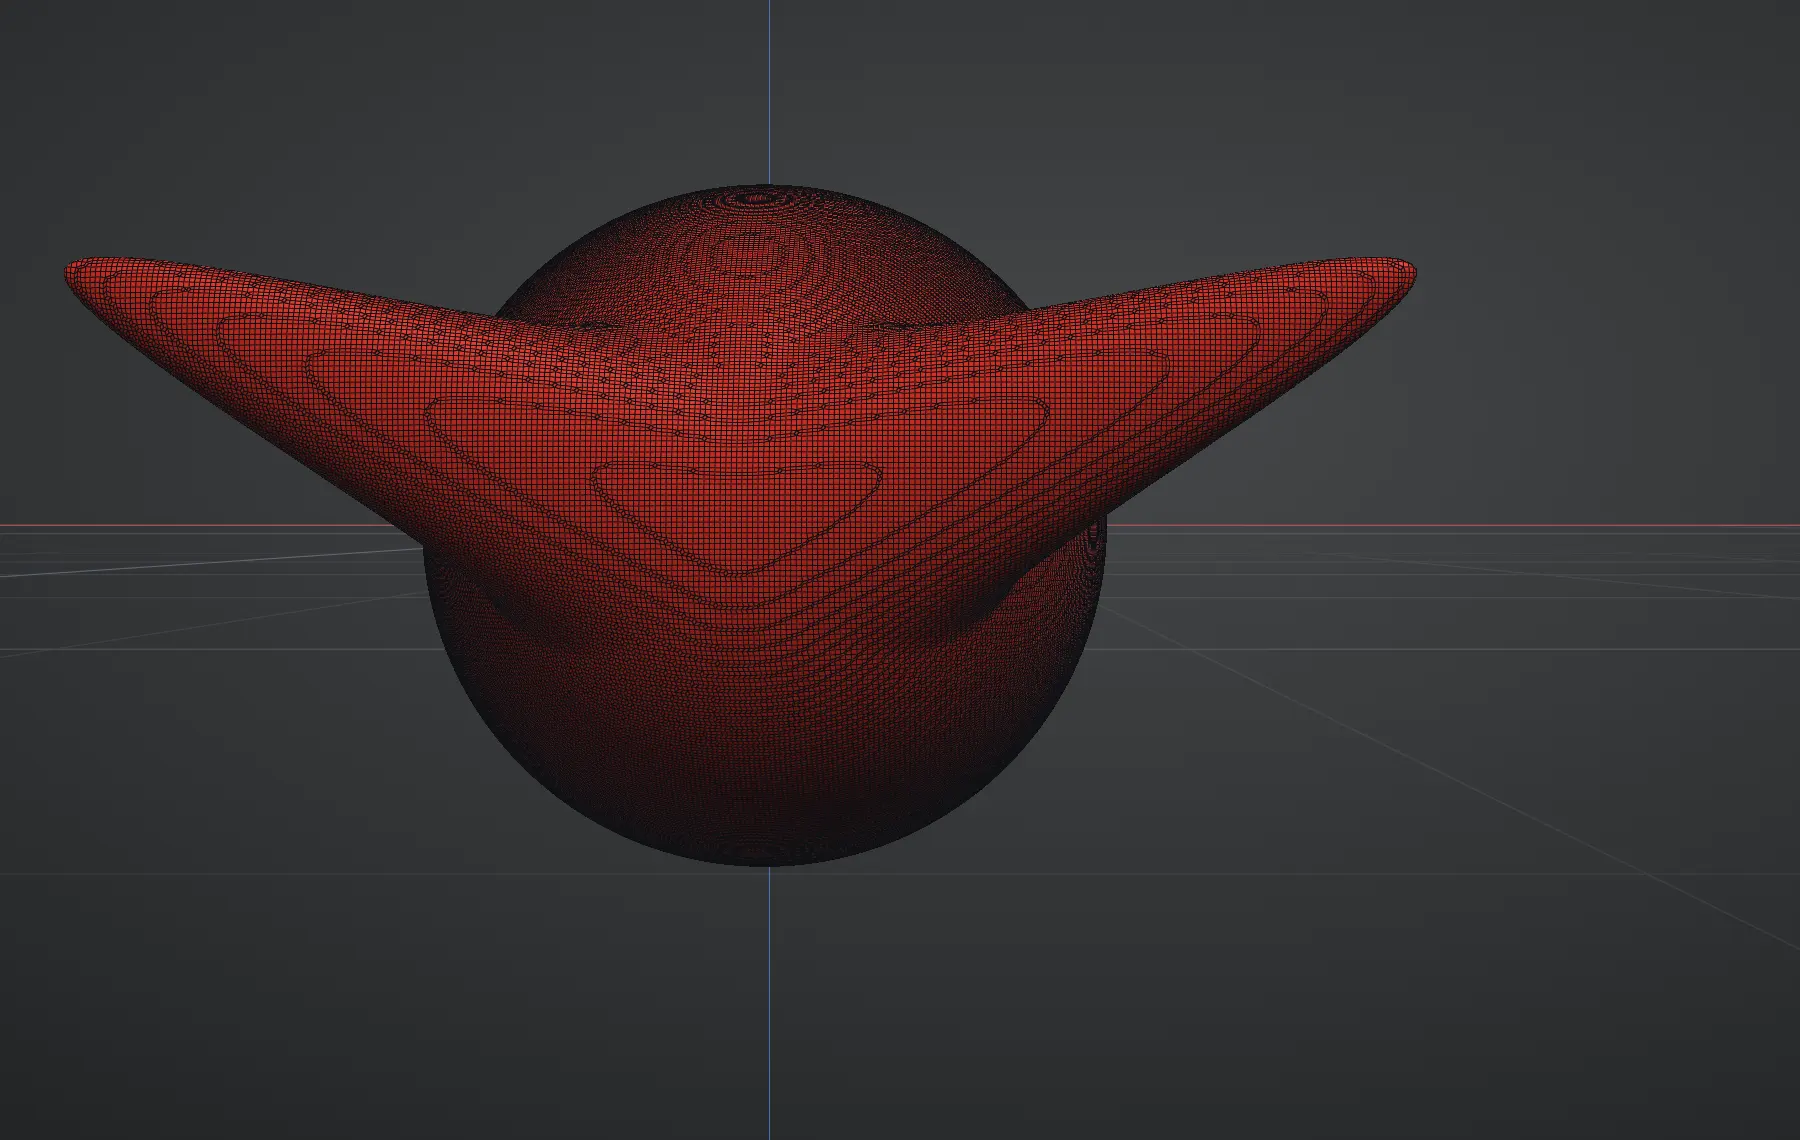
Experiments stay experiments until you commit.
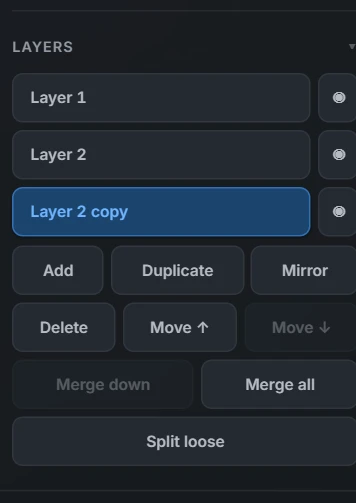
Split a sculpt across layers — a sphere for the head, a cube for the base, a duplicate to try something risky. Reorder them, hide them, merge down, merge everything, or split a multi-part import into one layer per piece.
- New layers start from a shape of your choice: sphere, cube, cylinder, plane, or a head or ear base mesh.
- Mirror a layer across the symmetry axis in one press.
- Focus shows only the layer you are working on; Fade turns the others see-through so it shows through them.
- Layers ride along inside saved projects, exactly as you left them.
Sculpt one side, get both. Protect what is finished.
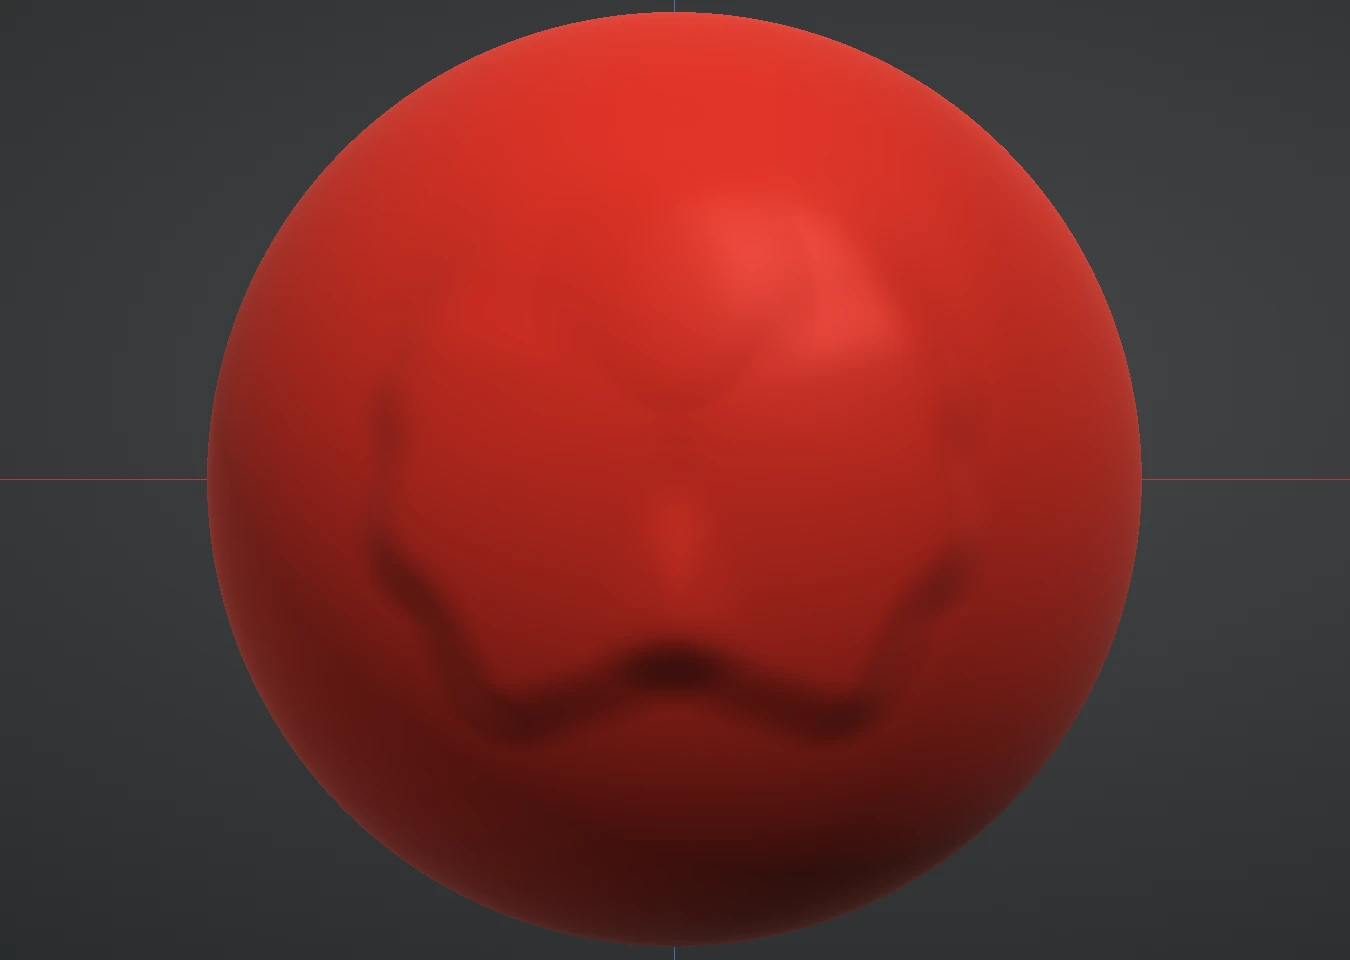
Symmetry mirrors every stroke across the model's axis — and it follows the model, so a posed sculpt keeps its own mirror. Masks paint protection onto the surface: masked regions ignore strokes, and half a mask means half-strength strokes.
- Grow, Shrink, Blur and Sharpen the mask, Invert it, or clear it — every mask stroke is undoable, and the filters run on the GPU at any density.
- Extract lifts the masked area off as a closed, thickened piece on its own layer; Panel Loops divides the surface along the mask into gapped, bevelled panels. Both preview live and never touch the source layer.
- Transforms respect the mask, and with Symmetry on, a masked move is mirrored too: pull one ear out and the other comes out with it.
Pose without rigging.
A transform gizmo moves, rotates and scales a whole layer or just the unmasked part of it, about a pivot you can place anywhere. Hold Ctrl for snapping detents. The Grab brush pulls the surface directly for the small adjustments.
Grab and transforms →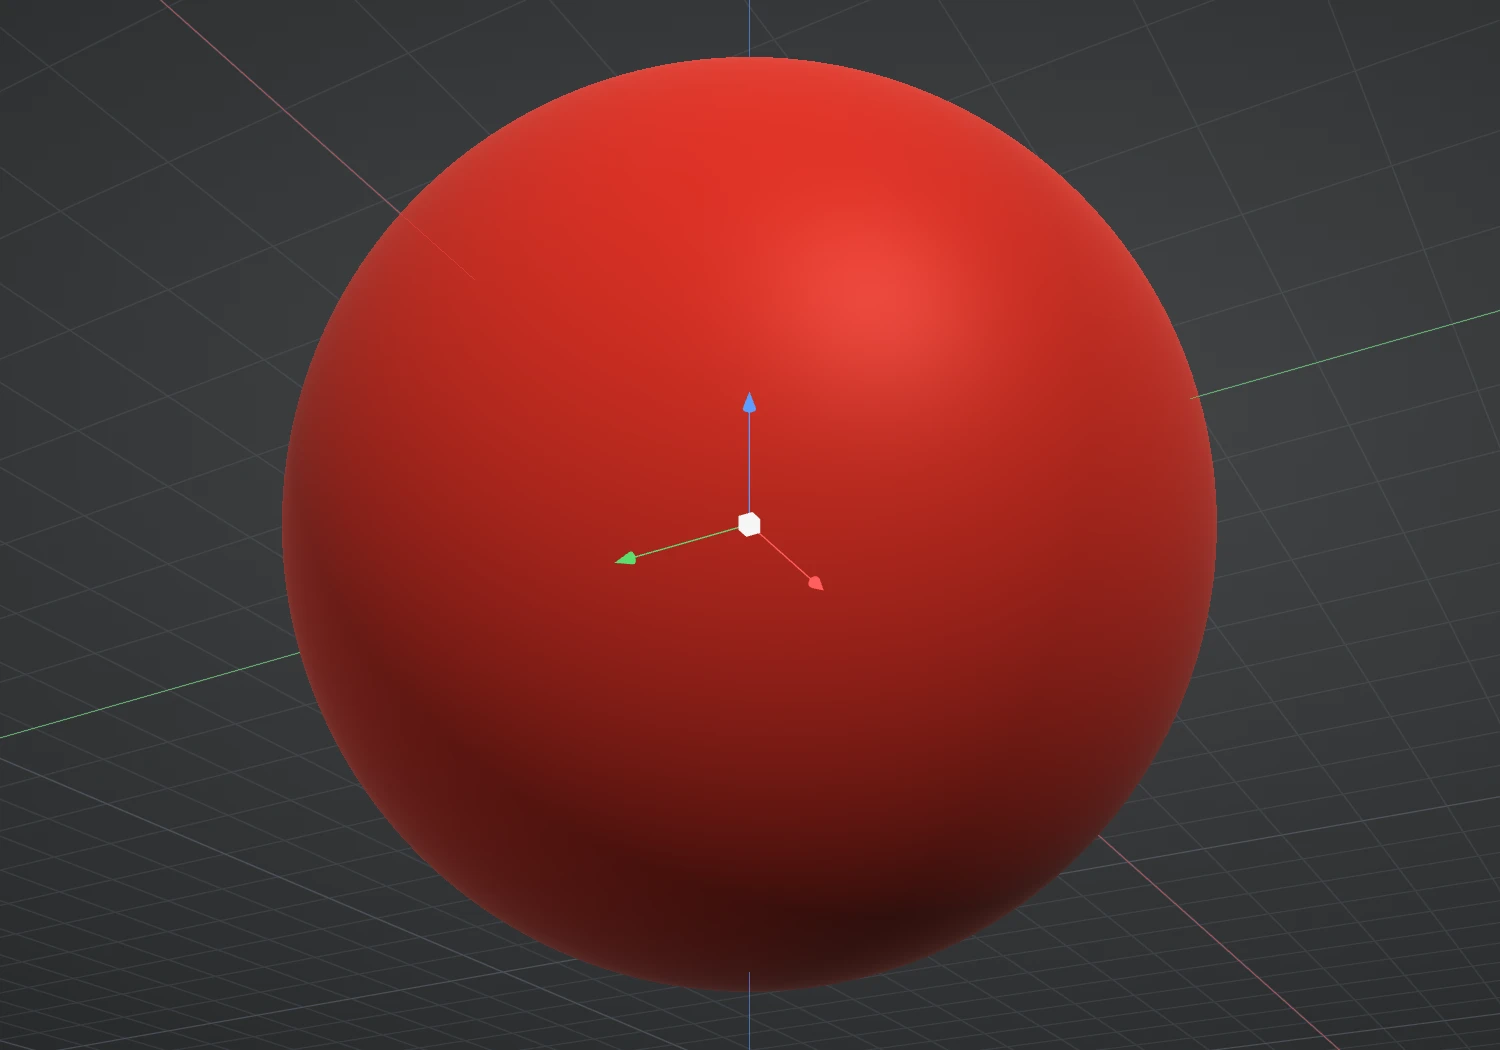
Colour, roughness and metalness, per vertex.
Paint straight onto the sculpt. The Paint brush lays colour, roughness and metalness; Blend, Blur and Smear work the paint like wet media; Fill floods the whole surface. An eyedropper picks any colour already on the model, and the colours travel into GLB exports. The Project brush lays a photo or texture over the viewport and paints it onto the surface wherever you brush. Pro keeps your own brushes, alpha and texture included, in My brushes and as shareable .brush files.
Painting guide →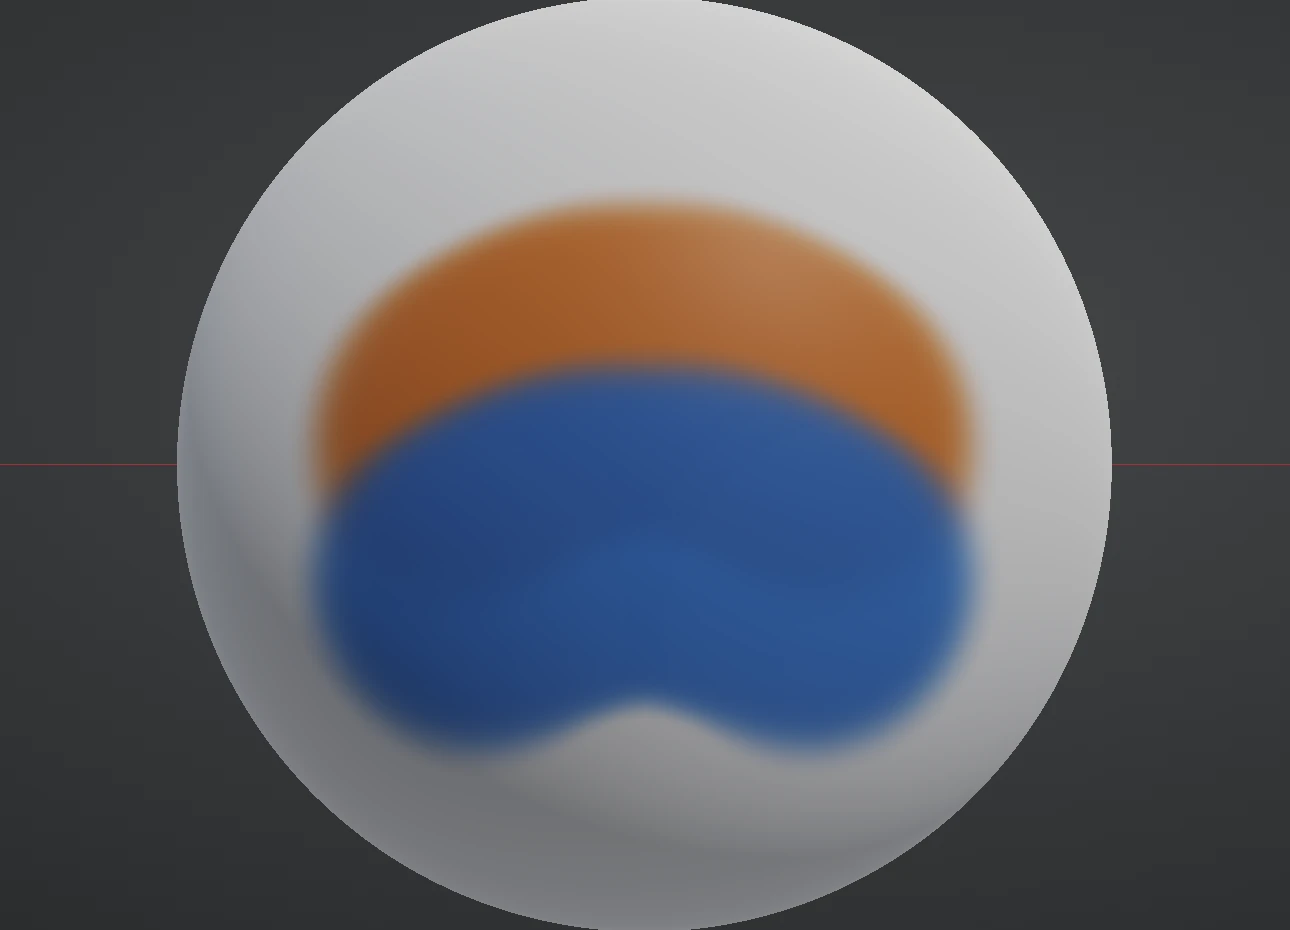
Sixteen materials, three ways to see the form.
Matcap shading with sixteen materials reads form the way sculptors expect. Unlit shows the paint alone. Lit renders the paint through a physically based light rig with an environment you can turn. Smooth or flat shading, wireframe on the render, and a floor, grid and axis guide when you want them.
Lighting and display →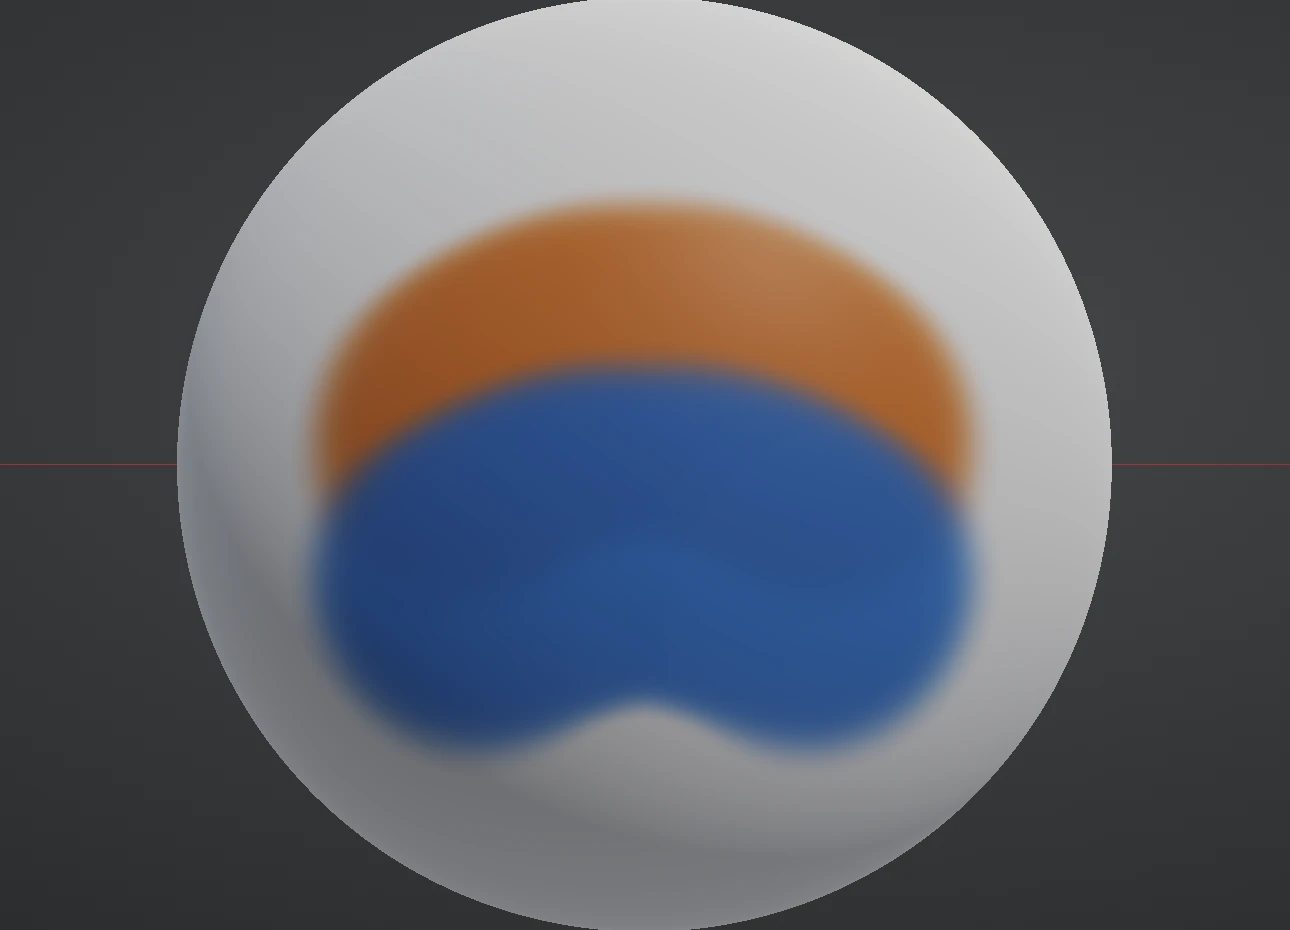
Stills and turntables, previewed at full size.
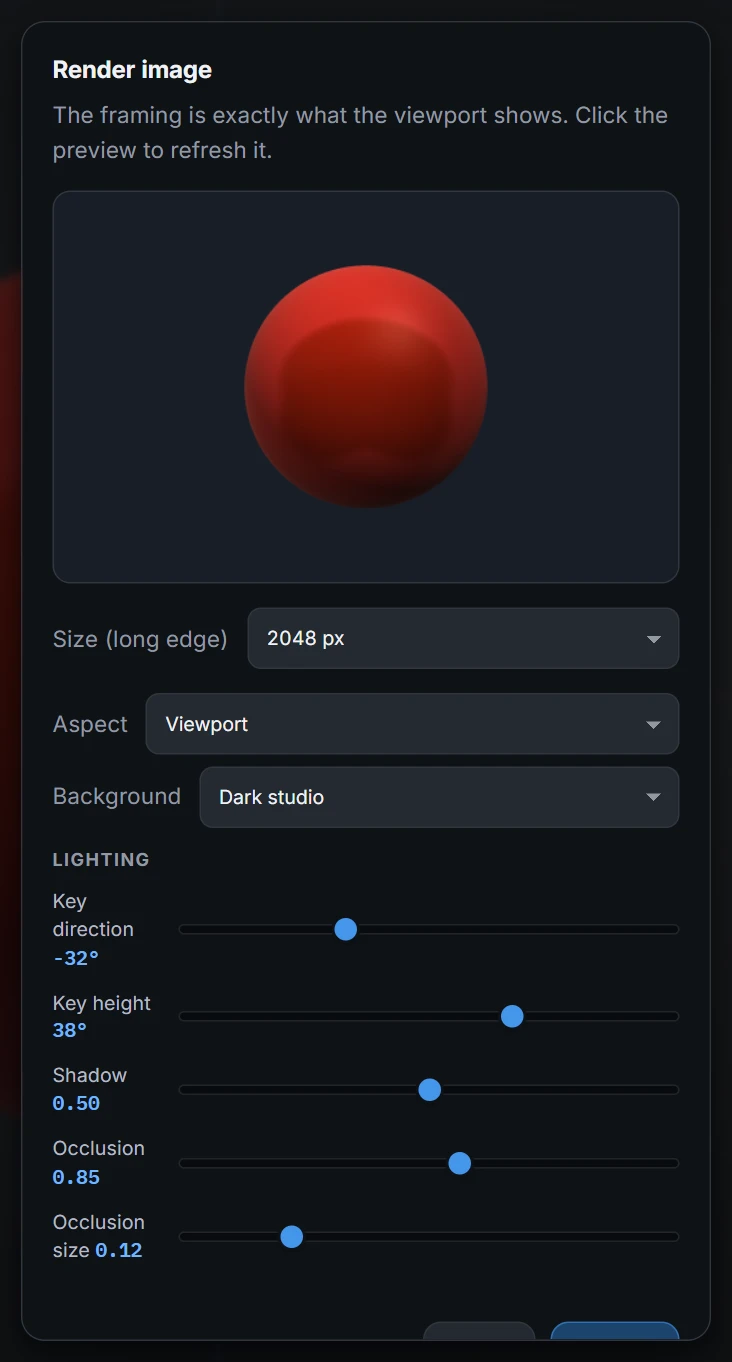
Render a supersampled still at 1024, 2048 or 4096 pixels, or a looping turntable as MP4 or WebM. A full-window preview shows the exact render — orbit, pan and zoom inside it — with the lighting rig, shadow, occlusion, background and aspect all live before you commit.
- Dark studio, light studio, gradient or transparent backgrounds.
- 4096 px and 8K stills are Pro sizes; everything else, turntables and timelapses included, renders on Free with a small Re:Form mark.
Six reference planes, snap views, real units.
Load a reference image for each axis view — front, back, left, right, top and bottom — and it stands in the scene as a plane you can scale, shift and fade. Snap to any axis with the gizmo or a key, switch between perspective and orthographic, and work in millimetres so exports come out at true size for printing.
Reference images →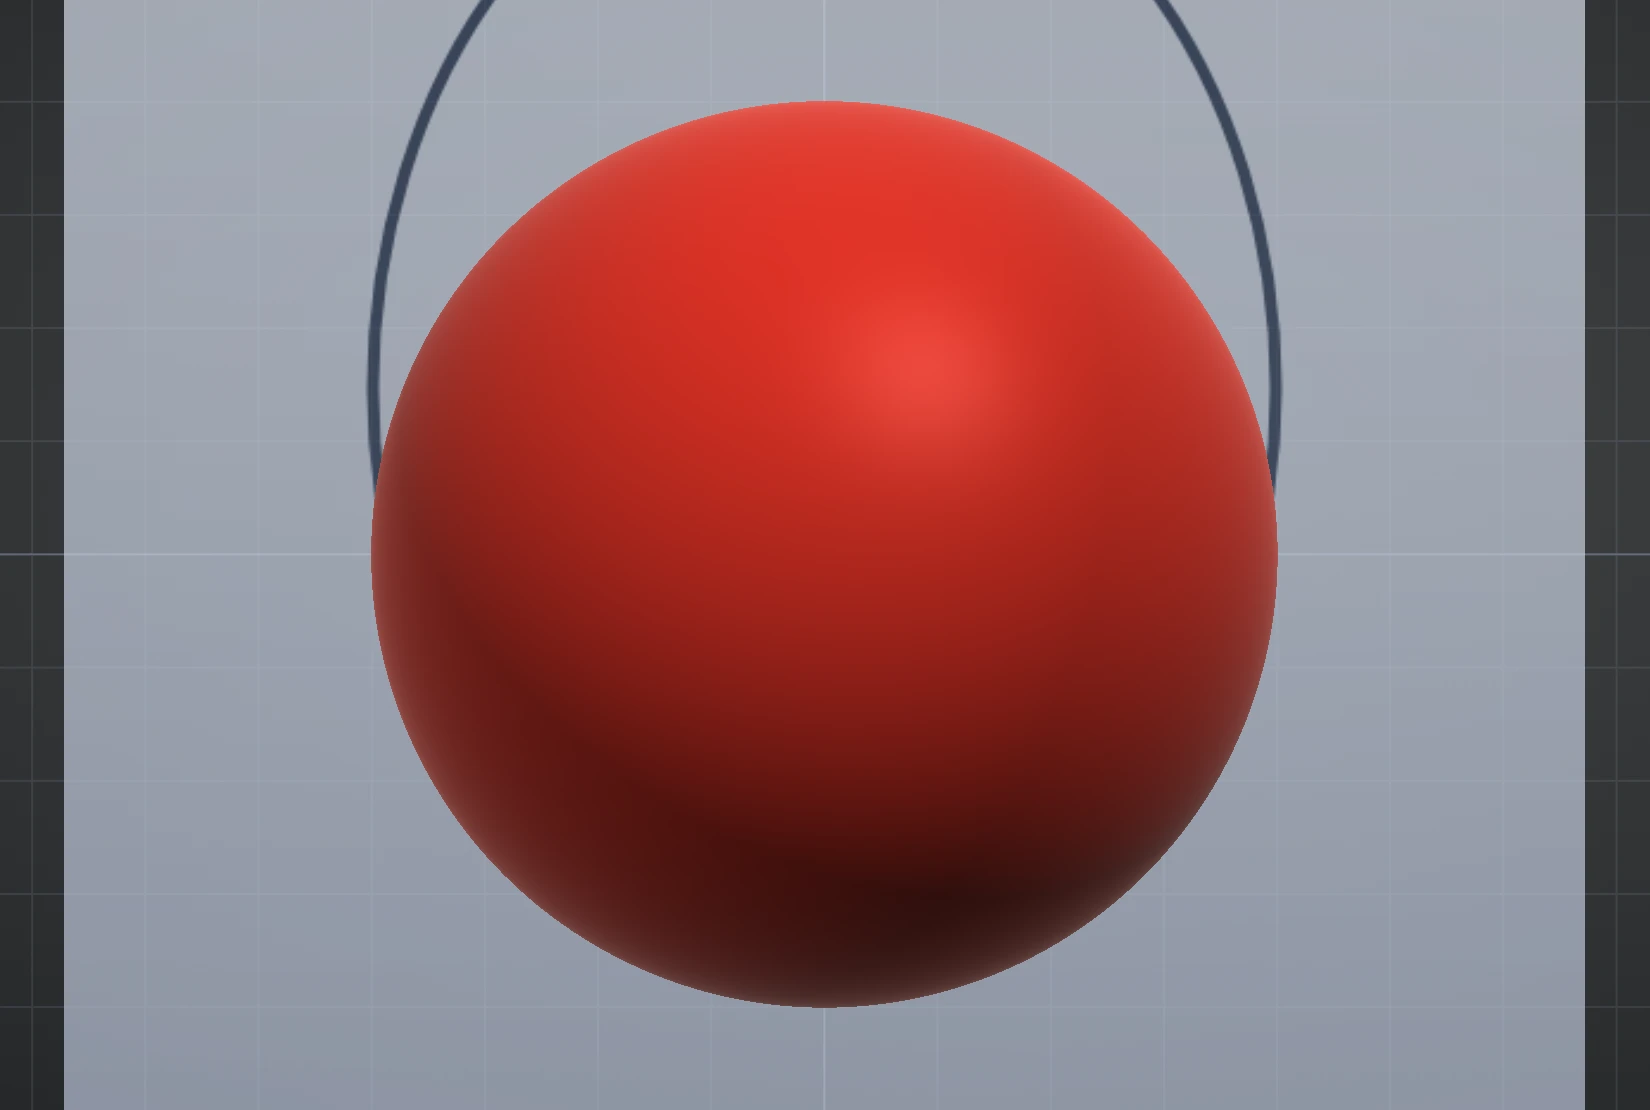
Saved as you sculpt, and fits your pipeline.
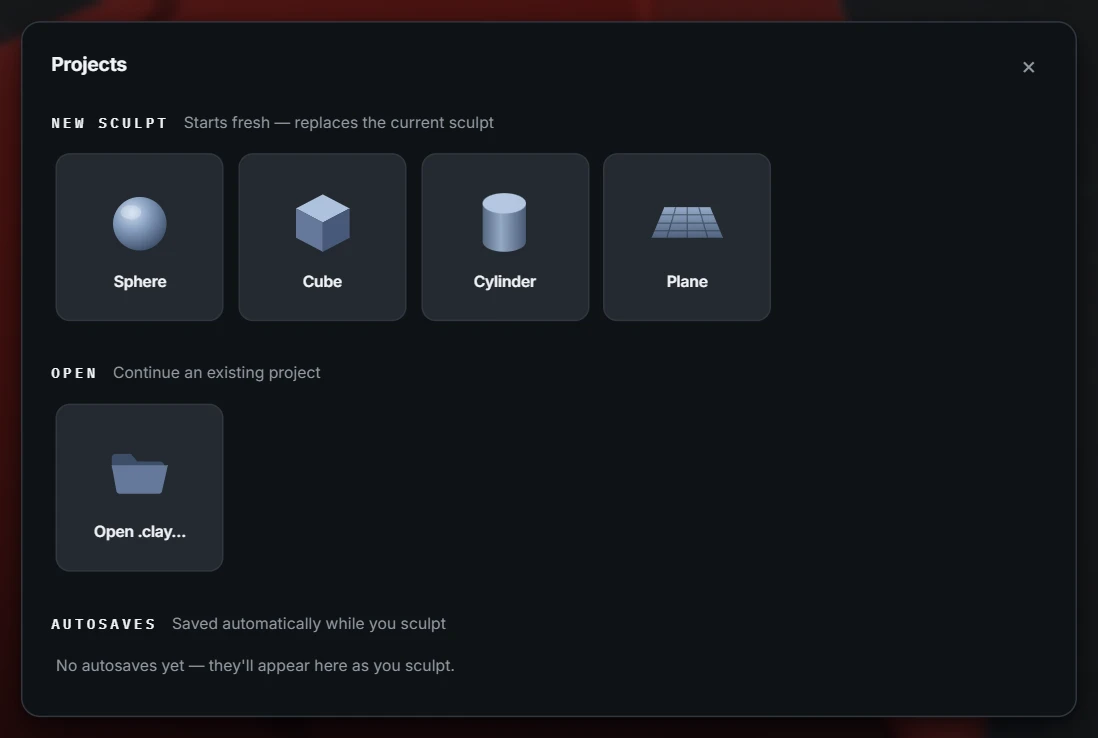
Autosave keeps ten dated snapshots in the browser, so closing the tab loses nothing. Saved projects carry everything — layers, paint, reference images, viewport settings — with your account, so they open wherever you sign in. Import and export OBJ, STL, GLB and FBX in both directions.
- Exports carry the viewport's shading: smooth in the app means smooth in the file.
- GLB exports keep your vertex paint colours; the millimetre scale rides into every format.
- The Free plan imports and exports OBJ; Pro unlocks all four formats. Models are never watermarked on any plan.
Sculpt on a tablet.
Pen pressure drives strength, size or both, through a pressure curve you can tune. Palm rejection keeps a resting hand from spinning the view. One finger sculpts (or orbits, your choice), two fingers orbit and pinch to zoom, three pan. The interface grows to fit a hand the first time you touch the screen.
Navigating on a tablet →