
Re:Form paints on the vertices of the mesh itself — no UV unwrapping, no texture files, no separate program. Colour lives on the sculpt, deforms with it, saves with it, and rides along in GLB exports.
Getting started
Click the Paint tool (the droplet) on the left rail. The brush picker switches to the Paint group, and the Paint section appears in the right panel with the colour and material controls.
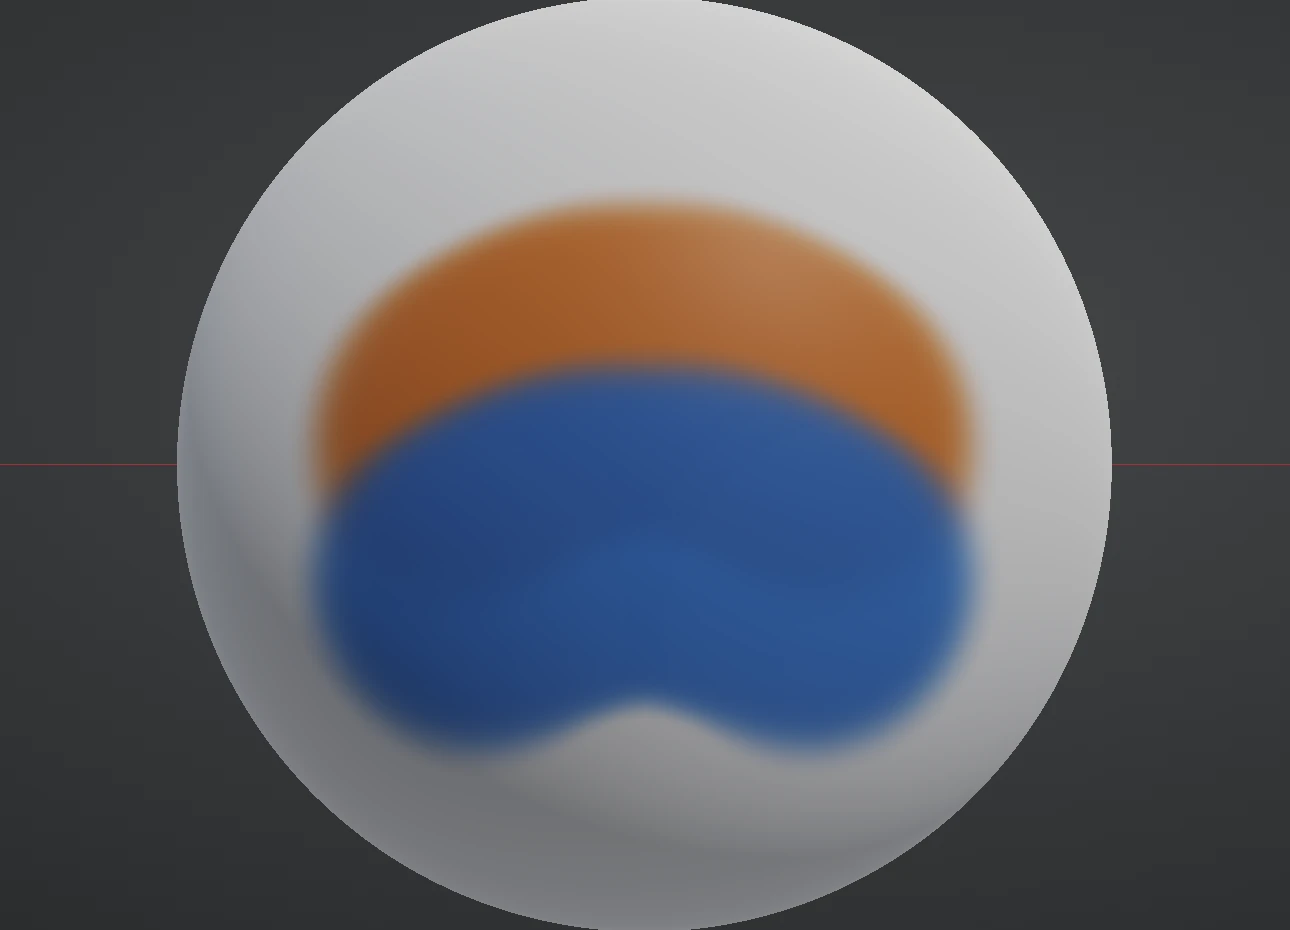
Because colour is stored per-vertex, the mesh's density IS the paint resolution. Crisp edges need triangles — subdivide before a paint pass, and switch Shading to Lit or Unlit so colour shows true (see Lighting & display).
The Paint panel
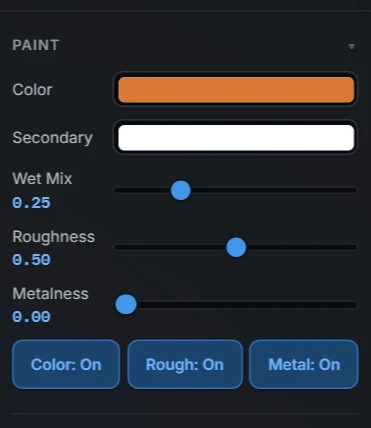
- Primary — the colour the Paint brush lays down. Click the swatch for the picker: drag in the square and the hue bar, type a hex or R·G·B value, pick a colour off the screen with the eyedropper, or click one of the Swatches. The + beside Swatches saves the current colour as your own swatch, kept for next time. Right-click a saved swatch to remove it.
- Secondary — painted while Ctrl is held, or while the Secondary chip in the Options row is on. Two colours, zero trips to the picker. (The sculpt brushes' Invert chip never affects paint.) The ⇅ button beside it swaps the Primary and Secondary colours.
- Wet Mix — how much of the colour already on the surface gets picked up and carried into the stroke. At 0 you lay pure brush colour; higher values smear through what you pass over, like painting wet-into-wet.
- Roughness / Metalness — the material the stroke deposits alongside colour; see Roughness & metalness.
- Color / Rough / Metal toggles — which channels a stroke writes. Turn Color off to paint material changes over existing colour, or vice versa.
Brush Size, Strength and Falloff work exactly as in sculpting — Strength acts as stroke opacity here.
The paint brushes
- Paint — deposits the primary colour (secondary with Ctrl).
- Blend — pulls the colours under the brush toward each other, easing them toward the mix at the brush centre. For softening the border where two colours meet.
- Blur — a true blur: every vertex under the brush averages with its neighbours; repeated passes spread it wider. For melting fine colour detail evenly.
- Smear — drags colour along the stroke, like pulling wet paint with a finger.
- Fill — one click paints the piece of mesh you click with the active colour and channels (a layer made of several loose pieces is filled one piece at a time); Strength sets the fill opacity. Ctrl-click fills back to white. The fastest base coat in the business. Its Fill type turns it into a gradient — see below.
- Project — paints an image onto the surface. Load it under Projection image in the Paint panel and it appears over the viewport; place it with Scale, Rotation, Offset H and Offset V (Flip H, Flip V and Grey work as they do for reference images, and Opacity only changes how see-through the overlay is). Then brush over the model: every spot you paint takes the colour of the image directly over it on screen. Orbit, re-place the image and keep painting to wrap a texture around a form. Show hides the overlay while you look, and Ctrl paints the Secondary colour.
Gradient fill
With Fill as the brush, the Paint panel shows a Fill type:
- Solid — the one-click fill described above.
- Linear — press and drag a line across the view (it can start off the model). The Primary colour lands at the start of the line and the Secondary at its end, blended in between across the piece the line first crosses, back included, by where each part of the surface sits along the line on screen.
- By height — one click on the model: the Primary colour at the bottom of the layer and the Secondary at the top, along X, Y or Z (Z, up, by default). Start and End (percentages of the layer's height) place the blend: below Start is all Primary, above End all Secondary.
Blend runs from a clean edge (0) to an even blend across the whole band (1). Swap the two colours with ⇅ to run a gradient the other way. Everything else is Solid Fill's: Strength is the opacity, the mask protects, only the active layer is painted, the Color / Rough / Metal toggles decide what changes (roughness and metalness go on at their one slider value), Ctrl still fills back to white, and each fill is one Undo.
Paint by curvature
Paint by curvature in the Paint panel lays the current colour and material over the whole layer, with the coverage decided by the shape: Cavities paints the concave places (creases, the insides of folds), Edges the convex ones (ridges, rims, raised forms). Press Apply; one Undo takes it back, the mask protects what it covers, and it is symmetric by construction.
- Threshold — how curved a place has to be before it takes any paint.
- Contrast — how sharply the paint comes in past the threshold: 1 is an even ramp, higher pulls it into the deepest places.
- Boost — multiplies the curvature first, so gentle edges count as sharp ones. Raise it to push paint into every edge.
- Softness — how gradually the paint fades in: low gives crisp, hard-edged lines, high a soft blend.
- Width — how wide a neighbourhood the curvature is read over: 0 follows the finest detail, higher paints broader bands along larger forms.
- Strength — how much paint the fully covered places get: 1 is solid colour, lower tints.
Paint by occlusion works the same way from how enclosed each place is, for dirt and shadow in the recesses.
Texture
The Texture box in the Paint panel takes a colour image — any PNG, JPEG, WebP, TIFF or PSD — and the Paint brush lays down the texture's colours instead of the Primary colour. The image fills a square as wide as the brush, and Falloff shapes it: at -1 it paints a soft round spot from the middle of the image, and at 1 the whole square image, corners included. With an Alpha loaded, the texture sits over the alpha stamp in the same place, size and rotation, so the colour lands where the alpha shapes the dab. Transparent parts of the texture paint nothing. Clear goes back to the Primary colour.
Practical notes
- Paint strokes undo with Ctrl+Z exactly like sculpt strokes.
- Symmetry mirrors paint strokes too — pupils land on both eyes at once.
- Turn on Backface in the brush Options to keep paint off the far side of thin forms — an eyelid stroke won't colour the inside of the lid. See Size, strength & falloff.
- Paint saves in your project, and GLB export carries vertex colours into other tools. See Import & export.
- Remeshing rebuilds the vertices, so paint after the topology is settled.