
The options bar controls how the viewport shows your work — Matcap, Unlit and Lit shading, the Lit lighting behind a right-click on Lit, and the Matcaps window behind a right-click on Matcap (or View ▸ Matcaps). Nothing here ever changes the geometry — it changes what you see, which changes what you sculpt.
The shading modes
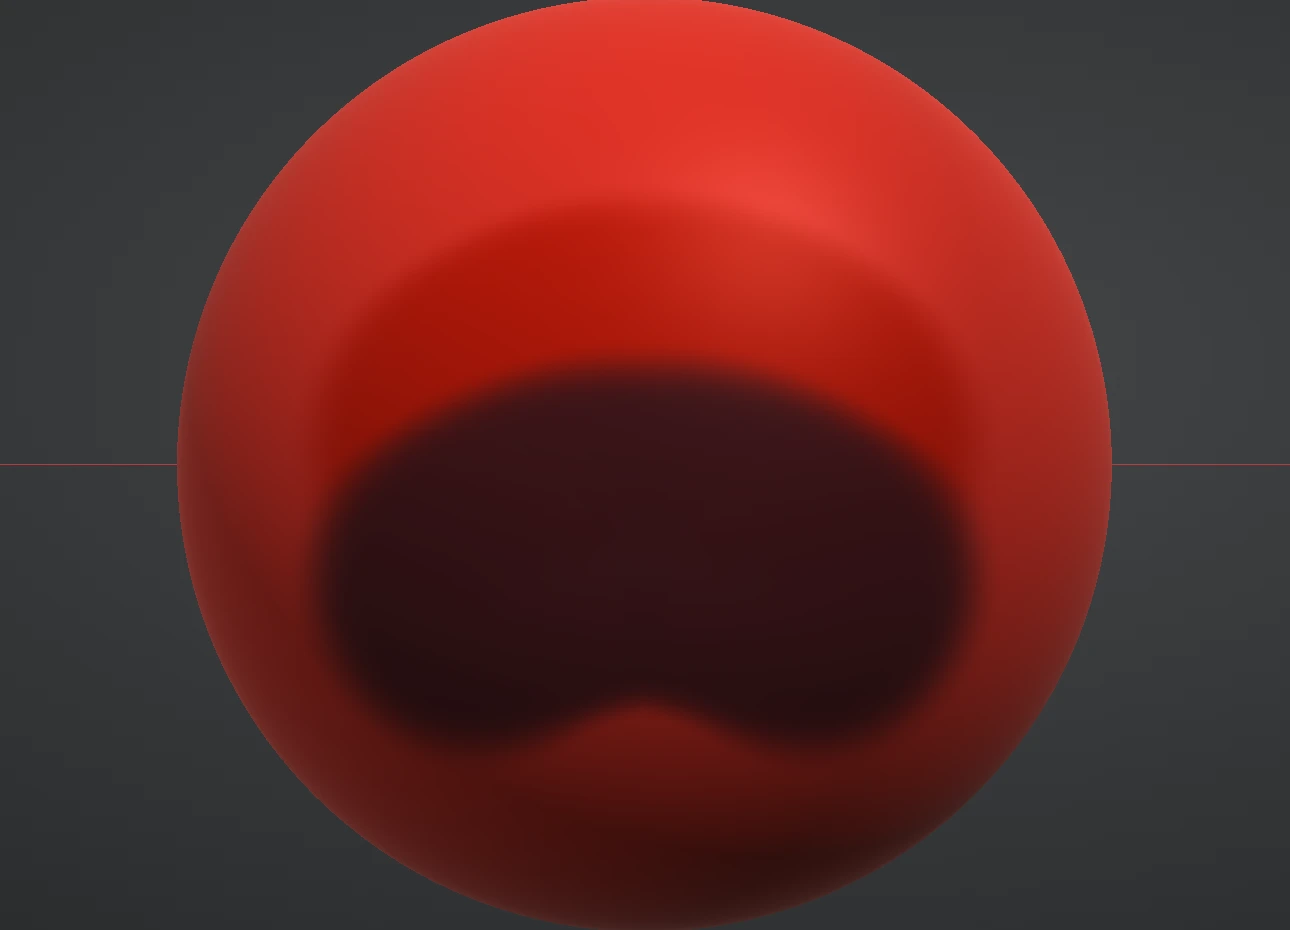
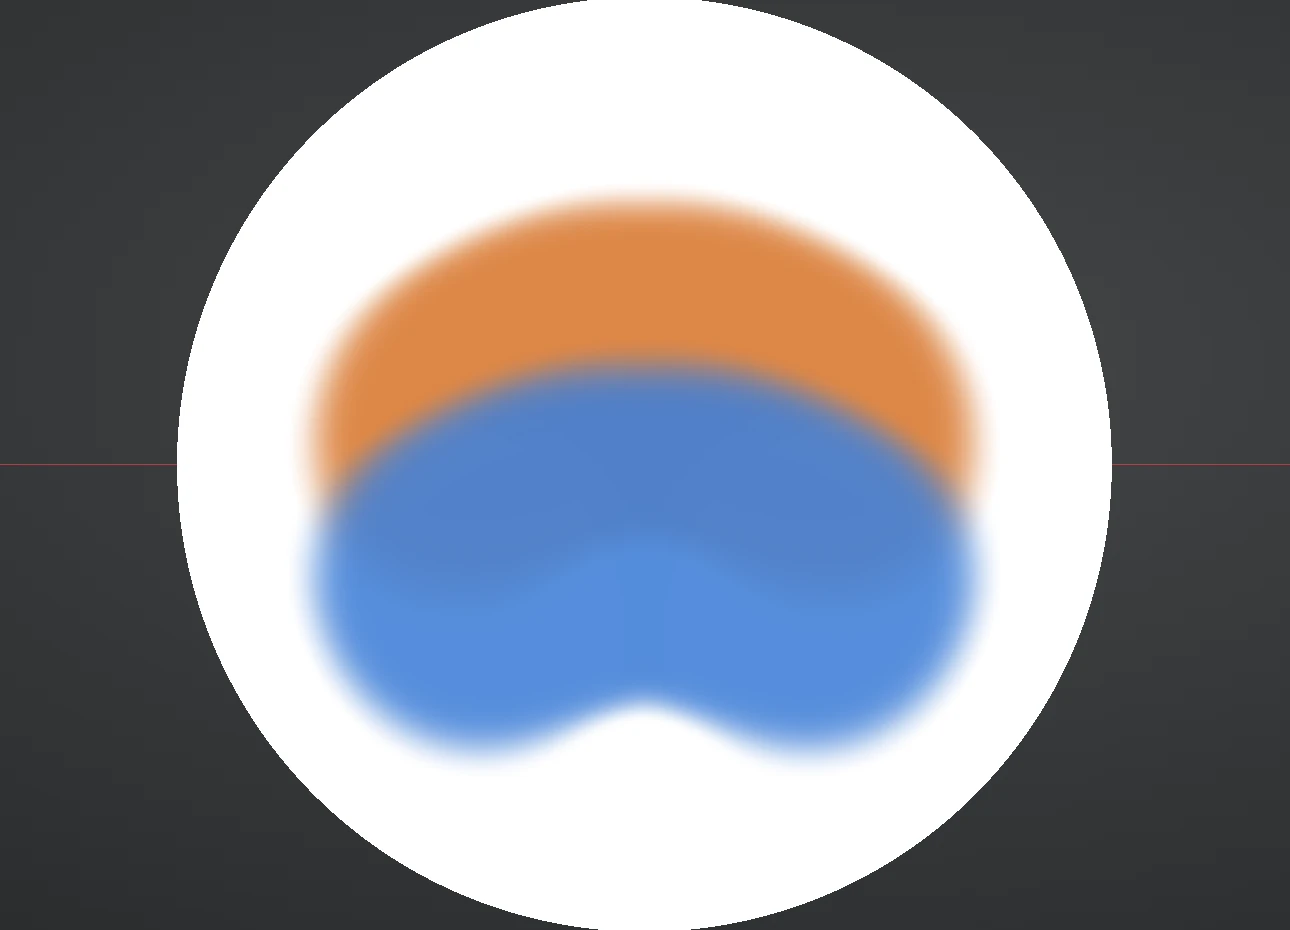
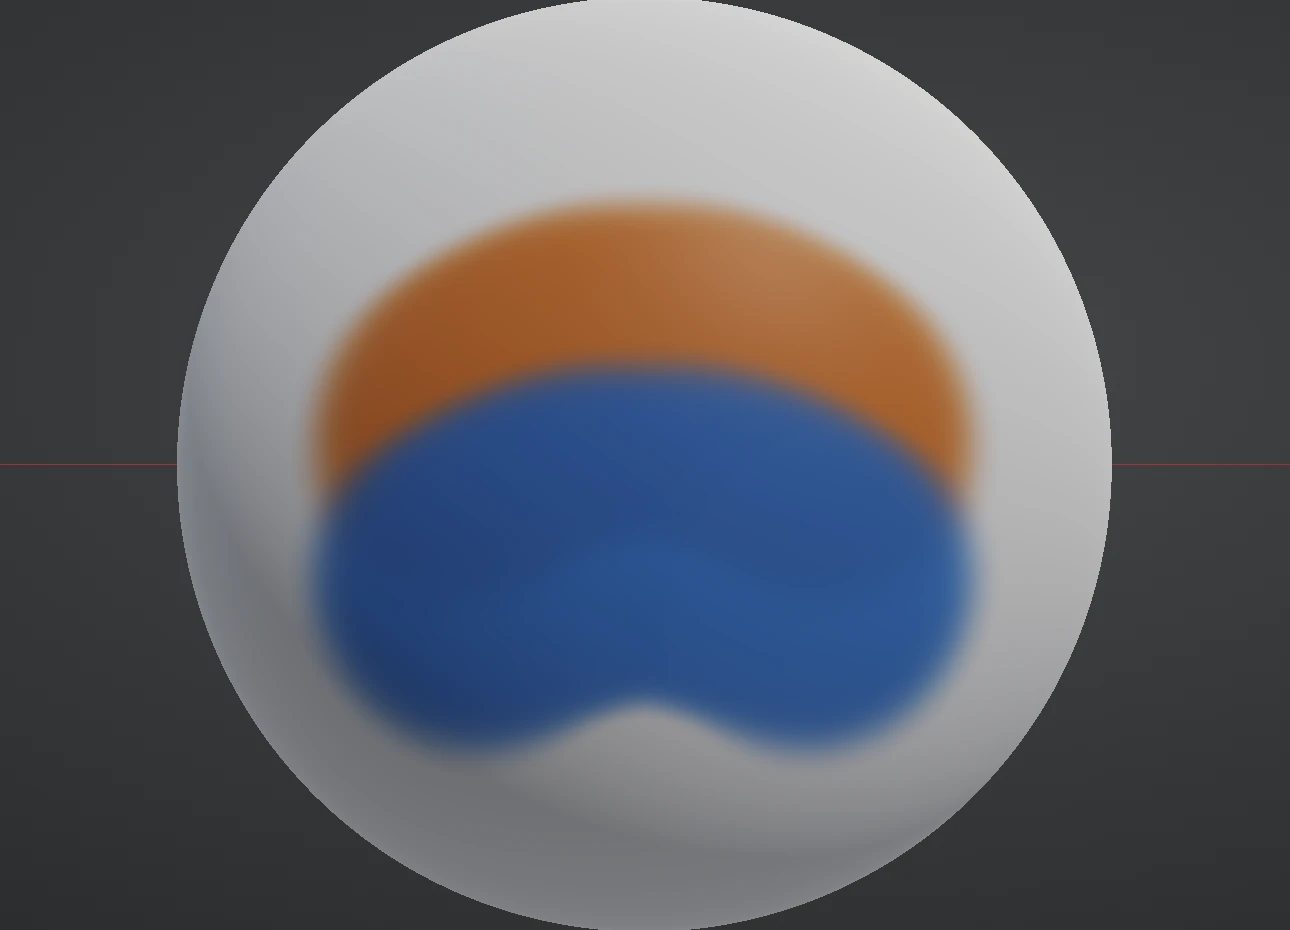
- Matcap — the classic sculpting display: a material captured into an image, giving strong, consistent form readout at any angle. Painted colour tints it. This is the mode to sculpt in.
Materials and your own matcaps
In Matcap shading the Matcaps window chooses the lit sphere the surface is coloured from: sixteen presets, from clay and red wax to the metals and stones, each a tile — click to use. Right-click Matcap on the options bar for the compact window, or open it from View ▸ Matcaps. You can add your own: Import ▸ takes a PNG, JPG or WebP picture of a lit sphere — the standard matcap image, a sphere on a square canvas — centre-crops it to a square and keeps it in your library, so it is there next session; right-click an import to rename it, × to remove it. Imported matcaps sit under the presets in the select, and painted colour tints them the way it tints a preset. A picture exported in linear light looks dark; use a display-ready image.
A project remembers its material by name. Open one that used an imported matcap on a machine whose library doesn't have it and the sculpt shows in red wax, with a note saying which matcap is missing — import it again to restore it. Renders, turntables and timelapses use the same matcap as the viewport, imported ones included.
- Unlit — the flat painted colour, no lighting at all. The mode for judging colour choices honestly.
- Lit (PBR) — physically-based rendering: your paint's colour, roughness and metalness under a studio light rig. The mode for painting materials and judging the final look.
Silhouette on the options bar turns the whole viewport into flat black on white: the shape alone, with no lighting, material, paint or mask. Click it on to judge the outline and the proportions, and off to go straight back to Matcap, Unlit or Lit, whichever you were using. The wireframe switch has no effect while it's on, Fade still shows the other layers in grey, and the brush ring and gizmo stay visible. Renders and timelapses are never affected.
Materials (Matcap mode)
In Matcap mode the Material dropdown picks the sculpt's look — sixteen materials from clay and red wax through skin, pearl, jade, gold, marble, obsidian, bronze, copper, silver and more. Purely display: switch freely, sculpt identically. Red wax is the default; charcoal and bone are gentle on the eyes in long sessions, and a periodic check in skin or marble shows form honestly because their response differs.
The light rig (Lit mode)
Switch Shading to Lit and the Lighting controls appear:
- Light angle / Light height — where the key light sits around and above the model. It's camera-locked, so the lighting travels with your view.
- Light — the key light's strength.
- Environment — the image-based studio light that fills shadows and makes metals read. Metal with no environment looks black; this slider is why.
- Exposure — overall brightness, applied before tone mapping.
- Bloom — the soft glow around bright highlights.
The viewport grey
The grey behind the model is a soft studio backdrop, lighter in the middle and darker toward the edges. Preferences ▸ Viewport sets how light it is, separately for dark mode (40% by default) and light mode (60% by default); the viewport switches with the appearance. Project thumbnails and share previews use the same grey.
The viewport background
Prefer something other than grey? View ▸ Background (also under Preferences ▸ Viewport) chooses what sits behind the model:
- Theme — the studio grey above, the default.
- Solid — one colour of your choice.
- Gradient — a Top and a Bottom colour, either Vertical (top of the viewport to bottom) or Radial (the Top colour in the middle, fading to the Bottom colour at the edges).
Colours use the same picker as the paint swatches. The choice applies at once and is remembered. It is a view setting only: renders, turntables and timelapses keep their own backgrounds, the Silhouette switch stays black on white, and project thumbnails and share previews keep the studio grey.
Overlays
Around the model itself: View ▸ Grid toggles the Ortho measurement grid and the Perspective floor plane, plus the X / Y / Z axis guide lines (the floor and the guide are both off by default). The floor and the axis guide are depth-tested against the model, so the sculpt hides them exactly where it stands in front — you can see at what height the floor meets the model. The View menu adds smooth shading, an FPS counter and fullscreen. None of it appears in renders — scaffolding stays out of the picture.
Form-check habit: orbit slowly in Matcap. The way highlights sweep across the surface exposes lumps and dents that a still view hides.