
Two tools that quietly do half your work for you: symmetry sculpts the other side, masking stops you ruining the parts you've finished.
Symmetry
Symmetry X is on by default — the toggle lives in the Options section. Every stroke mirrors across the X axis, so left and right stay identical: sculpt one cheekbone and both appear.
Symmetry Y and Symmetry Z sit beside it: Y mirrors front and back, Z mirrors top and bottom, and any combination works at once — with all three on, one stroke lands in all eight octants. The Symmetry chip on the toolbar toggles X with a left click and opens the three axes on a right click. The cursor shows a dot and a faint ring at every mirrored position, so you can see where each copy will land before you press.
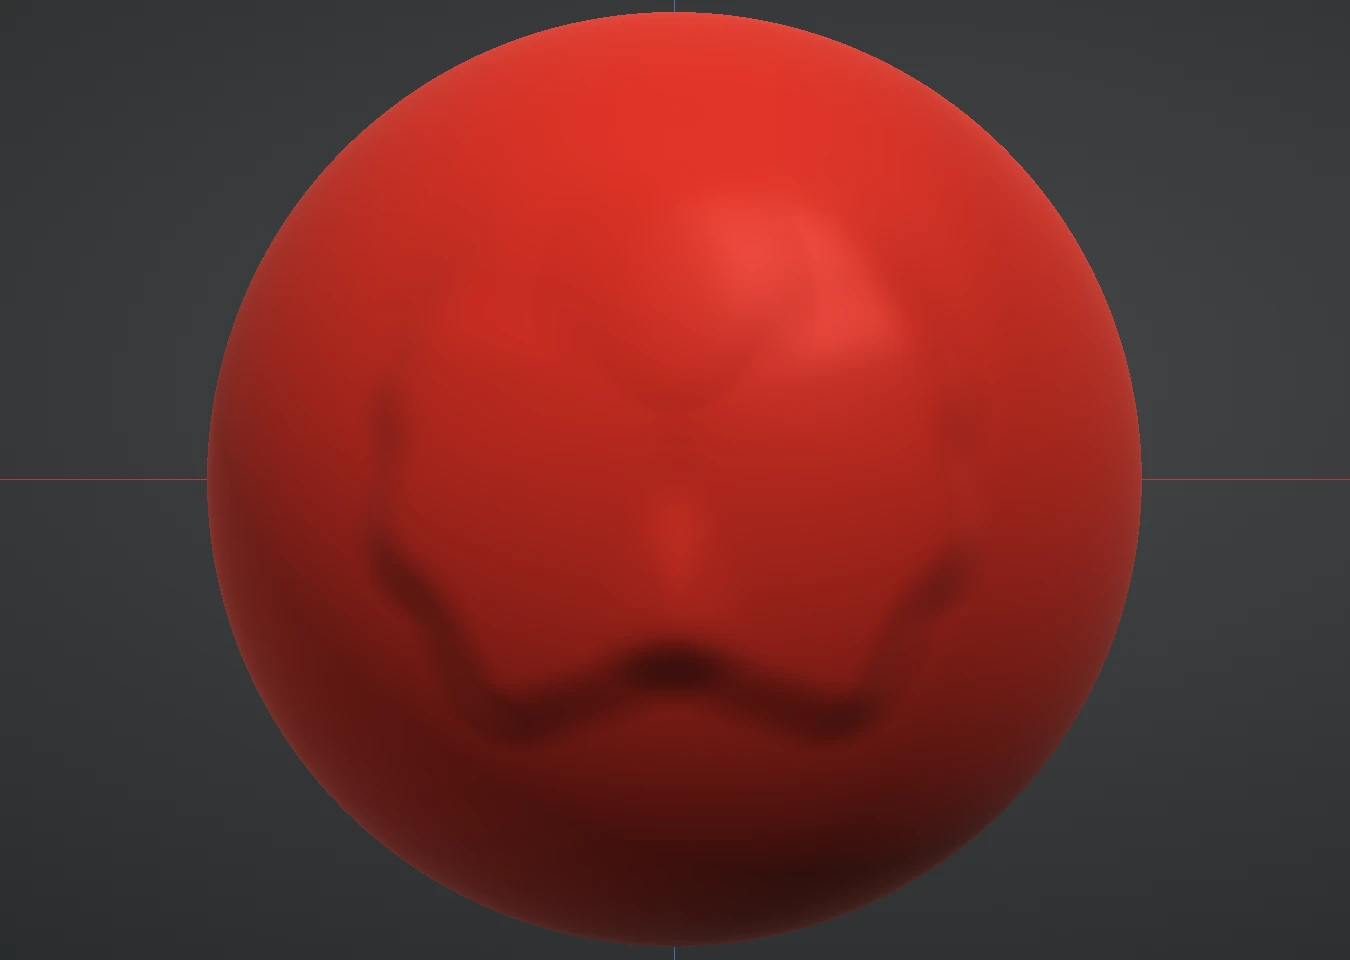
Symmetry applies to sculpting, masking and painting alike. Turn it off for asymmetric work — scars, poses, anything deliberately lopsided — and back on when you return to structure. Since it mirrors strokes (not geometry), work done with symmetry off stays asymmetric even after you re-enable it.
Need a mirrored copy of a whole layer instead — a second eye, a second ear? That's the Layers panel's Duplicate + Mirror pairing; see Working with layers.
Masking
The Mask brush (the Smooth and mask group in the brush picker) paints protection onto the surface instead of moving it. Masked areas darken, and sculpting strokes slide over them without effect — full mask means fully protected, half mask means half-strength strokes.
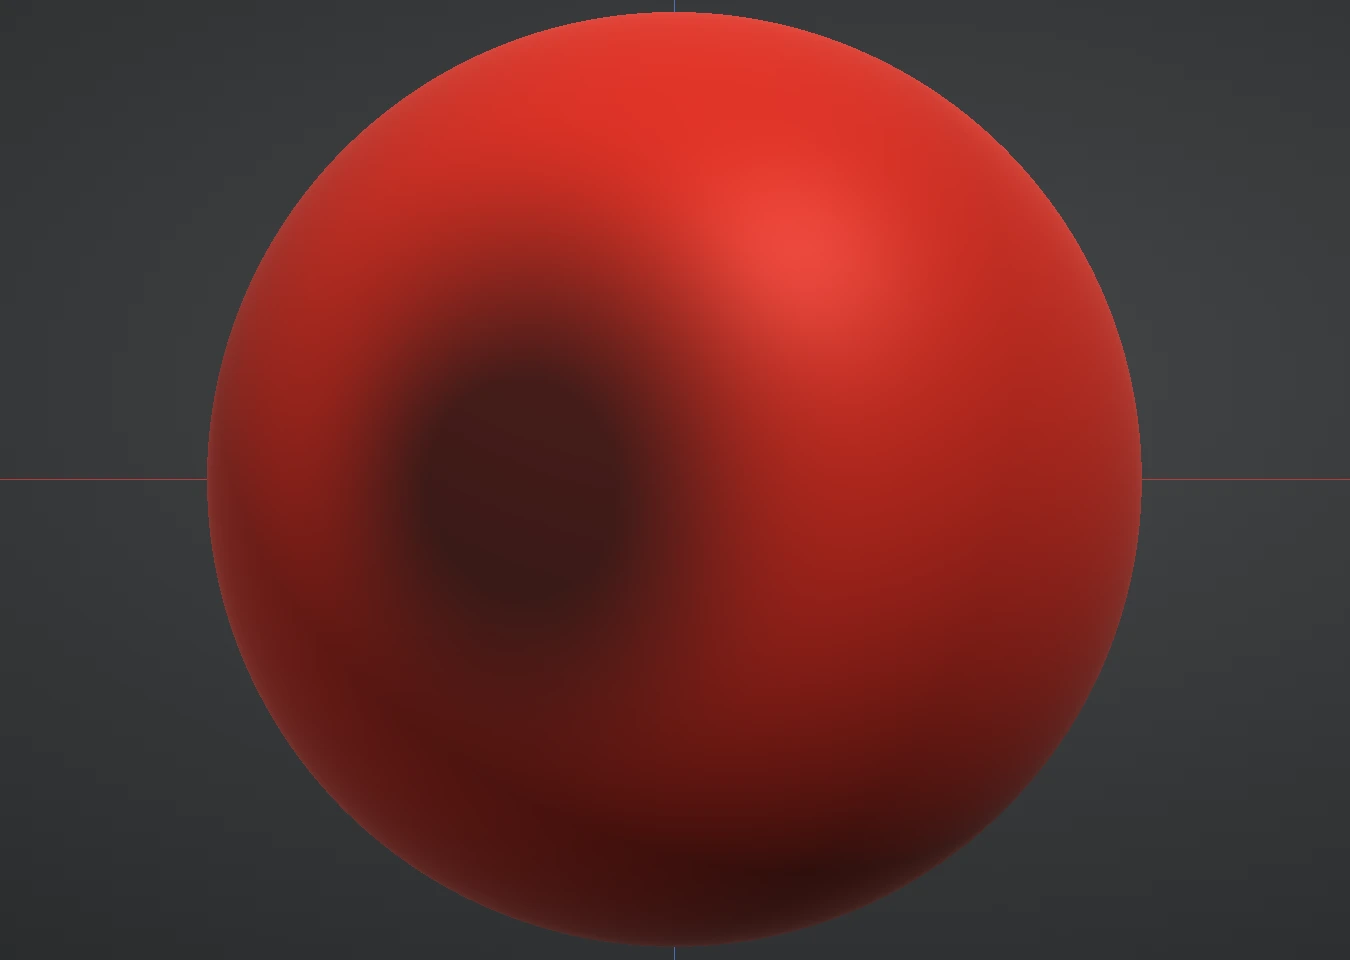
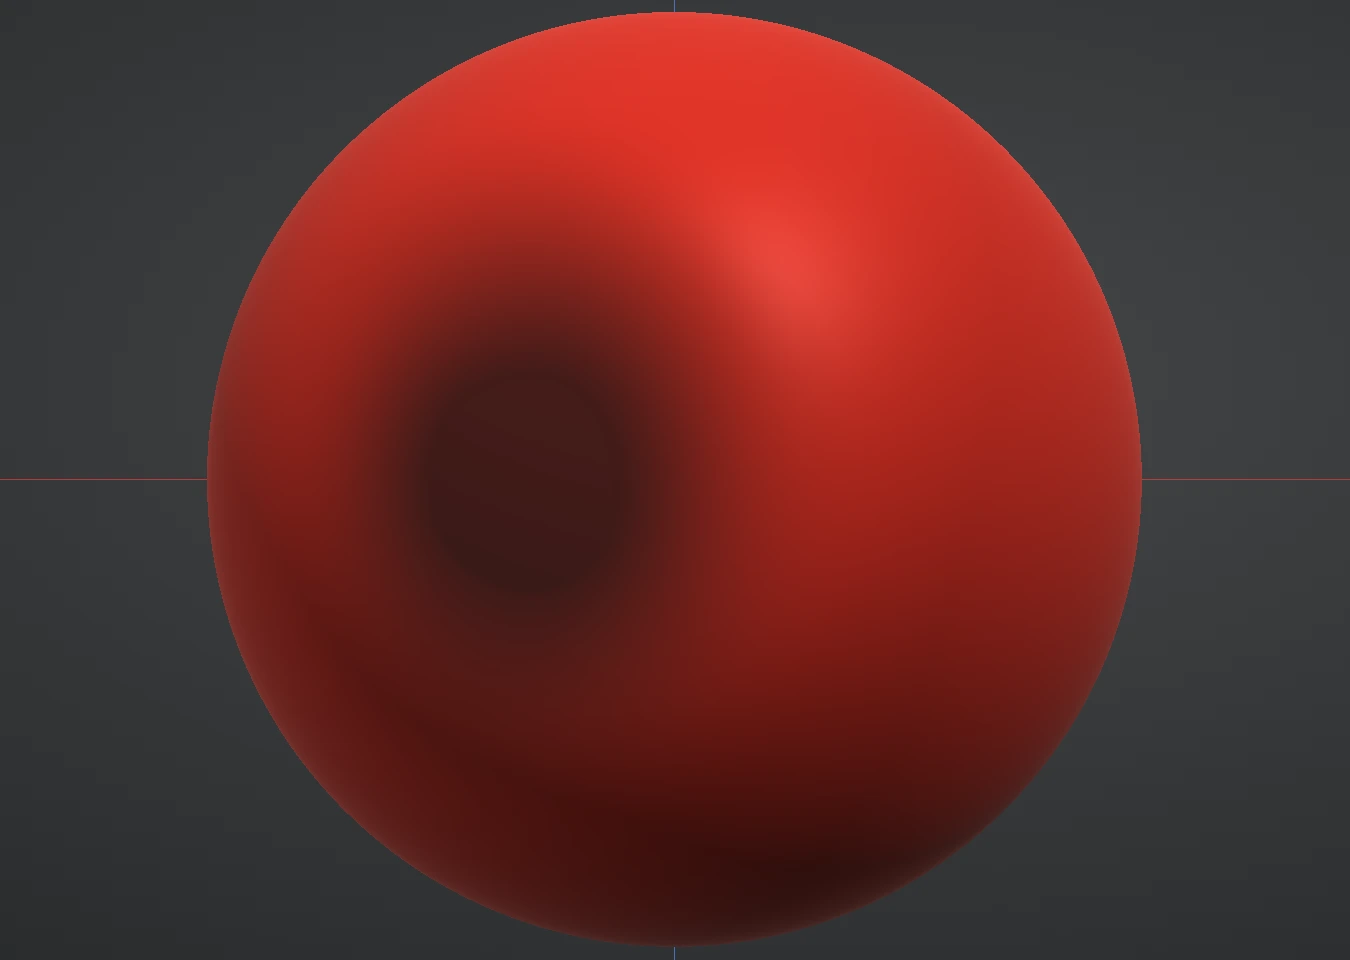
While the Mask brush is active, its tools appear inside the Brush section:
- Invert — swap protected and free areas. The classic move: mask the thing you want to work on, invert, sculpt everything else… or the reverse.
- Clear — remove the mask everywhere.
- Sharpen / Blur — crisp the mask's edges, or soften them for gradual transitions. Blur works over about half the brush radius, so a bigger brush blurs wider.
- Grow / Shrink — expand or contract the masked area by about half the brush radius per press. A bigger brush grows further.
The four filters run on the graphics card, so a press costs the same fraction of a second at fifty million triangles as at fifty thousand, and the busy card stays up until the new mask is on screen.
- Delete masked — cut the masked area away along the mask's half-strength contour, the opening's edge smoothed and left uncapped (Remesh with hole filling closes it if you want it closed). One Undo brings the area back.
Mask strokes are part of undo like everything else — Ctrl+Z reverses the last mask stroke exactly.
Mask shapes
When you want a clean edge instead of a painted one, the Mask shapes group has four shape tools. Each is a press, drag and release: the region is shaded while you drag, and on release everything in it is masked through the whole model, front to back, including the far side you can't see.
- Mask Rect — drag a rectangle from corner to corner; everything inside it is masked.
- Mask Circle — press at the centre and drag out the radius; everything inside the circle is masked.
- Mask Lasso — draw an outline freehand; on release it closes back to where you started and everything inside is masked.
- Mask Line — drag a line; everything on the shaded side is masked. Drag the other way to mask the other side. While still holding the left button, right-click to drop a corner and bend the line (a double right-click makes the corner sharp), and hold Shift to snap the angle.
Hold Ctrl while dragging to unmask the region instead; the preview turns lighter with a dashed outline so you can see which one will land. The Invert toggle doesn't change a mask shape, only a held Ctrl does. With Symmetry on, Mask Rect, Mask Circle and Mask Lasso also mask the shape's reflection across every active axis (X, Y, Z or any combination), each drawn as a dashed outline while you drag; Mask Line masks only the side you shade, because a side and its mirror would cover the whole model. The mask tools (Invert, Clear, Sharpen and the rest) stay in the Brush section while a shape is selected, and one Ctrl+Z undoes a whole shape.
Mask Expand
Mask Expand, the last tool in the Mask group, masks outward from a point. Press on the model and drag: the mask spreads from where you pressed, further the further you drag, and it grows on screen as you go. Release to keep it.
It spreads along the surface, not through the air. A straight-line distance would jump across a narrow gap — from one lip to the other, from a finger to its neighbour — but Mask Expand measures the way you would walk over the surface, so it goes down one side of a fold and has to come all the way round to reach the other. Press on an upper lip and drag, and the lower lip stays free.
- Falloff sets the edge: 1 is a hard edge, lower values fade the mask out toward the rim of the spread (the same falloff curve every brush uses). 0.5, the default, is fully masked out to half the reach, then a smooth fade.
- Strength sets how strongly it masks: 1 masks fully, lower values leave a partial mask.
- Hold Ctrl while dragging to spread an unmask instead — the mask clears outward from the press. Press or let go of Ctrl mid-drag and it switches at once.
- With Symmetry on, the mirrored point spreads too, across every active axis.
- The reach is how far you drag, measured in the plane of the point you pressed facing you, so on a surface facing you the edge of the mask follows the pointer. The Size slider plays no part.
It adds to the mask you have (and with Ctrl only takes away), hidden Mesh Sets are left alone and never spread through, and a click without a drag does nothing. One Ctrl+Z undoes the whole drag. The spreading is worked out in the background while you drag, so it stays smooth on dense sculpts; on a mesh of several million triangles the first press after a change of topology takes a moment longer while the mesh's layout is read.
Extract
Extract turns the masked area into a new layer you keep sculpting on — the way you make clothing, armour plates, straps and panels from a body. Mask the region, then press Extract in the Mask tools. A preview of the piece appears on the model while you set it up:
- Distance — how far the piece sits off the surface along the normals, as a share of the layer's size (and in millimetres). Negative sits it inside.
- Thickness — how thick the shell is, and Thicken: Out / Centre / In — which way the thickness grows from the offset surface.
- Edge softness — pulls the visible face's hem inward so the piece's edge slopes softly instead of standing square. 0 (the default) keeps it square; it needs a thickness.
- Smooth hem — the hem is cut along the mask's half-strength contour rather than along triangle edges, then smoothed this many passes, snapped to the body each time so it never lifts off. Higher is a cleaner hem; 0 keeps the raw contour.
- Solid — bridges the hem so the piece is a closed, watertight shell (it remeshes, subdivides on the GPU and prints). Off leaves the two surfaces open along the hem; a thickness of 0 makes a single open sheet.
- Voxel clean-up: Auto / Always — a thick or inward shell can fold into itself inside a concavity. Auto detects that and rebuilds the piece through the voxel remesh on Extract (always watertight, a touch softer, no carried paint); Always does that every time.
With Symmetry on, the piece is mirrored exactly across every active plane (the half on one side of each is copied to the other), so a hand-painted mask that isn't perfectly even still gives a symmetric piece. The line under the settings tells you how many pieces the mask makes and how many triangles they hold. Several masked islands come out as separate closed pieces in the one layer — Split loose parts on the Layers panel separates them. Paint on the masked area is carried onto the new piece.
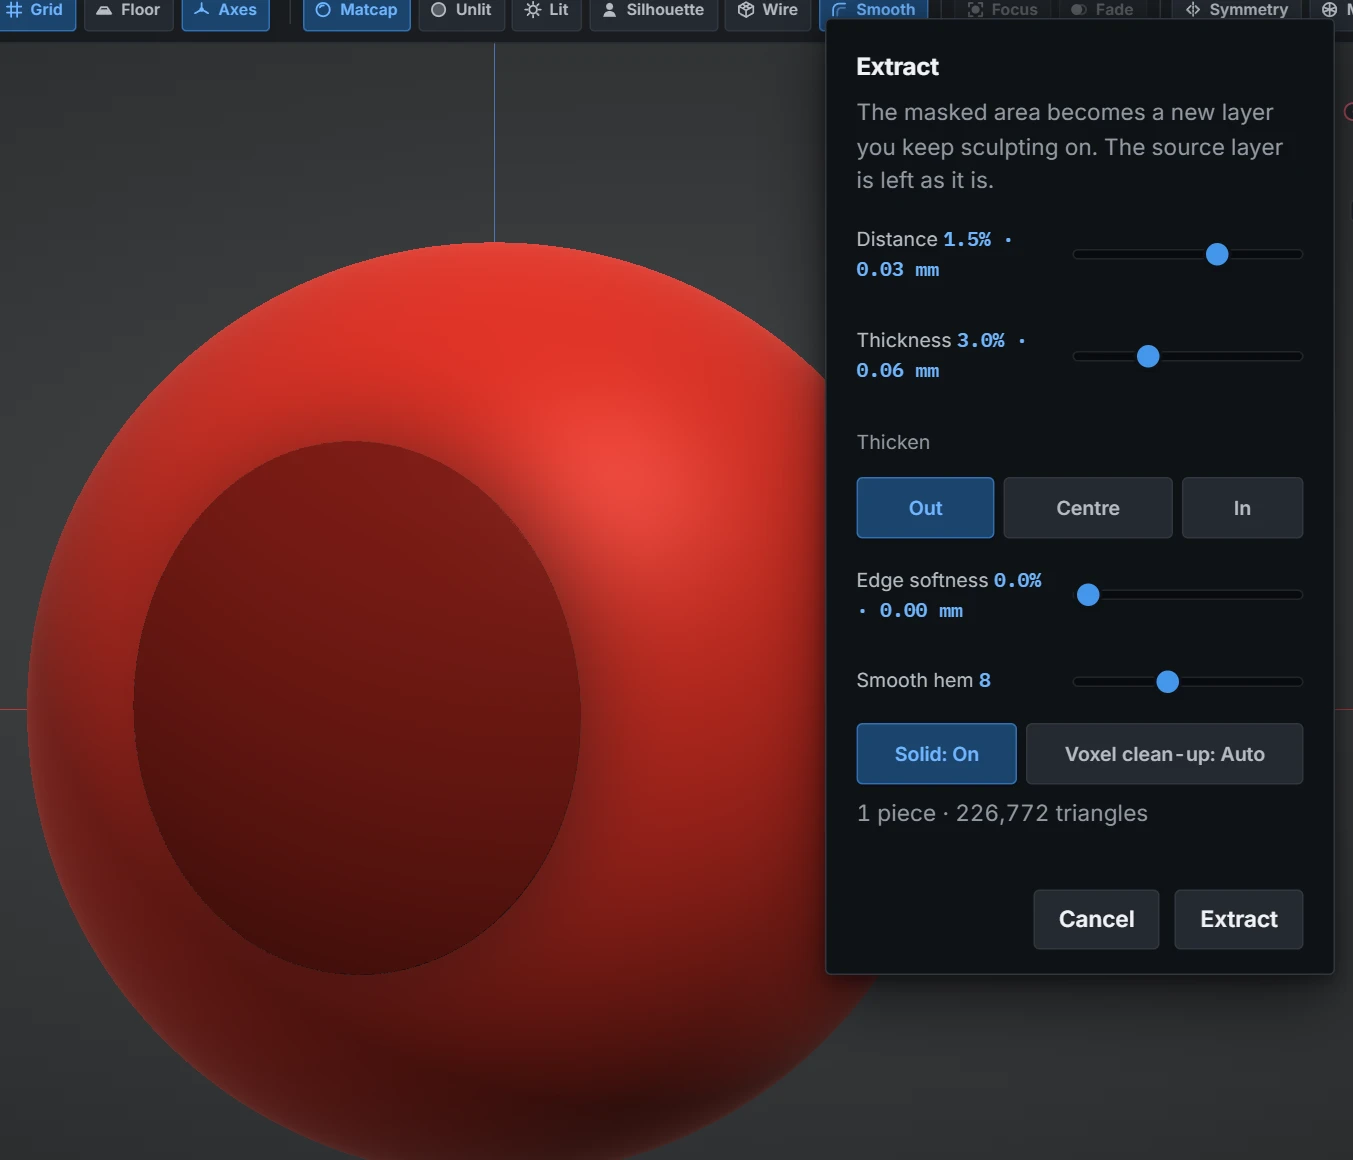
Extract adds the layer, named after the source with "extract", and makes it the active layer; the source layer, including its mask, is left exactly as it was. One Undo removes the piece again. The preview updates as you drag the sliders on layers up to about a million masked vertices, and on release above that; layers denser than about three million vertices are asked to step a subdivision level down first, as Clip is.
Shell Extrude
Shell Extrude turns the mask into panels — armour plates, hull sections, seams. Where Extract lifts the masked area off the body, Shell Extrude divides the whole surface along the mask: the masked area and the unmasked remainder each become a separate, closed, thickened piece, with a gap between them and a softened rim, all in one new layer. Mask the panel lines (a stroke along each seam is enough; the areas either side become the panels), then press Shell Extrude in the Mask tools. The panels preview on the model while you set them up:
- Thickness — how thick each panel is, and Thicken: Out / Centre / In — whether the panels stand out from the surface, straddle it, or sink in with their tops flush.
- Gap — how far apart neighbouring panels sit. Each hem is cut half the gap in from the mask's contour, along the surface, so the gap is the same all the way round however the mask was painted.
- Edge softness — the visible face's hem is pulled inward by this much, so the rim slopes softly from a wide base to a narrower top. 0 leaves the edge square.
- Smooth hem — as in Extract: every hem is cut along the mask's half-strength contour, smoothed this many passes and snapped back to the body each time.
- Unmasked side: On / Off — Off makes panels from the masked area only.
- Voxel clean-up: Auto / Always — as in Extract, a side that folds into itself at this thickness is rebuilt through the voxel remesh on Apply.
Every island counts: two masked patches make two panels, and the surface between them is a third. With Symmetry on, the panels are mirrored exactly across every active plane. The line under the settings tells you how many panels the mask makes and how many triangles they hold.
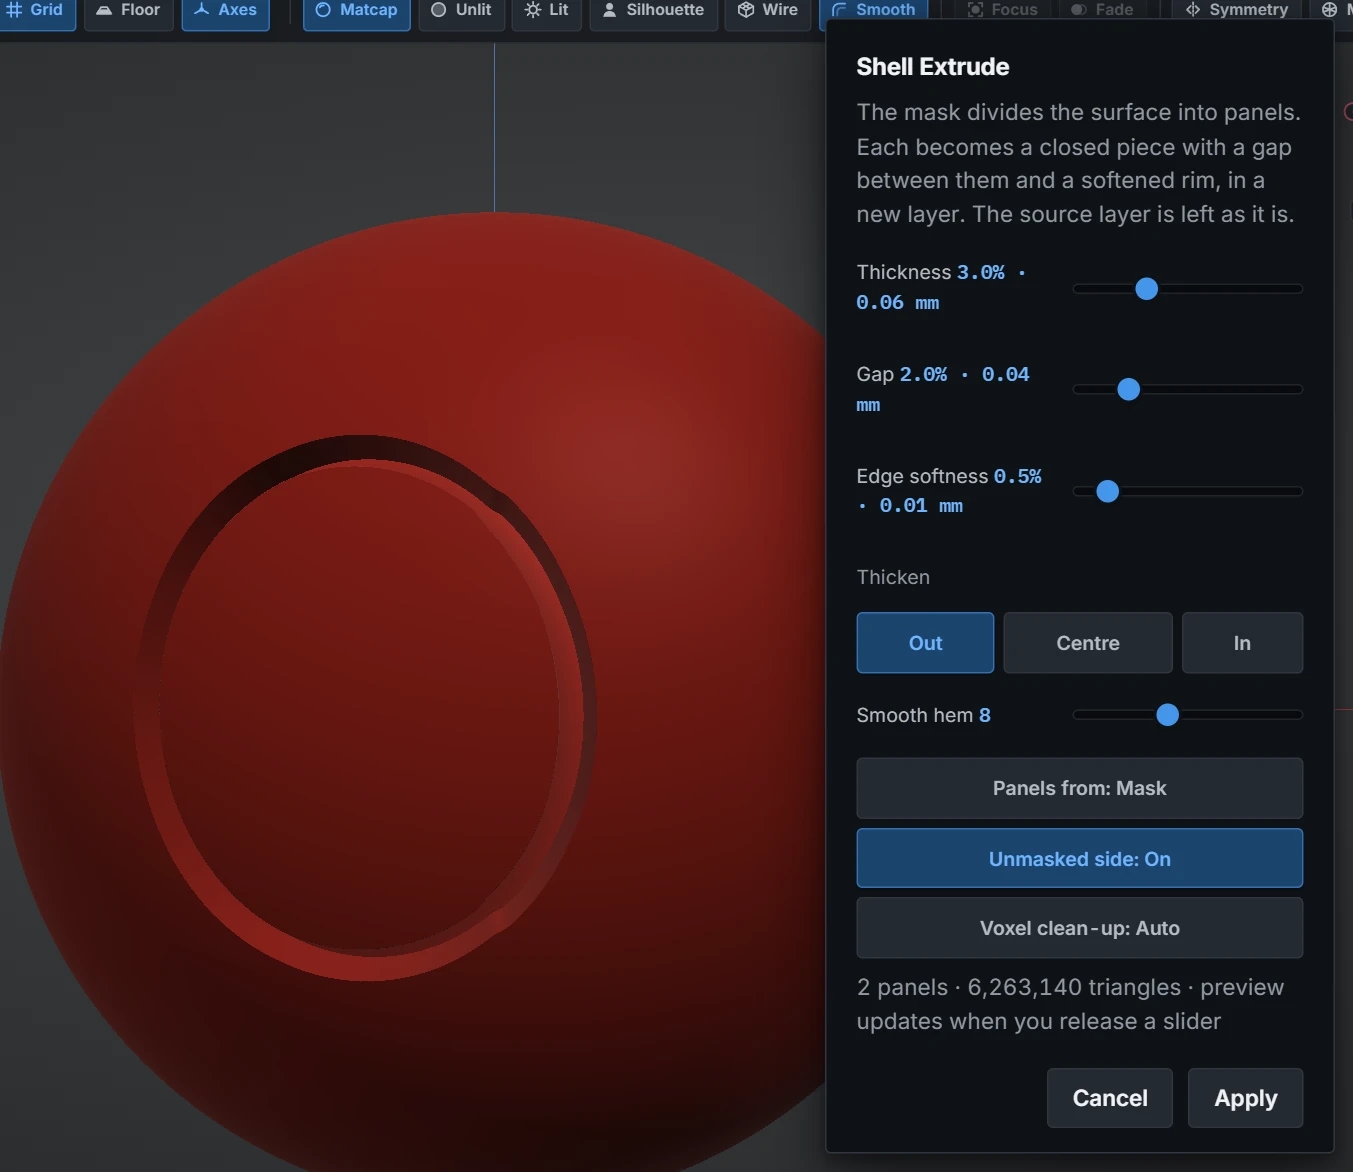
Apply adds the layer, named after the source with "panels", and makes it the active layer; the source layer and its mask are left exactly as they were, and one Undo removes the panels again. Split loose parts on the Layers panel separates the panels into their own layers when you want to move them apart.
Panels from: Mask / Groups — with mesh sets on the layer (below), Groups makes one panel per group instead of the two sides of a mask.
Mesh Sets
Mesh Sets tag parts of the surface as named groups that stay with the layer: they follow it through Subdivide and Remesh-then-Subdivide, save with the project, and come back with Undo. They live in the Topology section:
- Show: On / Off — tints the model by group in every shading mode: Matcap, Unlit and Lit, wireframe included (Silhouette stays flat black), with a quad-style grid laid over the surface so the groups read like a polyframe. The grid is a display aid at a fixed size on the model; it is not the mesh's topology (turn on View ▸ Wireframe for that). The Groups button on the options bar is the same switch, one click from anywhere. A viewport cue only; renders, turntables and timelapses never show it.
- From mask — the masked area (more than half strength) becomes a new group. Mask another area and press it again to build up as many as you need.
- Auto — every loose part of the layer becomes its own group.
- By angle — the surface splits into groups at creases sharper than the Angle slider below the row: a clipped face, a flat cap or a hard edge becomes its own group, and a smooth form stays one. 30° is the default; lower it to split softer bends, raise it to keep more together. Specks smaller than a few dozen triangles join their neighbour, so a rough surface does not shatter into hundreds of groups.
- By colour — one group per painted colour on the layer (close shades of one colour fall together). Paint the regions with the paint tools, then group by them.
- Mask group ▸ — then click a group on the model to mask exactly that group; Shift-click adds the group to the mask you have, Ctrl-click takes it out (Esc cancels). The Group Mask brush in the picker's Groups family does the same without arming: every click masks the group under it.
- Group Hide brush — click a group to hide it from view; Ctrl-click shows it again, and Unhide all in the row shows every group. A hidden group is out of reach as well as out of sight: no brush, smoothing, grab or paint touches it, and the cursor never lands on it, so you can work on what is behind. From there the whole mask toolset applies: Extract it, Delete it, invert to protect it, or Split masked in the Layers section to make it its own layer.
- Clear — removes every group from the layer.
A finished blockout comes with its groups already made: with Mesh Sets from strokes on, every stroke is a group of its own, and a mirrored stroke's two sides are two groups. The Pose tool uses the groups to pose a model part by part — click a part and turn it at its joint; see Pose by Mesh Set.
Making groups switches Show on, so you see them at once. Each group operation is one undo step. Shell Extrude builds one panel per group with Panels from: Groups; Split groups in the Layers section makes every group its own layer. A Clip cut keeps the groups, and a hidden group comes through it untouched: the cut stops one triangle short of it (the mask shapes leave hidden groups alone too); an Extract, Shell Extrude or Split result starts without groups.
Masking beyond sculpting
Masks also gate the object transform tools: with a mask down, Move / Rotate / Scale leave the masked vertices behind — an easy way to pose part of a form. See Grab & transforms.
Next: Reference images.