
Sometimes the form is fine and it's just in the wrong place. Two tools move things instead of building them: the Grab brush for regions of the surface, and the transform gizmo for whole layers.
The Grab brush
Grab (the Build group) grips the surface under the cursor and drags it with you — press, pull, release. It's the brush for posing and proportion: pulling a jaw forward, dragging a limb into line, stretching a silhouette until it reads.
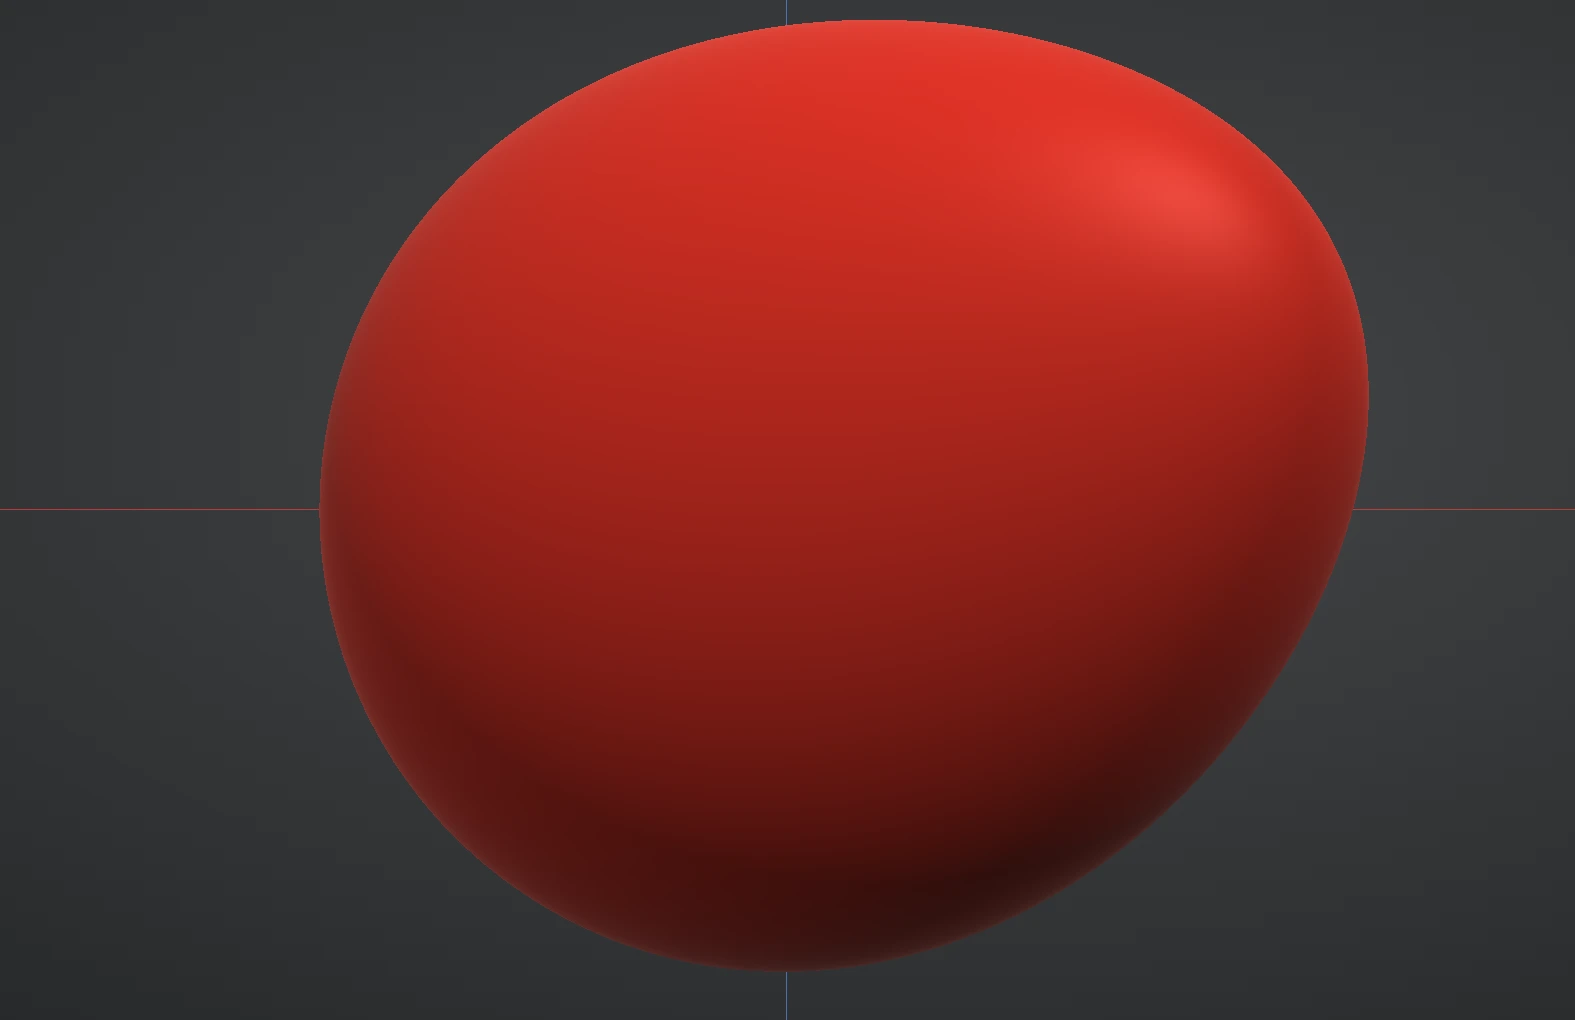
Grab is a move, not a build — it takes the existing surface with it, so big pulls stretch the triangles underneath. That's normal. Work at a large brush size for proportion changes (small grabs make dents, large grabs make decisions), and when stretched areas start misbehaving, Remesh re-flows them.
Grab's falloff is tuned separately from the other brushes for a smooth, natural pull-off toward the edge of the grip.
The transform gizmo
The Move / Rotate / Scale tools on the left rail switch from sculpting to object transforms. A gizmo appears on the active layer — drag a colour-coded handle to transform along that axis, or use the outer ring to work in the screen plane.
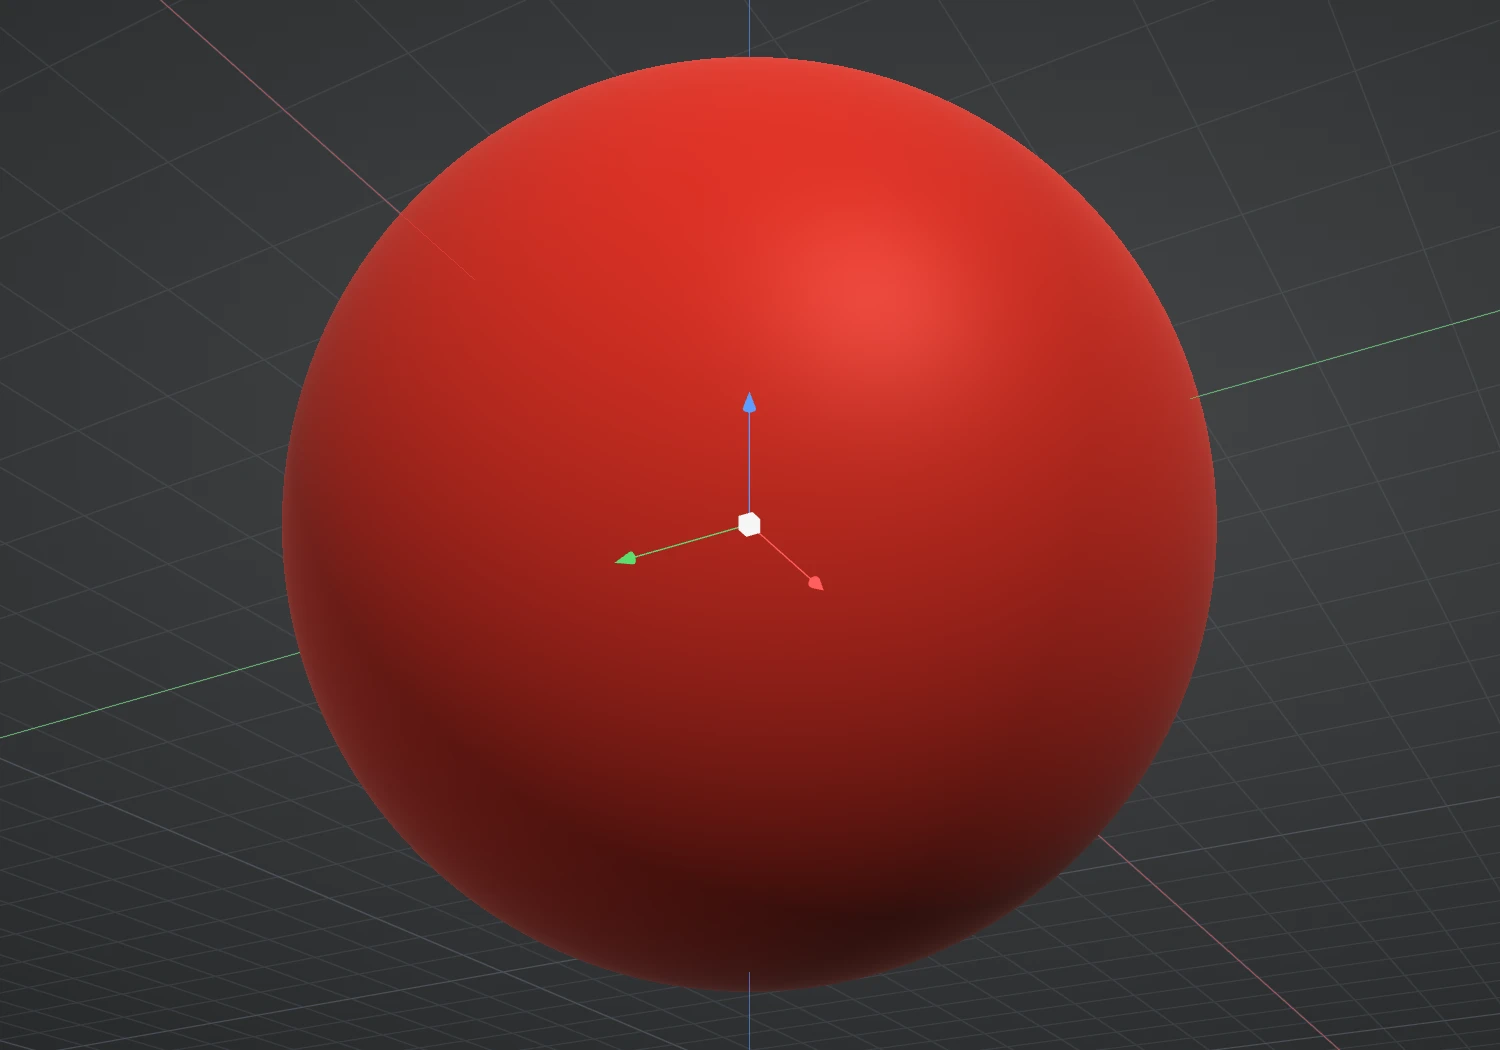
Transforms operate on the active layer — which is what makes layers so useful for posing multi-part sculpts; see Working with layers.
While a transform tool is active, the options bar shows the gizmo's controls (they are also in the View ▸ Gizmo pop-out):
- Axes: Local / World — Local handles follow the object's own orientation (they turn with it); World handles stay fixed to the world axes.
- Origin: Locked / Unlocked — unlock it and dragging the gizmo re-places the layer's origin point — the spot the gizmo sits at, and the point rotation and scale act about — without moving the model. Lock again to transform about the new origin. Perfect for setting a shoulder as a rotation pivot.
- Reset — put the layer's position, rotation and scale back where they started.
- Fit view — F (in View ▸ Gizmo) — centre and frame the model.
Masked transforms
Transforms respect the mask: masked vertices stay put while the rest of the layer moves. Mask a hand, invert so only the arm is free, rotate — a quick pose without any rigging.
With Symmetry on (X, Y, Z or any combination), a masked transform is mirrored across every active plane too: drag the free part on one side and its mirror image on the other side moves the same way, as seen in the mirror — pull one ear out and the other ear comes out with it, rotate one eye and the other rotates the opposite way.
Whole layers mirror through a partner layer. When the layer you are transforming sits entirely on one side of the model's centre — an eye, an ear, a horn — and another visible layer is its mirror image (the copy that Duplicate followed by Mirror makes), that partner follows every move, rotate and scale in the mirror, live while you drag and baked when you leave the tool. A layer that crosses the centre line, like a head, is its own mirror and is left alone. Ctrl+Z steps both layers back together.
The options bar shows the gizmo's controls while a transform tool is active: the Local / World axes, the origin lock and Reset. Move, Rotate and Scale themselves are on the tool rail at the left.
Pose by Mesh Set
The Pose tool, on the rail below Move, Rotate and Scale, does the masking and the pivot for you. It works on a layer's Mesh Sets — a finished blockout gets one per stroke, and Auto, By angle, By colour or From mask make them on any layer.
- Click a part — the forearm, say. Everything else is masked, the gizmo appears at the joint, the centre of the border between that part and the part it hangs from (the neighbouring set it shares the longest border with — the upper arm), and the gizmo's blue axis runs along the limb. Turn, move or scale it with the gizmo; each drag is one Undo.
- Shift+click more parts to move them together — forearm and hand. The gizmo stays at the joint between the whole moving group and the rest.
- Joint softness in the Pose section blends the bend across the joint: 0 bends sharply at the border, higher values spread it over the joint's width.
- Symmetry poses the mirror-side part mirrored: click the right forearm with Symmetry X on and the left one bends the same way, as seen in the mirror. A part that lies across the mirror plane, like a head, moves as one piece.
- Esc or Let go releases the part. The pose mask is only there while you pose: leave the tool and your own mask and gizmo origin come back exactly as they were.
If the layer has no Mesh Sets yet, the Pose section says how to make them.
Transforms and origin moves are undoable with Ctrl+Z like everything else.
That completes the brush set. Next section: Subdivision & the triangle budget.