
Every brush in the Planes group works the surface against a flat reference plane fitted to the area under the cursor; the Clip group, further down, cuts the model with a plane you draw. They're the difference between blobby sculpts and structured ones — planes are what make a form look decided.
Flatten
Flatten levels the surface toward its average plane — peaks come down, valleys come up, everything meets in the middle. It's the fastest way to put facets and planes into an organic form.
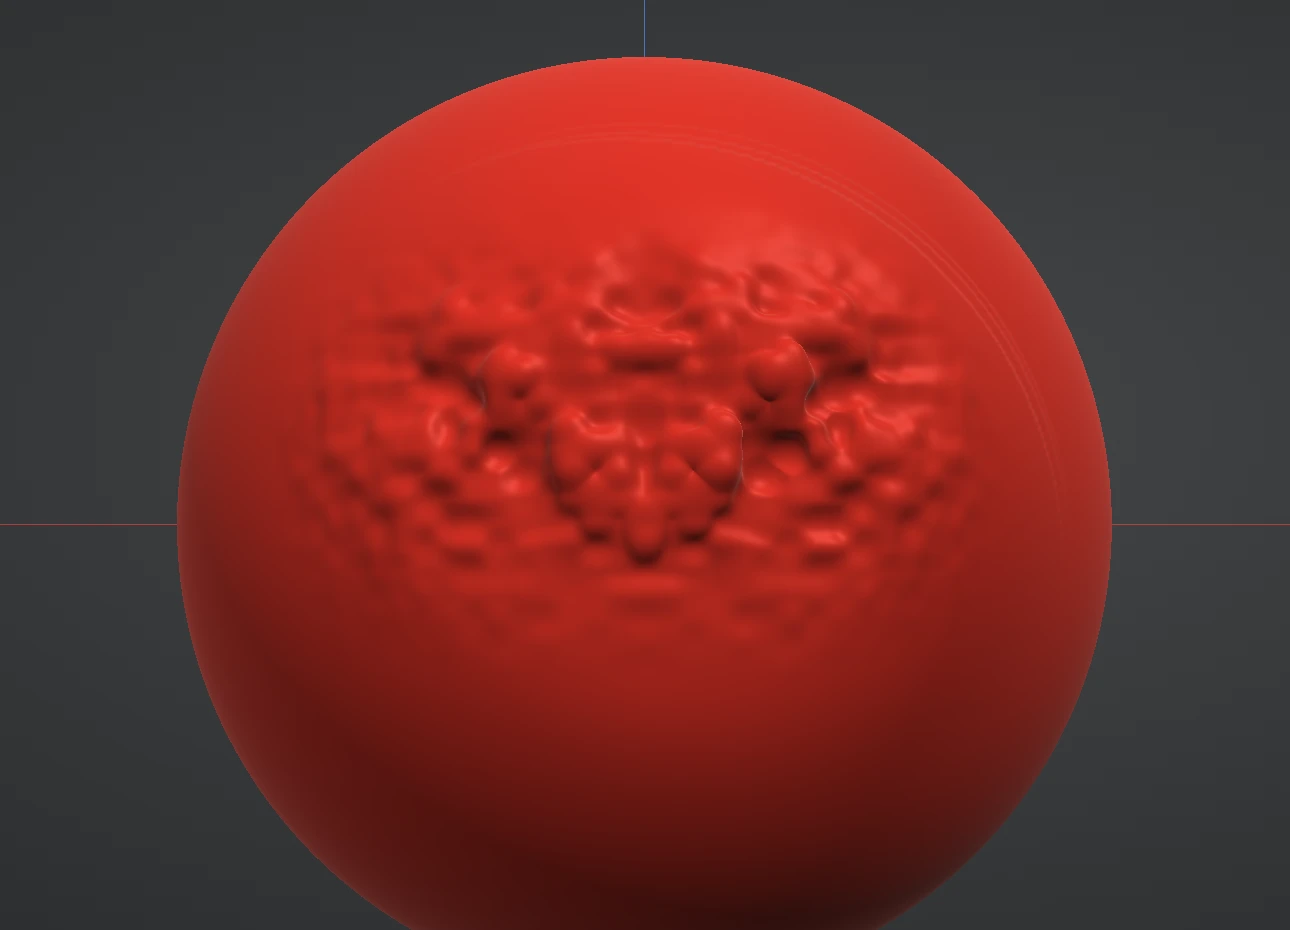
Fill & Scrape
Fill and Scrape are Flatten split into its two halves:
- Fill raises only the valleys up to the level of the surface around them; peaks stay put. Use it to fill pores, seams and unwanted cavities without touching surrounding detail — point into a groove or just beside it, then paint across it. Hold Ctrl for the opposite: it shaves the bumps down to the surrounding surface and leaves the valleys.
- Scrape shaves only the peaks down to the plane; valleys stay put. Use it to knock the tops off bumps while keeping carved detail intact.
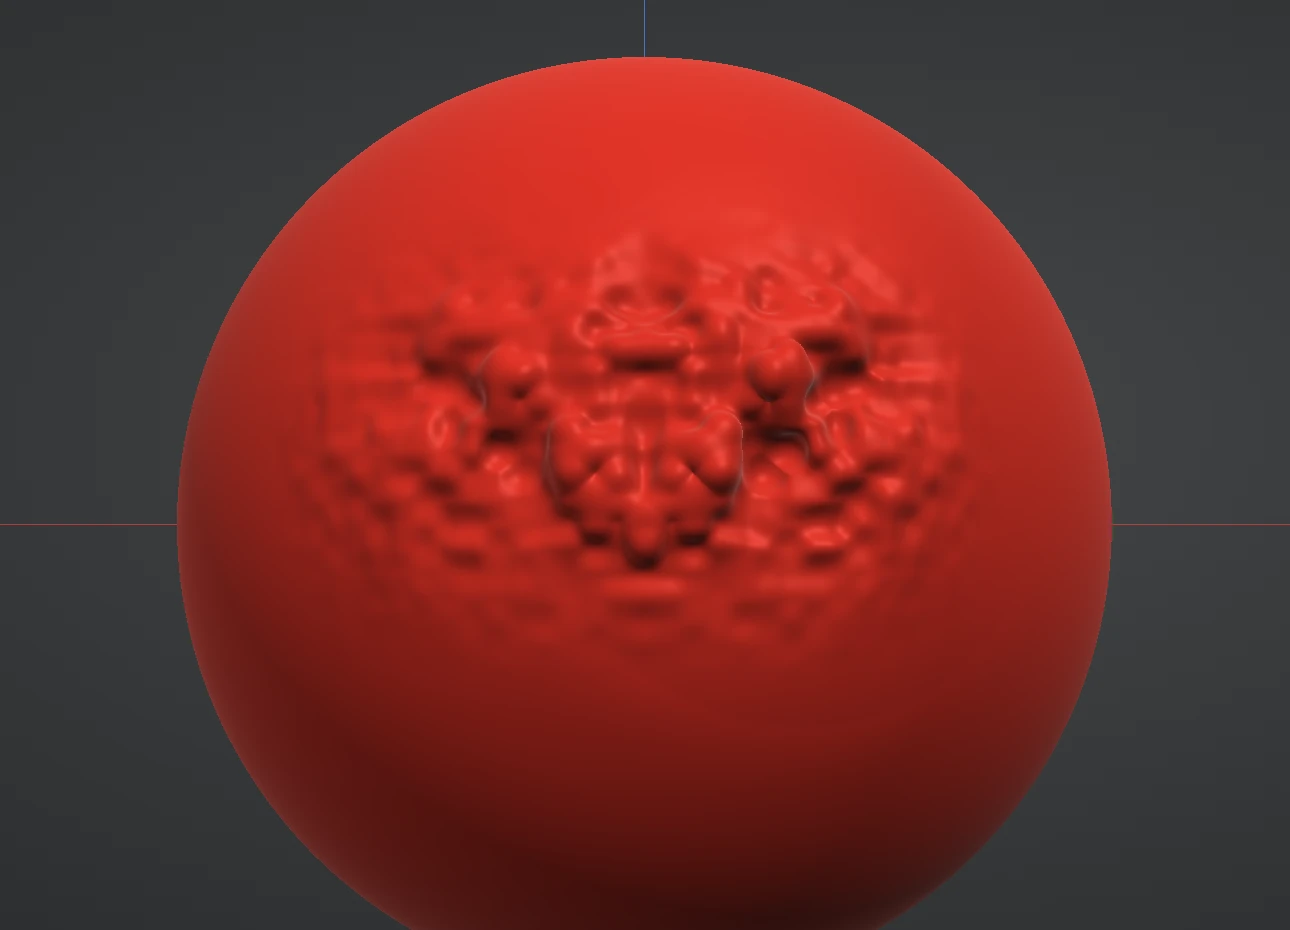
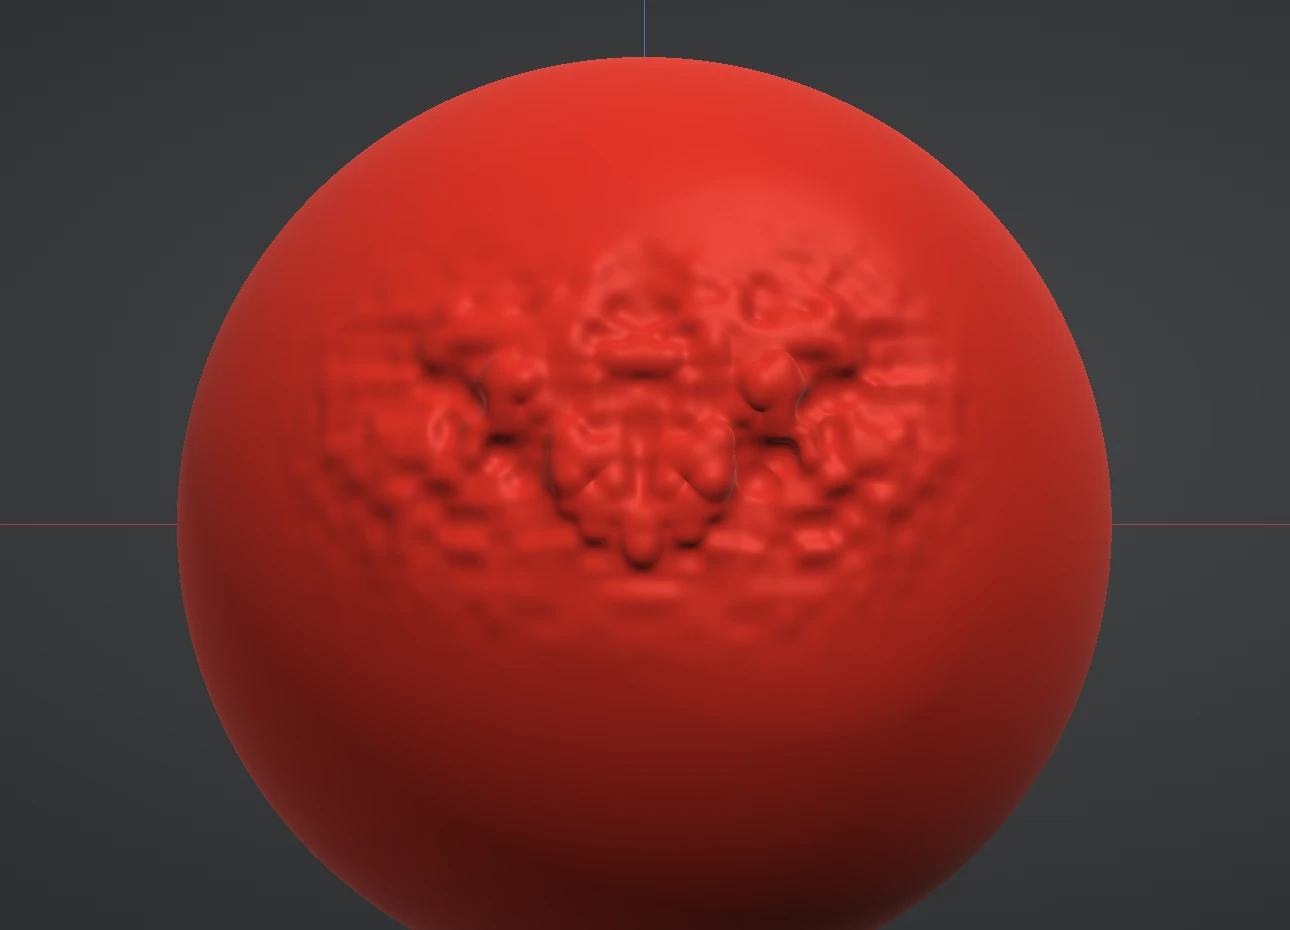
Trim
Trim is a planing rasp: it shaves the high spots off with a surface-following flat plane, chamfering forms into crisp facets as you drag. Where Flatten averages an area, Trim carpenters it — repeated passes plane a curve down into hard-surface flats. Hold Ctrl to run the rasp the other way: each pass lays a flat slab onto the surface instead, following the form the same way, so you can build a facet out as easily as you plane one in.
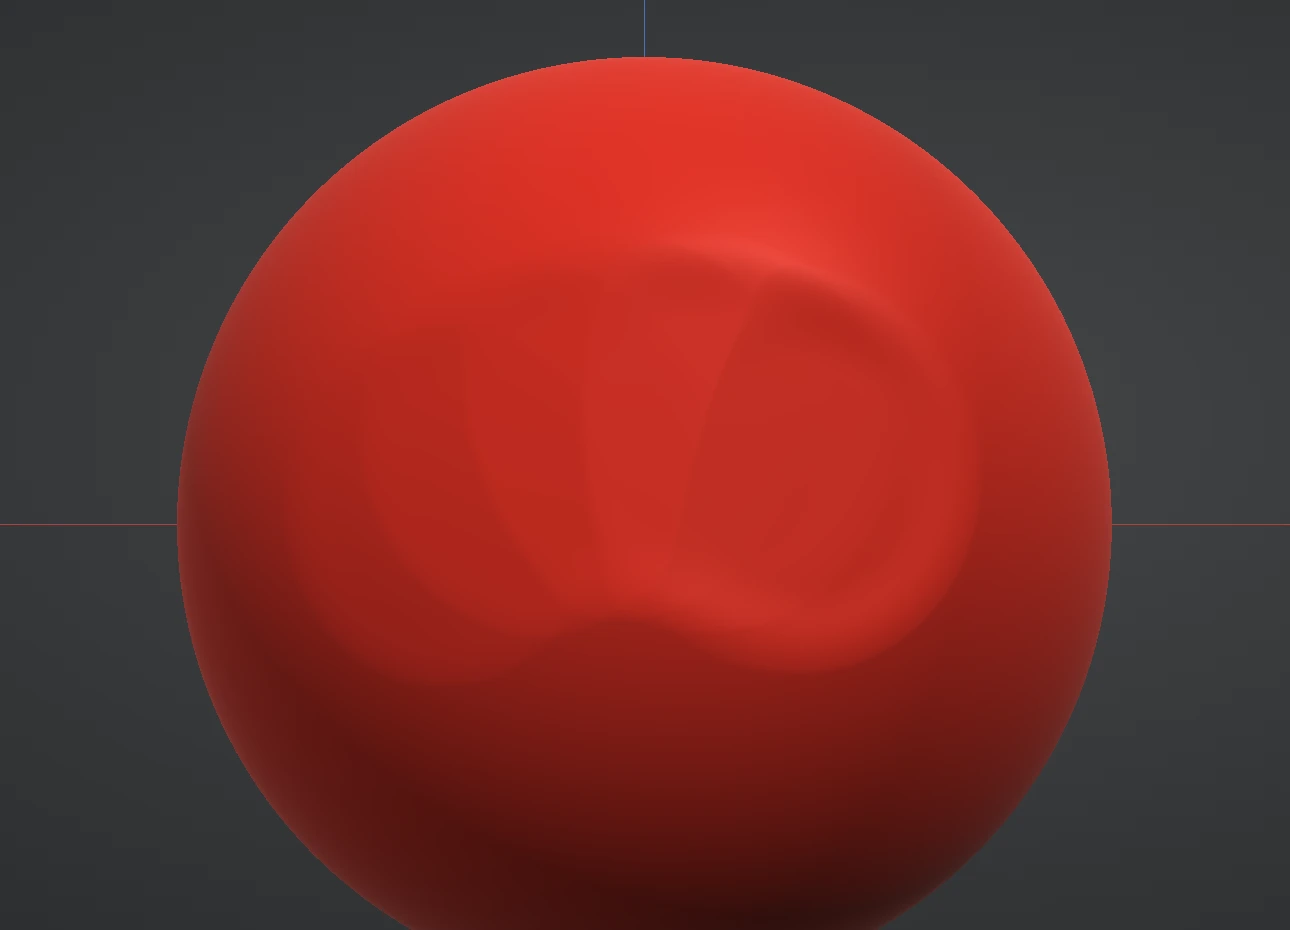
Plane brushes respond strongly to Falloff: at 1.0 they cut architectural, hard-edged planes; at 0 the plane feathers into the surrounding surface. See Size, strength & falloff.
The Clip brushes
The Clip group isn't made of strokes at all: each brush is a press-drag-release gesture drawn on the screen, and on release everything on the side marked with the dotted line — through the whole model, front to back — is cut away, and the opening is capped flat along the shape's edge. They're the fastest way to slice a base flat, square off a block, cut a clean hard-surface face, or turn a blob into a cylinder in one move. The gesture can start and end off the model, and usually should.
- Clip Line — drag a straight line; everything on the dotted half of the screen is cut away along the line.
- Clip Curve — drag a line, and while still holding the left button press the right button to drop a corner and carry on from it, as many corners as you like. One right-click makes a smooth corner the curve bends through; a double right-click on the spot makes it sharp. Release to clip the dotted side of the whole curve.
- Clip Rect — drag a rectangle; everything outside it is cut away, so the model's silhouette becomes the rectangle.
- Clip Circle — press at the centre and drag the radius; everything outside the circle is cut away.
Hold Ctrl while dragging to flip which side is clipped. For Line and Curve that is the other half of the screen (the Invert toggle does the same). For Rect and Circle only a held Ctrl does it, turning the shape into a pocket: everything inside it that faces you is pushed straight back to the level of its deepest point, so you get a flat-floored cut with the shape as its walls — it never bulges out past the model. For Line and Curve, hold Shift once you've started dragging to snap the angle to 15° steps — horizontal, vertical, 45° and everything between; on a Curve it snaps the segment you're drawing and any corner you drop while it's held. Symmetry X clips both halves with the mirrored shape, masked areas are left where they are, and one Ctrl+Z undoes the whole clip. A clip rebuilds the mesh, so on a subdivided layer it asks first: afterwards Subdivide ↓ can't step back down, and undo brings the shape back but not the lower levels.
Next: Grab & transforms.