
Every brush shares one set of dials, in the Brush section of the right panel. Learn them once and every brush in the app becomes adjustable.
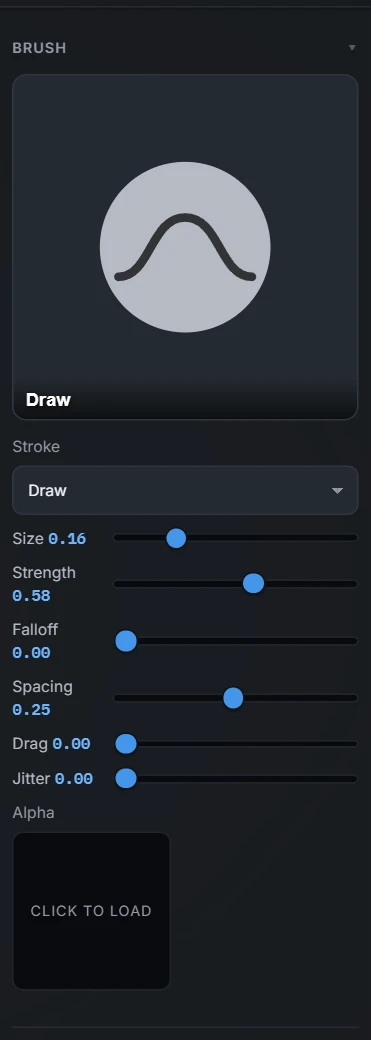
Size
The ring on the mesh shows the real area the stroke will touch. The slider's travel is perceptual — the lower half of the knob's range covers the small sizes, where precision matters — and the readout always shows the true size. Click the readout to type a value; Enter applies, Escape cancels.
Brush size is zoom-invariant: it's a real-world size on the mesh, not a screen size, so zooming in makes the same brush cover more of your screen without changing what it does to the surface.
Strength
How strongly each stroke moves the surface. Low strength plus repeated passes is almost always nicer than one heavy pass — it builds form the way real clay does.
With a pen, pressure scales the strength by default, so a light touch lays a light stroke and pressing hard uses the full slider value. Edit ▸ Preferences ▸ Input can send pressure to Size instead, to both, or switch it off, and the Pressure curve there sets how soon a light touch counts for a lot.
Falloff
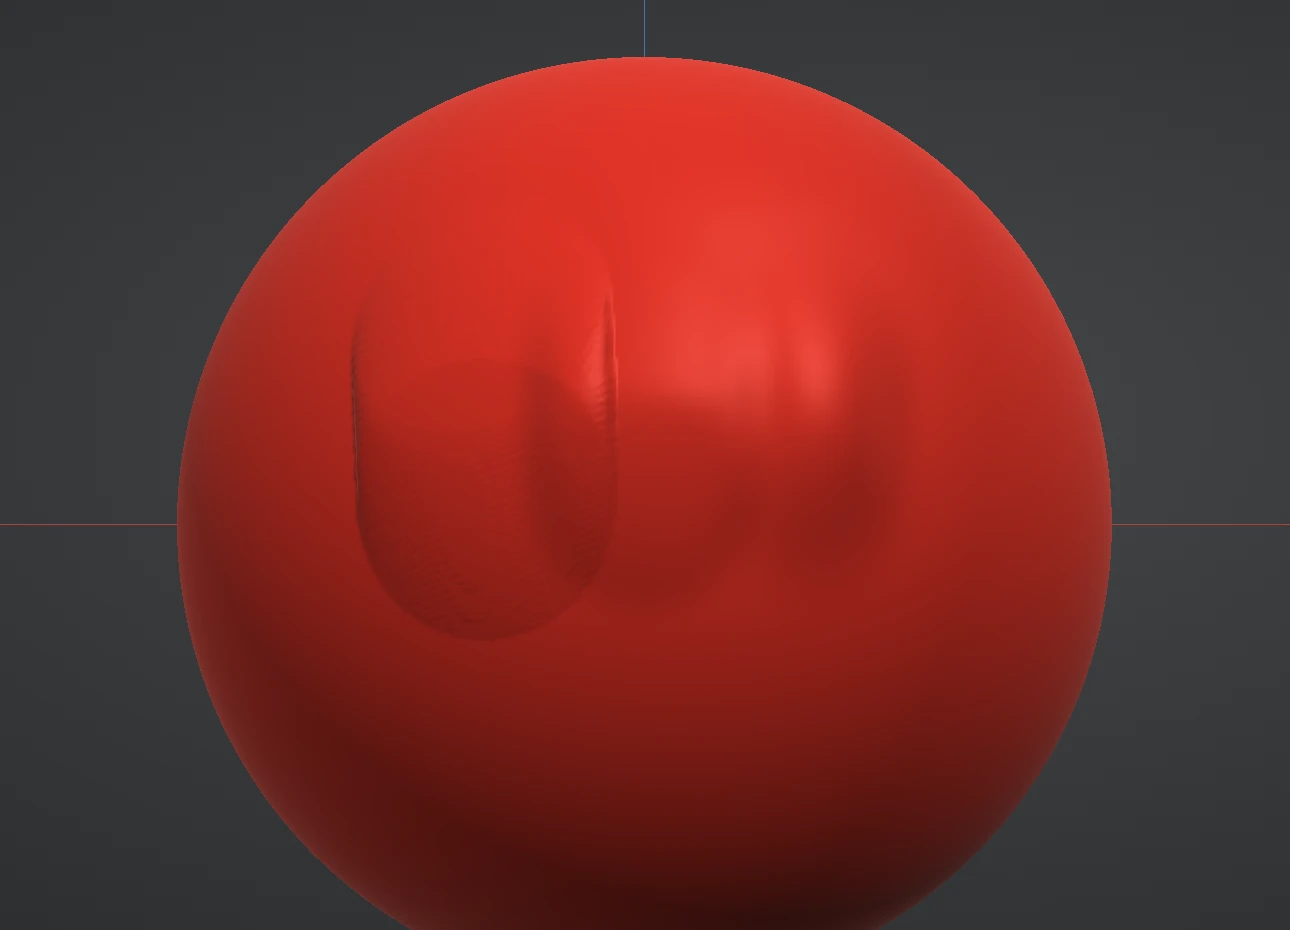
Falloff sets where the fade begins inside the brush. Everything inside the cursor's inner ring is full strength; from that ring to the edge, the stroke fades out.
- 1.0 — full strength all the way to the edge: a hard, crisp stamp.
- 0.5 — half core, half fade: firm but soft-shouldered.
- 0.0 — fully soft: the fade starts at the centre.
- below 0.0 — softer still: the strength gathers at the centre and tails off gently. The slider stops at -1.0; click the number and type a lower value for a softer touch yet. Use it for broad, barely-there shaping.
Spacing & Jitter
- Spacing — the distance between dabs along a stroke. Smaller spacing lays dabs closer together for denser, smoother strokes; larger spacing shows individual stamps.
- Jitter — the stroke line wanders with a hand-drawn, kinked offset. Fissure 02 uses it for organic crack lines.
For surgical steadiness there's also Stabilize in the Options section — the brush follows the cursor on a taut string and only moves once you pull past a radius. Great for clean curves.
Accumulate makes a brush held still keep laying dabs, so height builds under it like an airbrush. Smooth is the same as holding Shift: every stroke smooths until you switch it off — handy on pens and touch screens.
Backface in the same section keeps strokes on the side of the surface facing you. With it on, a big brush over a thin form — an ear, a lip, a finger, a cape — no longer pushes, smooths, masks or paints straight through onto the far side. It works with Symmetry (each side of the stroke checks its own view), and Blend and the wet-mix pickup only sample the side you can see. Grab, the mask shapes and the Clip brushes always reach through, by design. Off by default; the app remembers your choice.
Stroke types
The Stroke dropdown changes how dabs are laid down:
- Draw — dabs follow your drag. The default.
- Spray — dabs scatter inside the brush like an airbrush.
- Line — press, drag, release: a straight line of dabs, previewed live on the mesh.
- Dot — one dab that follows the cursor until you release.
- Drag — one stamp, sized and rotated by your drag.
Brush alphas
The Alpha slot takes a grayscale image that shapes every dab — white hits at full strength, black leaves the surface untouched, and the image orients itself to your stroke direction. Click the slot to open the alpha library: a starter set of the shapes sculptors reach for most (soft and hard dots, rings, squares, stripes, grids, noise, cracks, scales and more), plus your own imports. Import takes any image (PNG, JPEG, WebP, TIFF, PSD…), applies it and keeps it in the library for next time; right-click one of your own alphas for Edit (the large preview with every setting) or Rename, and the × on its tile removes it. On the Paint brush, Image colours paints with the image's own colours instead of the Primary colour; transparent parts of a PNG paint nothing. A clicked stamp lands upright, the way the image and its library tile look. Once loaded, tune the alpha with the Contrast, Blur and Sharpness sliders; Invert flips it so the stamp carves where it built. It's the fastest route to skin pores, fabric weave, scales and stamped ornament.
Under the slot, Contrast, Blur and Sharpness adjust the loaded alpha without touching the stored image, and every alpha remembers its own settings — Reset adjustments brings it back exactly as it came in. Invert beside the slot flips the alpha on any brush, sculpt or paint, so the stamp works where it used to leave the surface alone. Right-click the slot for a large preview of the stamp with the same controls; its Invert is the same switch. The brush card at the top of the panel shows the loaded alpha too.
Capture… beside the slot makes an alpha from your own sculpt. Turn the shape you want toward you and frame it in the square: the square shows a live preview, Depth for a height alpha (nearest white, farthest black) or Silhouette for the shape alone, and Capture adds exactly what the square shows to the library at 512, 1024 or 2048 px.
Every brush remembers its own settings — switching from Draw to Clay and back restores each brush exactly as you left it, and your settings ride along inside saved .clay files.
Saved brushes
Tune a brush the way you like it, then click Save brush at the bottom right of the brush picker and give it a name. It lands in My brushes, just above the button, and it's there every time you come back.
- What a saved brush keeps — the brush it's built on, every slider (Size, Strength, Falloff, Spacing, Jitter), the stroke type and Stabilize, the Alpha with its Contrast, Blur, Sharpness and Image colours, and the Texture.
- What it leaves out — the app-wide switches (Symmetry, Invert, Accumulate) and the paint colour. They're one click away, so a saved brush never overrides them.
- Using one — click it in My brushes. The picker shows the saved brushes for what you're doing: sculpt brushes while sculpting, paint brushes while painting.
- Managing them — right-click a saved brush to Rename it, Update it with the brush as it is now, Export it, or Delete it.
- Sharing — Import in My brushes adds a
.brushfile on every plan. Export (next to it, or on the right-click menu) writes the selected saved brush as a single.brushfile with the alpha and texture inside; exporting brushes is a Pro feature, and on Free the Export button carries a PRO badge.
Next: Symmetry & masking.