
You could learn every brush before touching the sphere, or you could make something lumpy in the next five minutes. Do the lumpy thing. Three brushes carry most of a sculpt: Draw, Inflate and Smooth.
Make a stroke
Start a new sculpt (the sphere). Left-click and drag across it. That's the Draw brush — it raises the surface outward along its own normal, like dragging a thumb of clay onto the form.
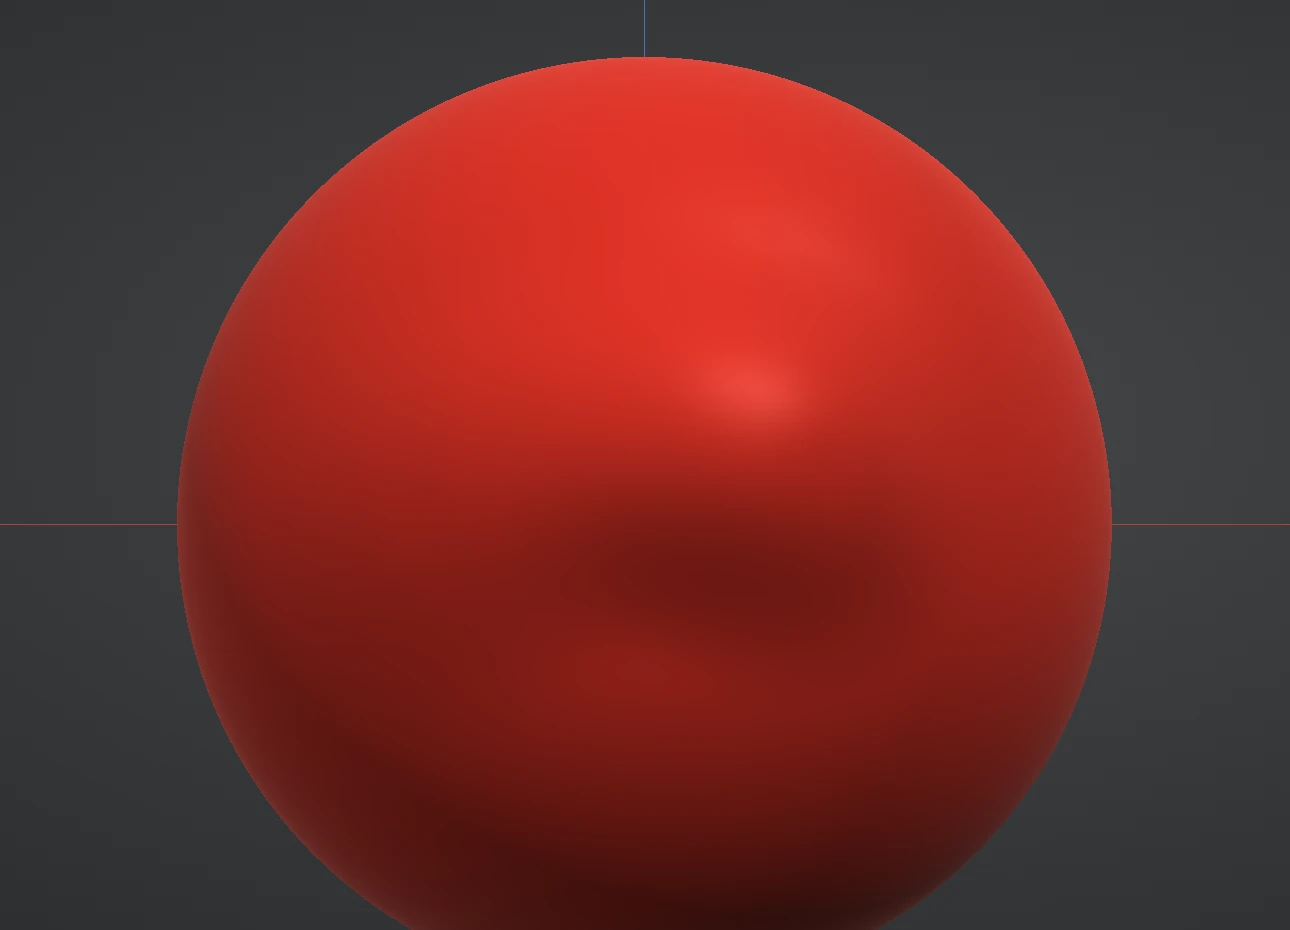
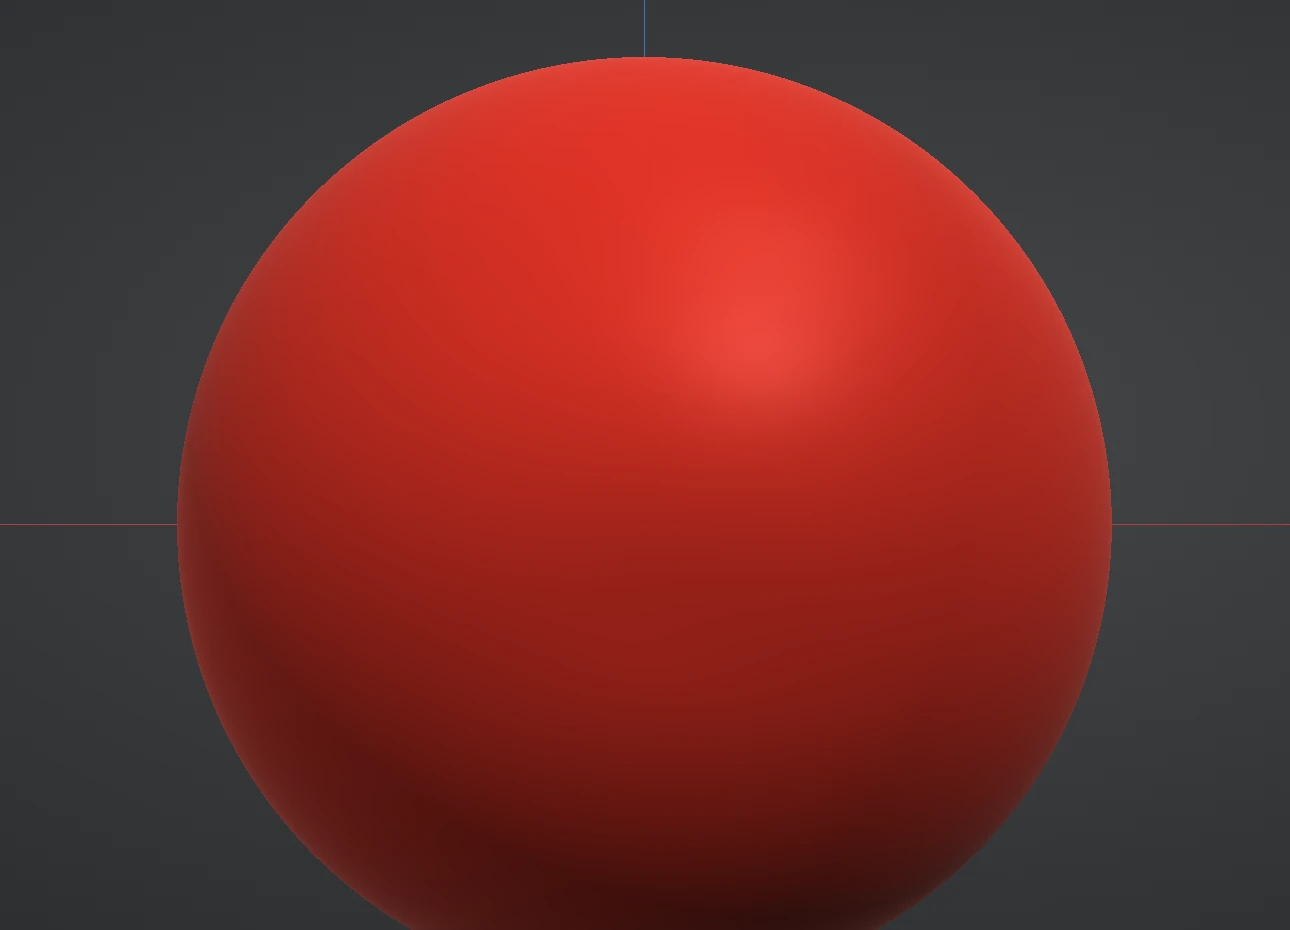
Now the two modifiers you'll use constantly:
- Hold Ctrl and stroke — the brush inverts. Draw carves in instead of building out.
- Hold Shift and stroke — you get Smooth without switching brushes. This is the single most useful shortcut in the app: build with a stroke, soften it with a Shift-stroke, build again.
And when anything goes wrong: Ctrl+Z. Undo in Re:Form is deep and exact — strokes, mask strokes, transforms, everything. Ctrl+Shift+Z redoes.
The build–smooth rhythm
Sculpting is not placing perfect strokes; it's a rhythm:
- Block with Draw and Inflate — push the big shape around without worrying about surface quality.
- Shift-smooth the lumps — soften until the form reads.
- Repeat smaller — each round works at a finer scale than the last.
Rough is fine. Rough is the process.
Pick a different brush
Right-click the Brush tool on the left rail (or click the brush preview card at the top of the right panel) to open the picker. Hover any brush for a description. When you're ready for the full set, the brush guides break them down group by group: Build, Surface, Planes, and Grab.
Notice both sides changing at once? Symmetry X is on by default — every stroke mirrors across the centre line, which is exactly what you want for faces, bodies and most props. The toggle lives in the Options section. More in Symmetry & masking.
When the surface runs out of resolution
Strokes sculpt real geometry — at some point the mesh runs out of triangles for the detail you're asking for and strokes turn faceted. That's what Subdivide ↑ in the Topology section is for: it quadruples the triangle count each press. Go up when detail demands it, not before — the subdivision guide explains the budget.
Next: dial in how a brush feels in Size, strength & falloff.