
Good sculpting is half looking. You'll orbit around the model hundreds of times an hour, so these moves should become reflexes before anything else.
The three camera moves
- Orbit — hold the right mouse button and drag. The camera circles the model.
- Pan — hold the middle mouse button (the wheel) and drag. The camera slides sideways.
- Zoom — roll the mouse wheel.
Hold Ctrl while orbiting and the camera snaps to fixed angles — useful when you want a clean three-quarter or profile view without hunting for it.
Lost the model? Press F — Fit view centres the model's centre of mass in the viewport and fits the zoom so the whole model is in view. It's also in **View ▸ Gizmo**, and the **Fit** button on the options bar fits the current layer.
Snap to the classic views
The number keys jump straight to the six axis views:
| Key | View |
|---|---|
| 1 | Front |
| 3 | Right |
| 7 | Top |
| Shift+1 / 3 / 7 | Back / Left / Bottom |
| 5 | Toggle Perspective / Ortho |
The same views live in the View menu, and the navigation gizmo in the top-right corner always names the view you're closest to.
Perspective and Ortho
Perspective is the natural sculpting view — closer things look bigger, and a floor plane can sit under the model for orientation (View ▸ Grid ▸ Floor; off by default).
Ortho (orthographic) removes perspective entirely: parallel lines stay parallel, so proportions read true. It's the projection for checking silhouettes, comparing sizes, and working against reference images. In Ortho, the Reference pop-out appears in the View menu (and References on the options bar; right-click it for its settings), and a world-unit measurement grid from View ▸ Grid can sit behind the model like graph paper.
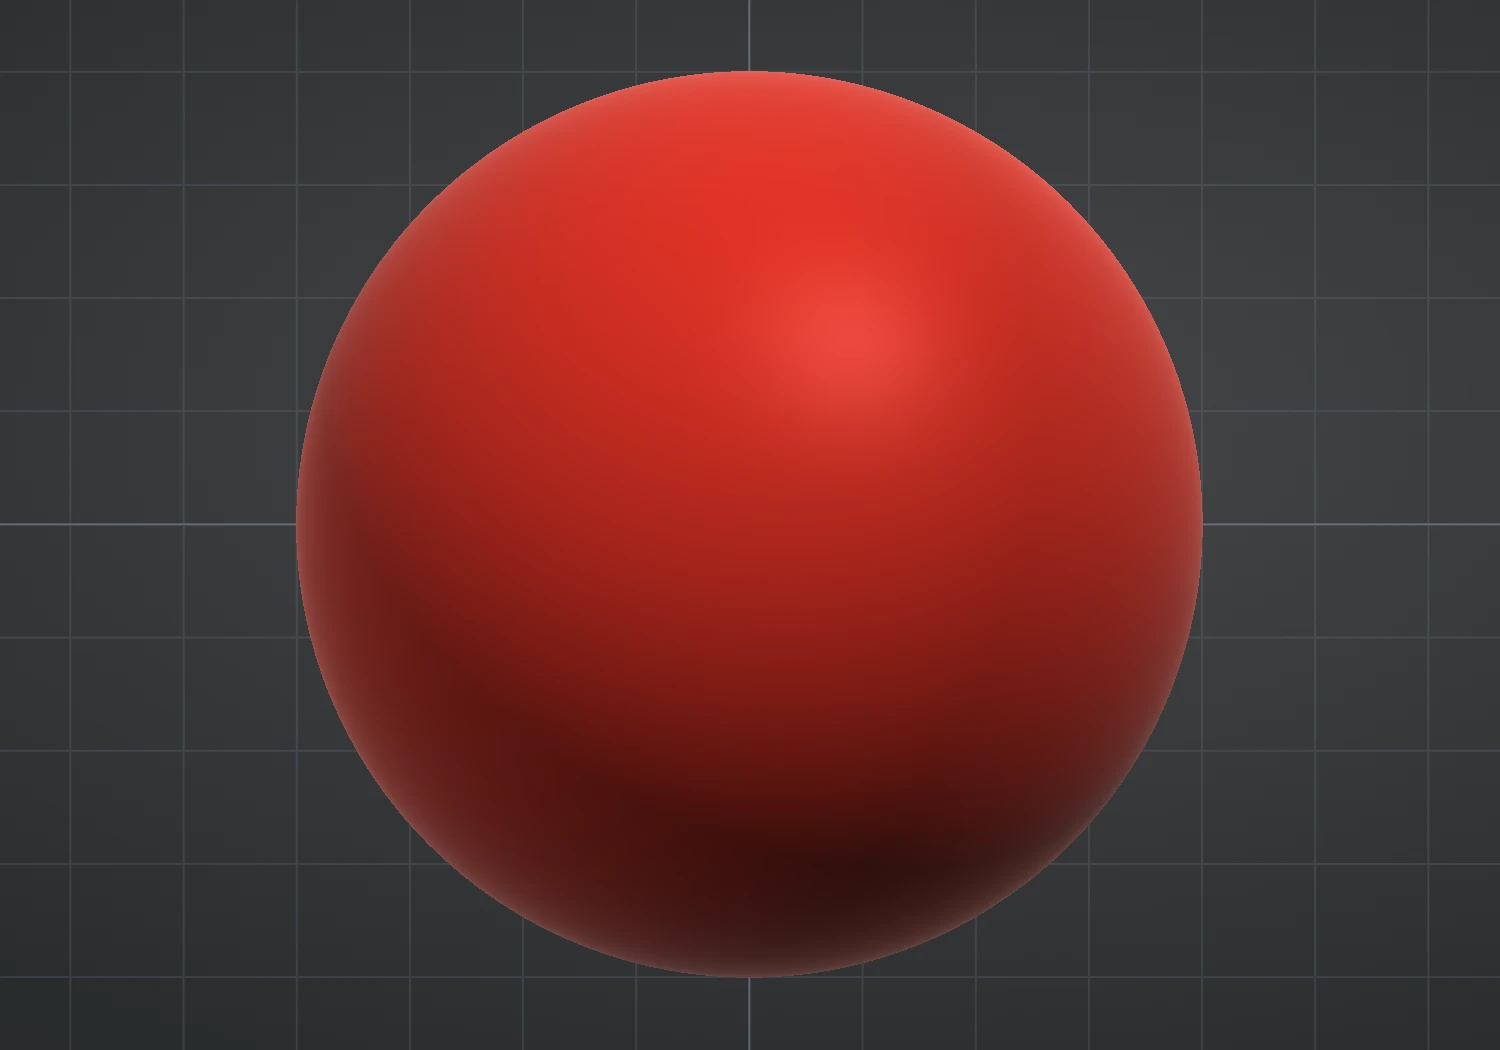
The grid's Size slider sets the spacing in world units, and Unit mm maps world units to real millimetres — which also scales exports, so a slicer reads true sizes. The Floor toggle controls the perspective ground plane (off by default; the model hides it where it stands in front, so you can see where the floor meets the sculpt), and the X / Y / Z chips turn on the axis guide lines (off by default). All of these live under View ▸ Grid.
Where you're pointing matters
Sculpt strokes land where the cursor ray hits the surface, so orbit until the area you're working on faces you comfortably. Sculpting at a steep grazing angle stretches strokes; a quarter-turn of orbit fixes it. When a stroke feels wrong, check the camera before blaming the brush.
Next: your first strokes.
On a tablet or touch screen
Re:Form runs on tablets that have WebGPU (Android Chrome, and iPad from iPadOS 26). With a pen, pressing harder makes the stroke stronger by default; Edit ▸ Preferences ▸ Input can point pressure at Size instead, at both, or off, and its Pressure curve sets how soon a light touch counts. Palm rejection is on by default: while the pen is down or hovering, touches are ignored, so a resting hand never sculpts or spins the view.
With fingers: one finger sculpts (or orbits, if you prefer that under Input), two fingers orbit and pinch to zoom, three fingers pan. The touch layout turns on by itself on a touch device — full-size chrome, bigger buttons and slider thumbs. In the panel's Options row, Smooth latches the smoothing you get by holding Shift, and Invert stands in for Ctrl, so a pen or a finger needs no keyboard. Menu pop-outs open on a tap as well as on hover.