
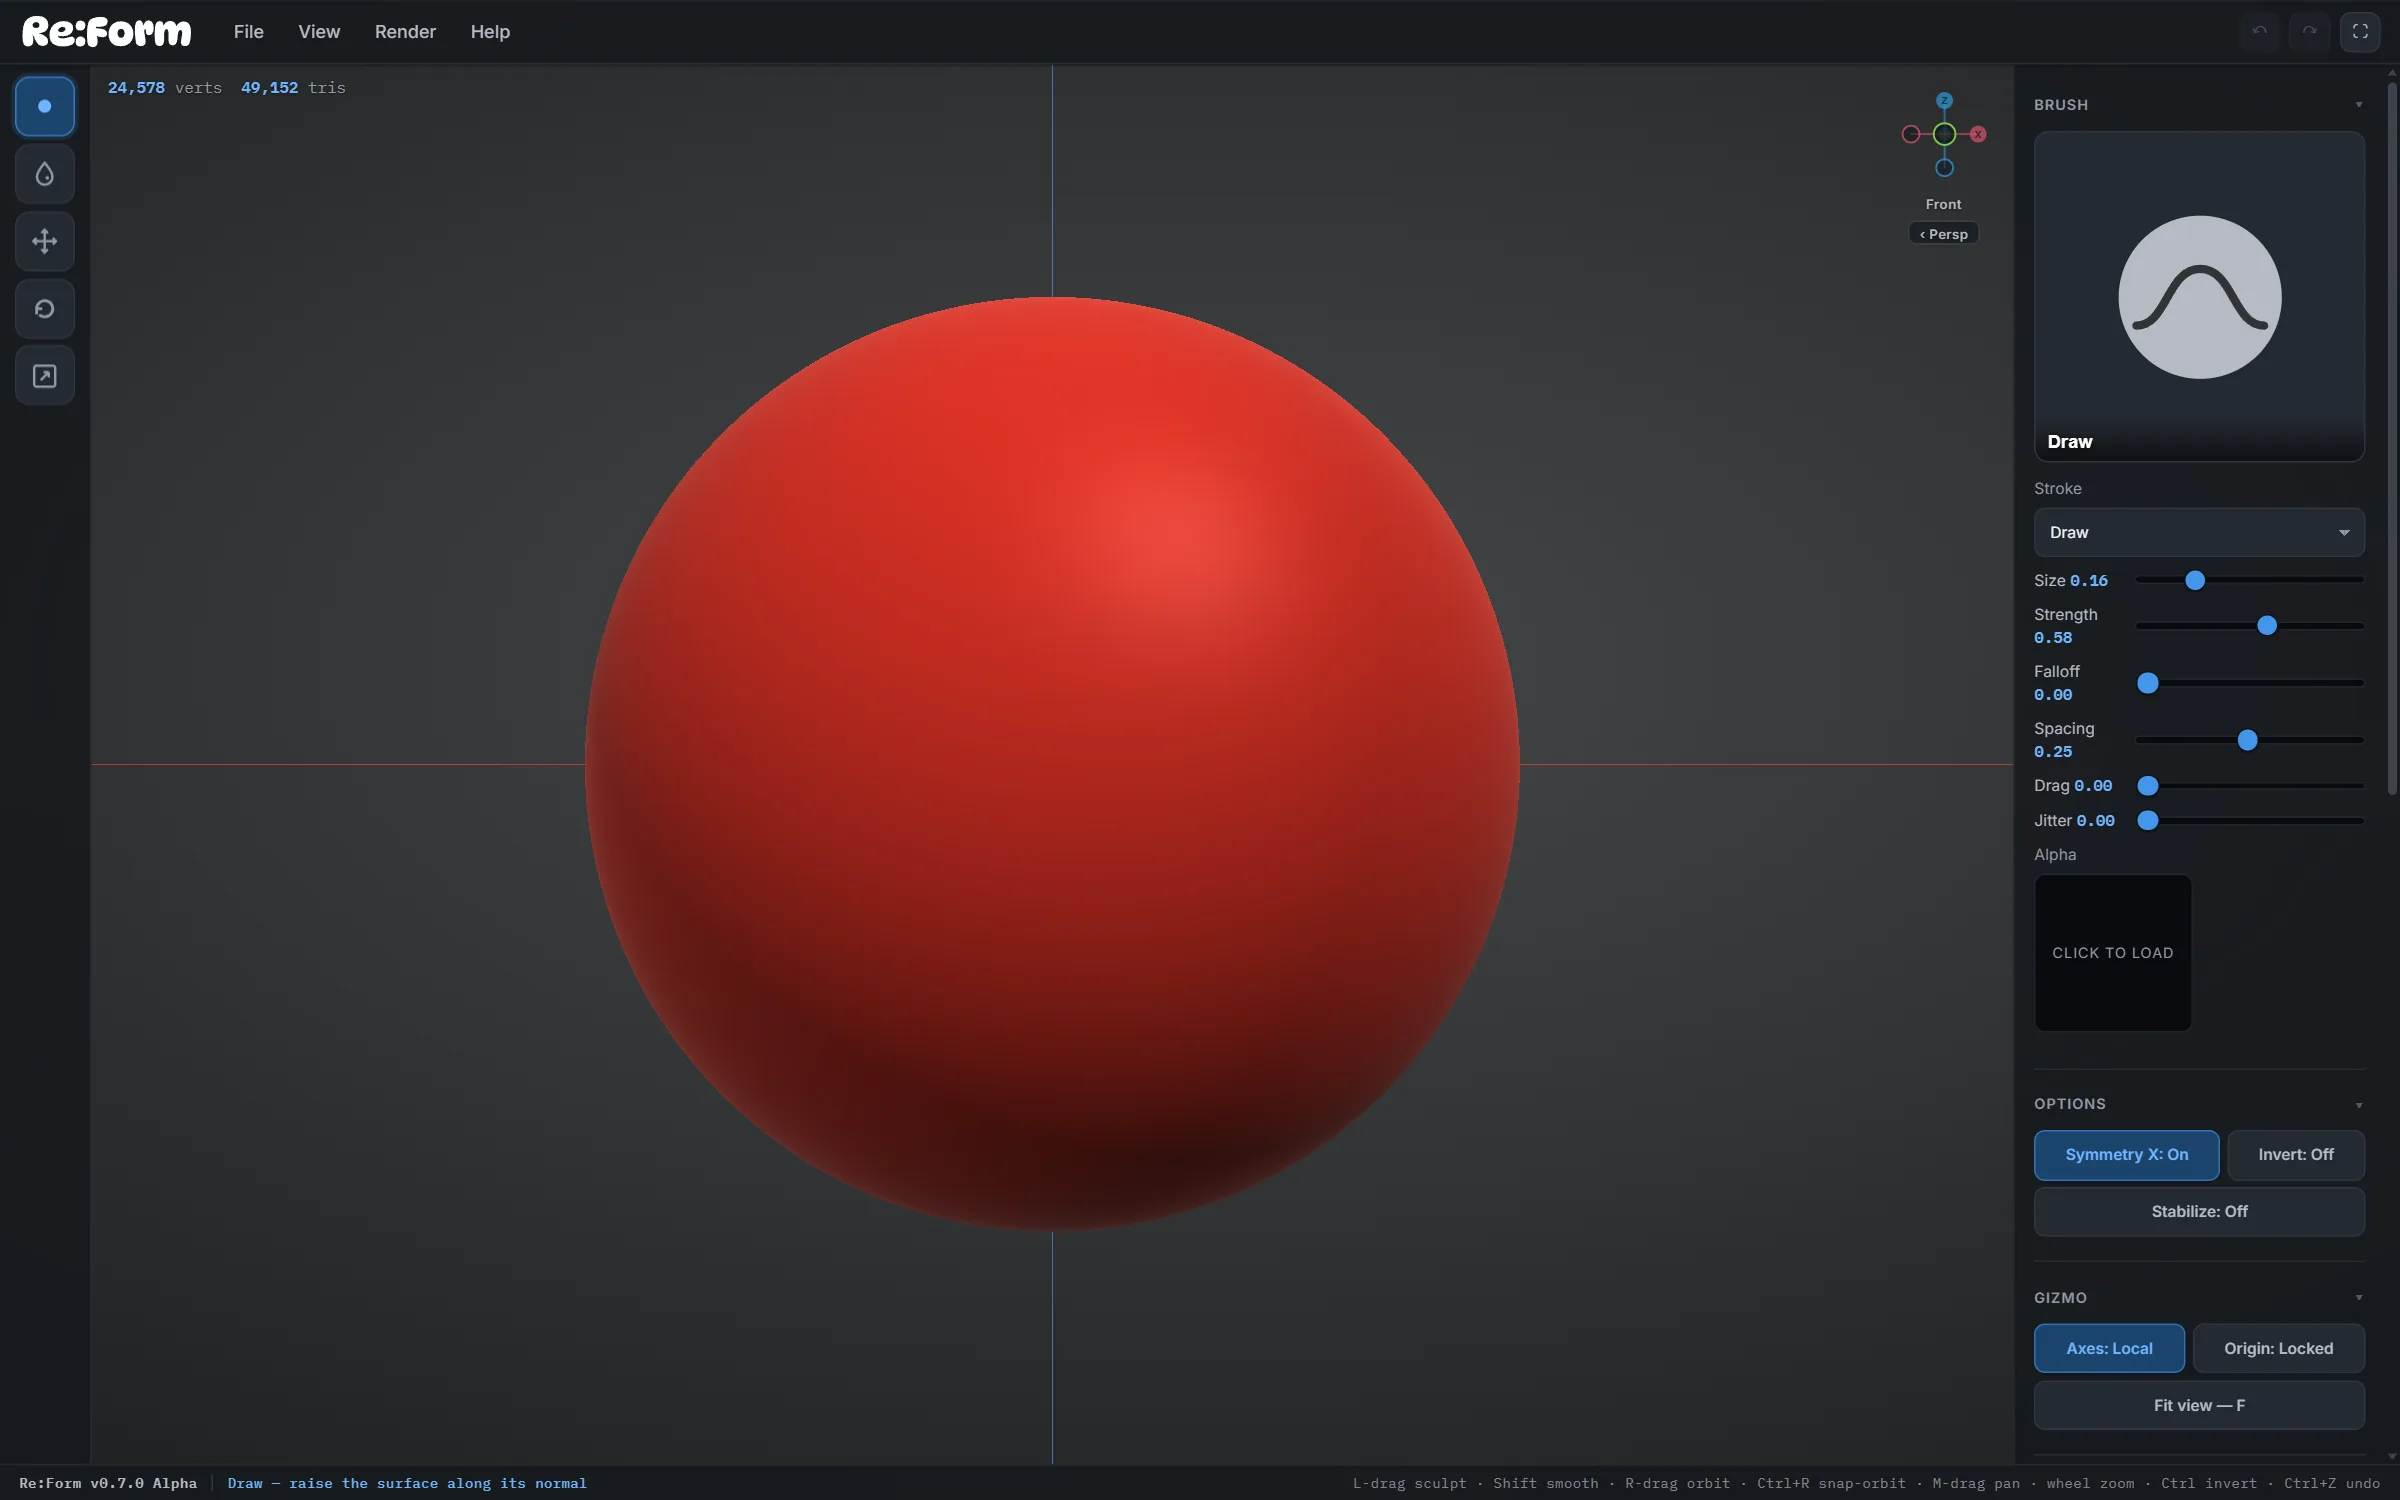
Open a new sculpt and this is what you're looking at:
The viewport
The big space in the middle is where you sculpt. The counters in the top-left corner show the live vertex and triangle count of your mesh. The compass in the top-right corner is the navigation gizmo — it shows which way you're facing, names the current view (Front, Right…), and shows whether you're in Perspective or Ortho projection. View ▸ Grid can add a floor plane under the model and the coloured world axis lines through the origin (X red, Y green, Z blue); both are off until you turn them on.
The left tool rail
Top to bottom:
- Brush — the sculpting mode. Right-click the button (or click the big brush preview at the top of the right panel) to open the brush picker. The Options switches — Symmetry X, Invert, Accumulate, Smooth, the Stabilize steadier and Backface (strokes stay on the side facing you) — sit under the sliders.
- Paint — paint colour and material onto the surface instead of moving it. Right-click to pick a paint brush.
- Blockout — draw strokes of volume that melt together, edit them as curves, then Finish them into a mesh. See Blockout.
- Move / Rotate / Scale — object transform tools. They show a gizmo for moving whole layers rather than sculpting the surface. See Grab & transforms.
The options bar
The thin row of square icons under the menus holds the view settings and symmetry: Home (the front view, fitted to every layer), Persp / Ortho, the six views under one View button, Fit (the current layer only), the viewport aids (Grid, Floor, Axes, References), the shading mode (Matcap, Unlit, Lit), the Silhouette switch, the Smooth-shading switch, Focus and Fade for working among layers, and Symmetry X. While a transform tool is active the bar also shows the gizmo's controls: Local / World axes, the origin lock and Reset. When the window is narrow the buttons show their icons only. Undo / Redo sit at the top right of the header, next to the fullscreen button. Hover any icon for its name. Every button is the same control as in the View menu or the panel, so changing one changes the other. Brush settings and Layers stay in the panel on the right.
The menu bar
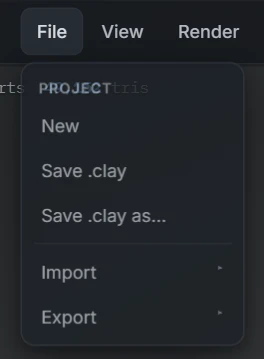
- File — New (the primitives), Open (your saved projects and the autosaves), Save and Save as (to your account), the Import and Export submenus (OBJ, STL, GLB, FBX), and Share (coming soon).
- Edit — Undo, Redo, and Preferences (Ctrl+,): a dialog with General, Input, Viewport, Graphics, Sculpting, Rendering and Account pages. Graphics holds anti-aliasing, the render resolution and the frame-rate limit; General holds the theme, appearance and Interface size. Input is where mouse buttons, scroll zoom, pen pressure, palm rejection and the touch layout live.
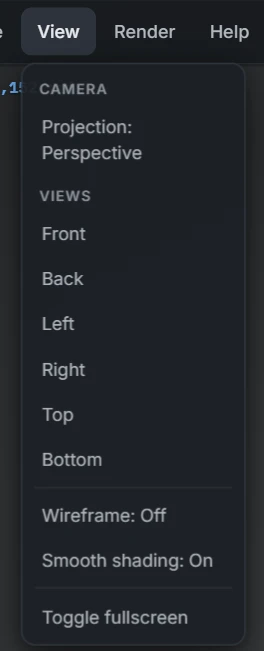
- View — projection toggle, the six axis views, the Gizmo, Grid and Reference pop-outs (handle axes and Fit view; the measurement grid, floor and axis guide; reference images, in Ortho), Matcaps (the material window), smooth shading, wireframe, Focus and Fade, the FPS counter, the GPU / CPU engine switch, fullscreen, and a few performance toggles.
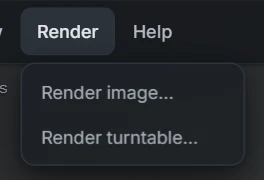
- Render — Render image, Render turntable, Record timelapse and Export timelapse, for presentation-quality output.
- Account — your email, your plan (manage or upgrade), the Terms and Privacy documents, and Sign out.
- Help — these guides, the controls reference, the FAQ, About, and Report a problem: describe what went wrong and send it straight from the app. The dialog shows exactly what is sent with your message — the app version, your browser and graphics card, the mesh size, the active brush, your last action and any recent errors — before you send it.
The right panel
Every setting lives here, in collapsible sections (click a title to fold it):
- Brush — the active brush, stroke type, and the Size / Strength / Falloff / Spacing / Jitter sliders, plus the brush alpha slot. Mask tools appear here while the Mask brush is active.
- Paint — colours, wet mix, roughness and metalness; visible while a paint brush is active.
- Topology — Subdivide up and down, and the current level.
- Remesh — rebuild even topology over the current shape, with Resolution, Smoothing, Sharpness and Fill holes.
- Layers — the layer stack: add, duplicate, mirror, merge, split loose.
The viewport settings that used to sit here — Gizmo (Local/World handle axes, the origin lock, Fit view), Grid (the Ortho measurement grid, the Perspective floor, the axis guide) and Reference (reference images, in Ortho) — now live in the View menu as pop-outs, and shading, materials and lighting on the options bar (Matcap / Unlit / Lit, with the Matcaps window and the Lit lighting behind a right-click), so the panel stays about the brush and the model.
The brush picker
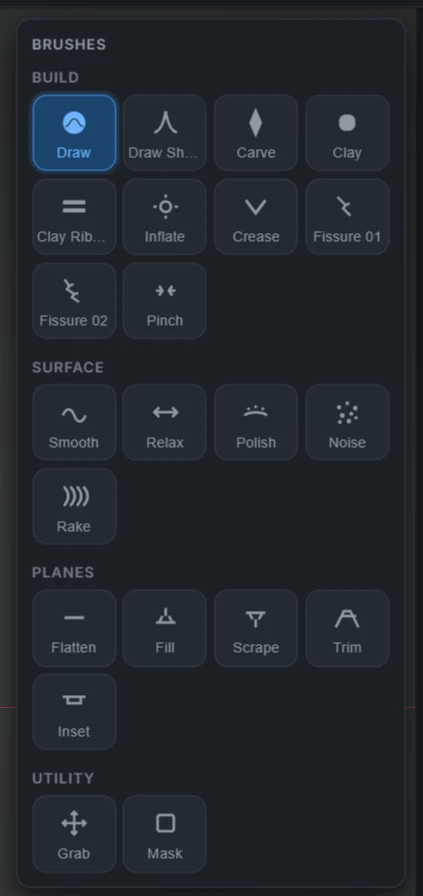
Right-click the Brush tool (or click the brush preview card) and the picker opens, organised into seven groups of four: Build, Lines, Detail and Smooth and mask down the left, Planes, Mask shapes and Clip down the right — with the Paint group in their place when the Paint tool is active. My brushes (with Import and Export) and Save brush sit at the bottom. Hover any brush for a plain-language description of what it does.
The status bar
The strip along the bottom shows the app version, what the active brush does, and the full mouse-and-keyboard cheat sheet: left-drag sculpts, Shift smooths, Ctrl inverts, right-drag orbits, middle-drag pans, the wheel zooms, Ctrl+Z undoes. The complete list lives in the controls reference.
Next: navigate the viewport.