
Blockout builds rough form fast. Instead of pushing a surface around, you draw strokes of volume: tubes, bars, planks and strands that melt together where they meet. Every stroke stays an editable curve until you press Finish, which turns the lot into one clean mesh on its own layer, ready to sculpt.
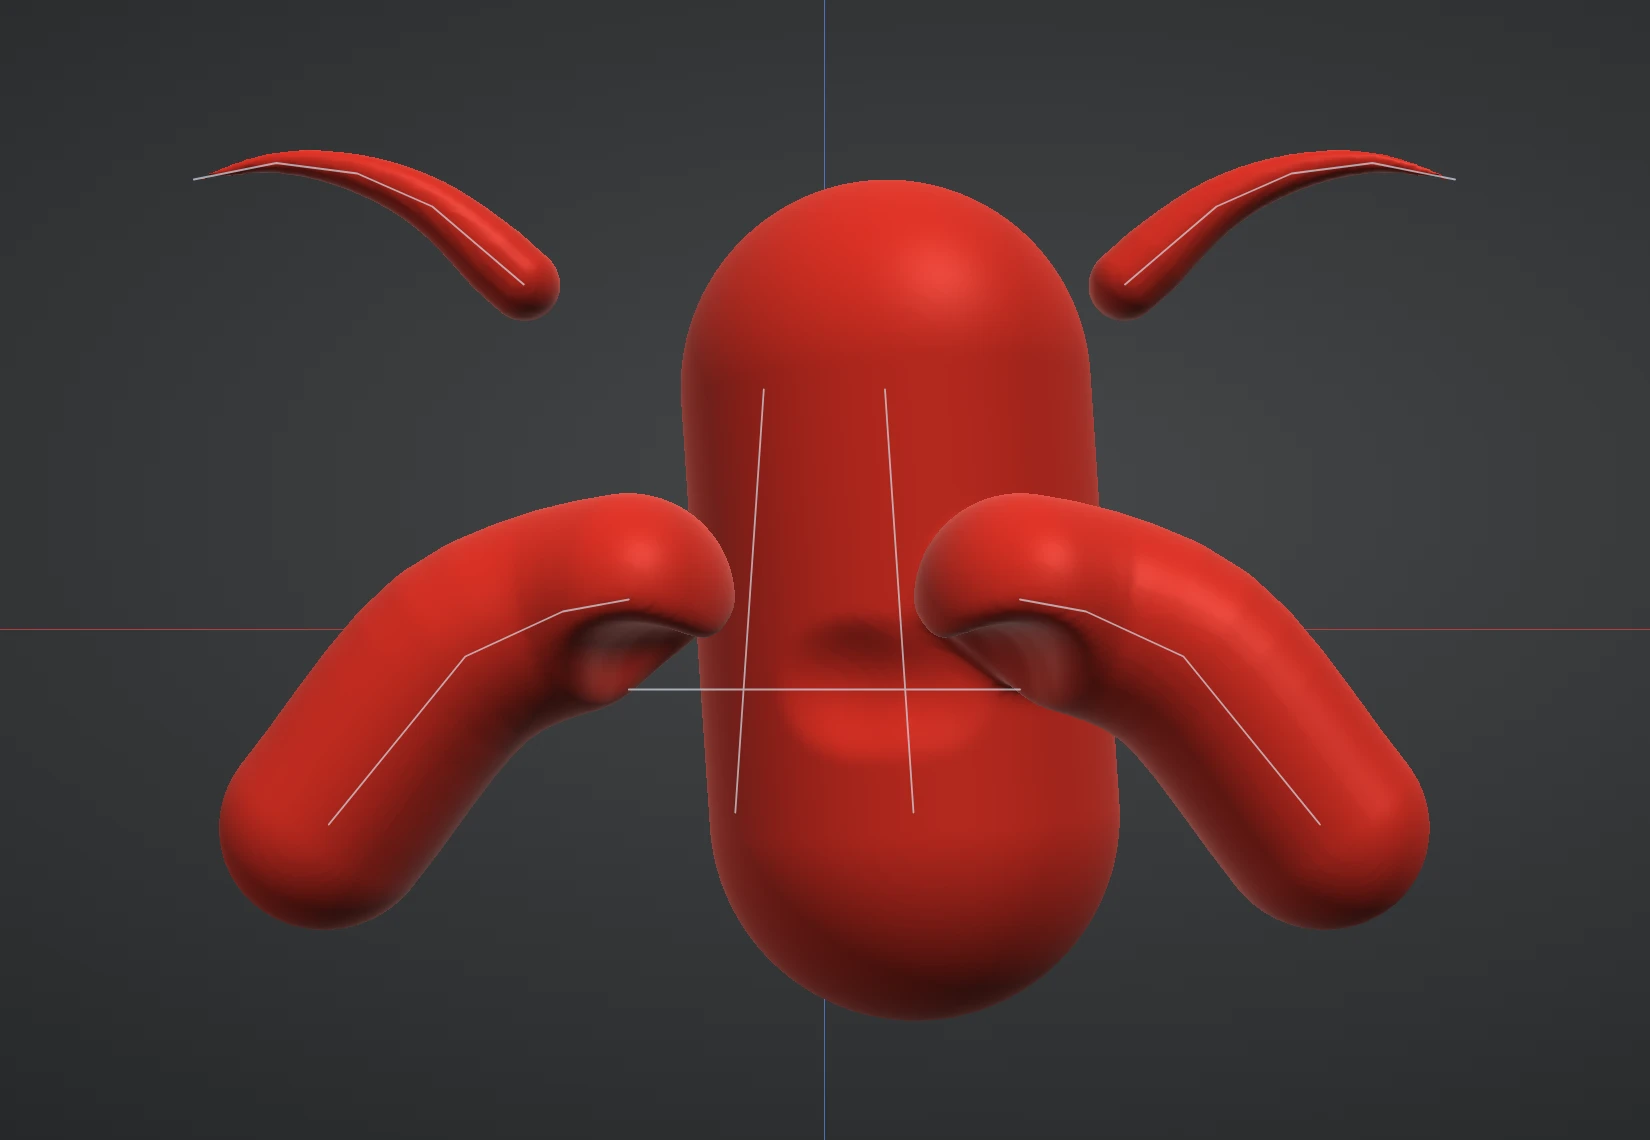
Start a blockout
Click Blockout on the tool rail. Re:Form adds a Blockout layer for the strokes to live in, and the panel on the right swaps the brush settings for the Blockout settings. Your other layers stay where they are, so you can block out on top of an existing model or in empty space.
Draw strokes
- Drag to lay a stroke. Started on a surface, it rests on that surface. Started in the air, it takes the depth of the nearest curve on screen within the Snap distance, or else a plane through the middle of the scene, facing you. A stroke that runs off a surface carries on straight at the depth where it left.
- Alt+drag lays a perfectly straight stroke from where you press to where you let go.
- Ctrl+drag carves: the stroke cuts its shape out of the strokes it passes through instead of adding.
- Symmetry mirrors every stroke on the axes you have on. A stroke drawn right on the mirror plane is laid once.
Strokes melt into each other where they meet; Blend sets how far, from a hard seam at 0 to very blobby at 1. A stroke drawn over another curve rests on top of it. Drag a stroke's end onto the end of another curve and they join into one curve; a ring on the end shows the join before you let go.
Shape the stroke
- Size is the stroke's half-width. With a pen, Pressure scales it along the stroke.
- Profile picks the cross-section: Round, Square, Triangle, Hexagon, Plank, or Alpha, which sweeps the shape of an alpha image along the stroke. Rounding softens a profile's corners and Rotation turns it about the stroke.
- Caps ends a stroke domed or cut square.
- Taper start and Taper end narrow the stroke toward either end, and Taper amount sets how fine the tip gets. Together they make hair, horns and claws.
- Stabilize makes the stroke follow a point on a lazy string behind the pointer, for steadier curves. A dashed line shows the string while you draw.
- Surfaces chooses where strokes land: the active layer only, or any visible layer, so you can lay strips onto another mesh.
Presets set all of these at once: Tube, Blob, Bar, Plank, Ridge, Fine line and Strand, plus any you save yourself.
Select and edit
Every stroke is a curve through control points, and you can change it at any time before you Finish.
- Hold Shift to see every curve's centre line. Shift+click a curve to select it, and again to deselect it. Shift+click a control point to pick just that point.
- Shift+drag draws a box that adds every curve inside it to the selection.
- The transform gizmo moves, rotates and scales the selection, or only the picked points when some are picked.
- Size, the profile settings and the taper settings reshape the selected strokes. When points are picked, Size resizes only those points.
- Shift+right-click adds a control point: on a selected curve it splits the segment under the pointer, and past an end it extends the curve.
- Delete removes the picked points, or the whole curve when none are picked. The add/carve button in the selection row swaps what the selected strokes do.
- Ctrl+Z undoes any of it, and Clear removes every stroke.
Finish
While you work, the preview is built at the Live resolution so it keeps up. Pause for a moment and a refined preview, built the way Finish builds it, replaces it.
Press Finish to build the mesh at the Final resolution into the Blockout layer. Smoothing sets how many smoothing passes the finished surface gets: higher rounds off the ripples of the grid it is built on, and 0 keeps the raw surface. If you pick a sculpt or paint brush with strokes still unfinished, Re:Form asks whether to Finish first.
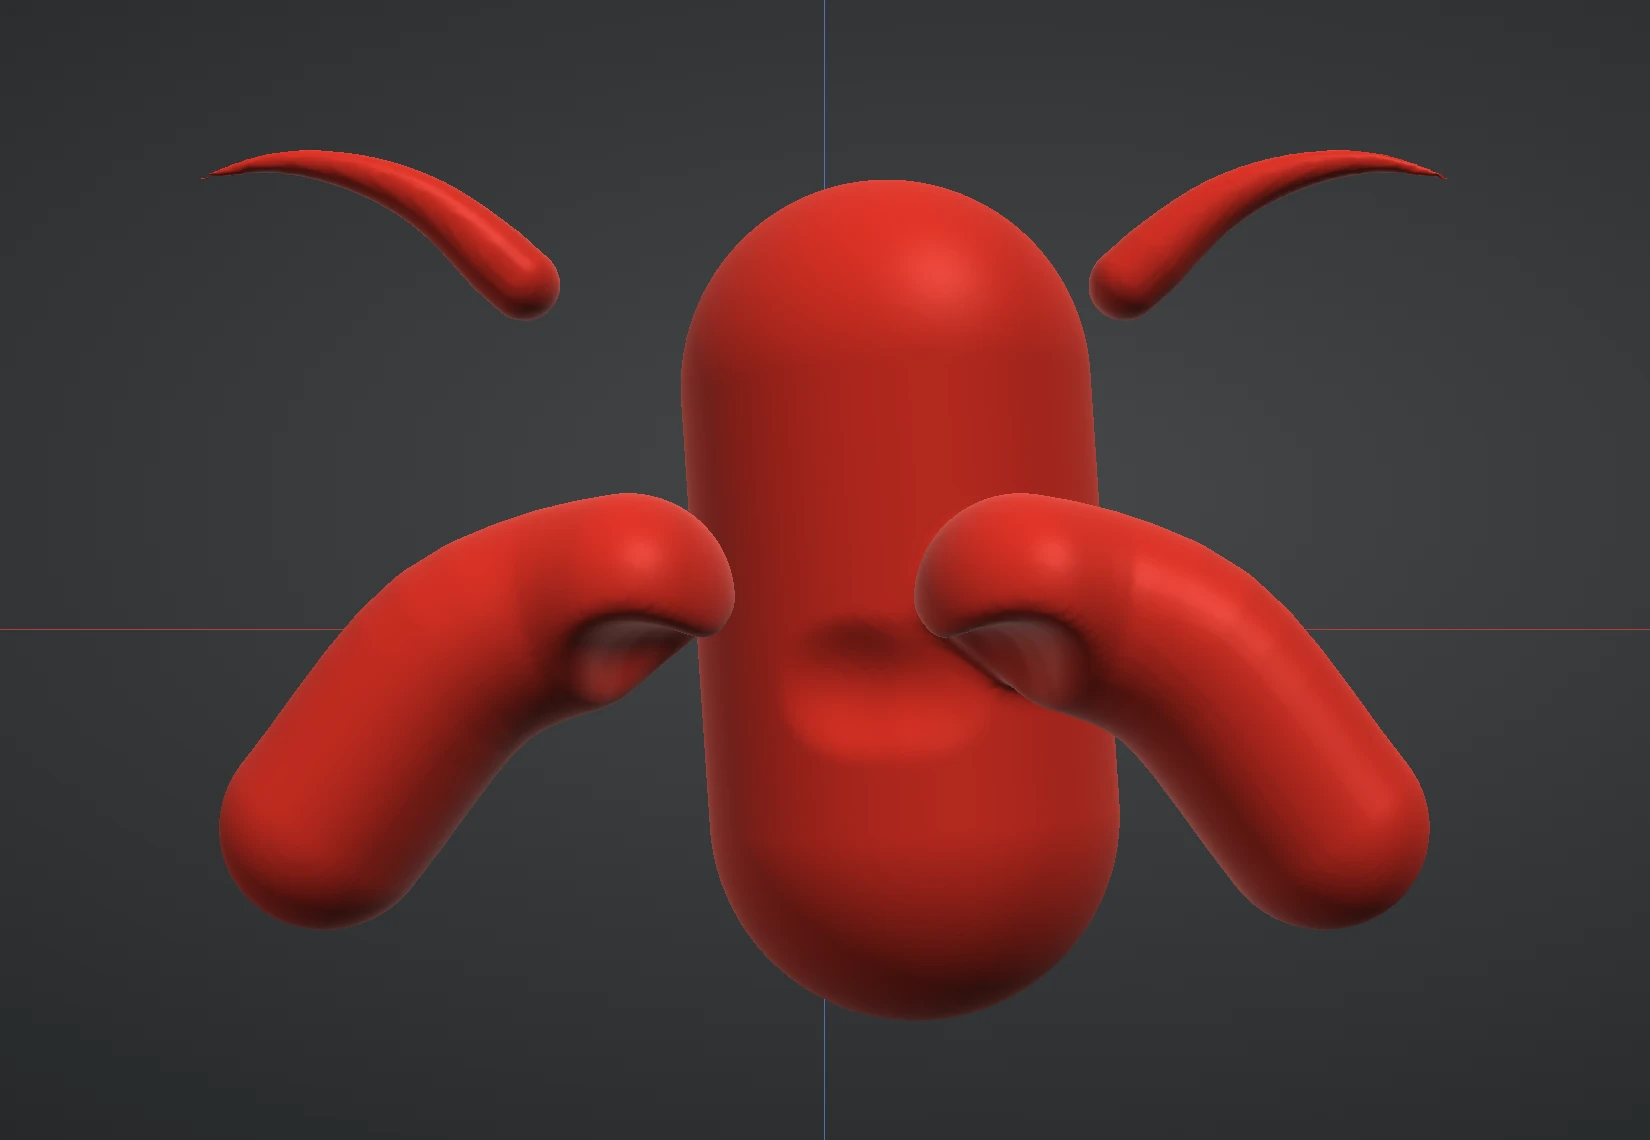
Unfinished strokes are saved with the project, so you can close a blockout halfway and pick it up again. After Finish, Remesh and subdivision take the rough form on to detail.