
A sculpt becomes a print in four moves: make it one solid, give it clean topology, give it a real-world size, and export a format your slicer reads. Re:Form has a tool for each.
1. Make it one solid
Slicers want one continuous body, not loose floating parts.
- If the sculpt is several layers — body, horns, eyes — use Merge all in the Layers panel to combine every visible layer into a single mesh.
- Check for accidental leftovers first: hidden layers you forgot about, floating blobs. Split loose shows you what's actually disconnected — delete the debris, then merge.
2. Remesh into one continuous surface
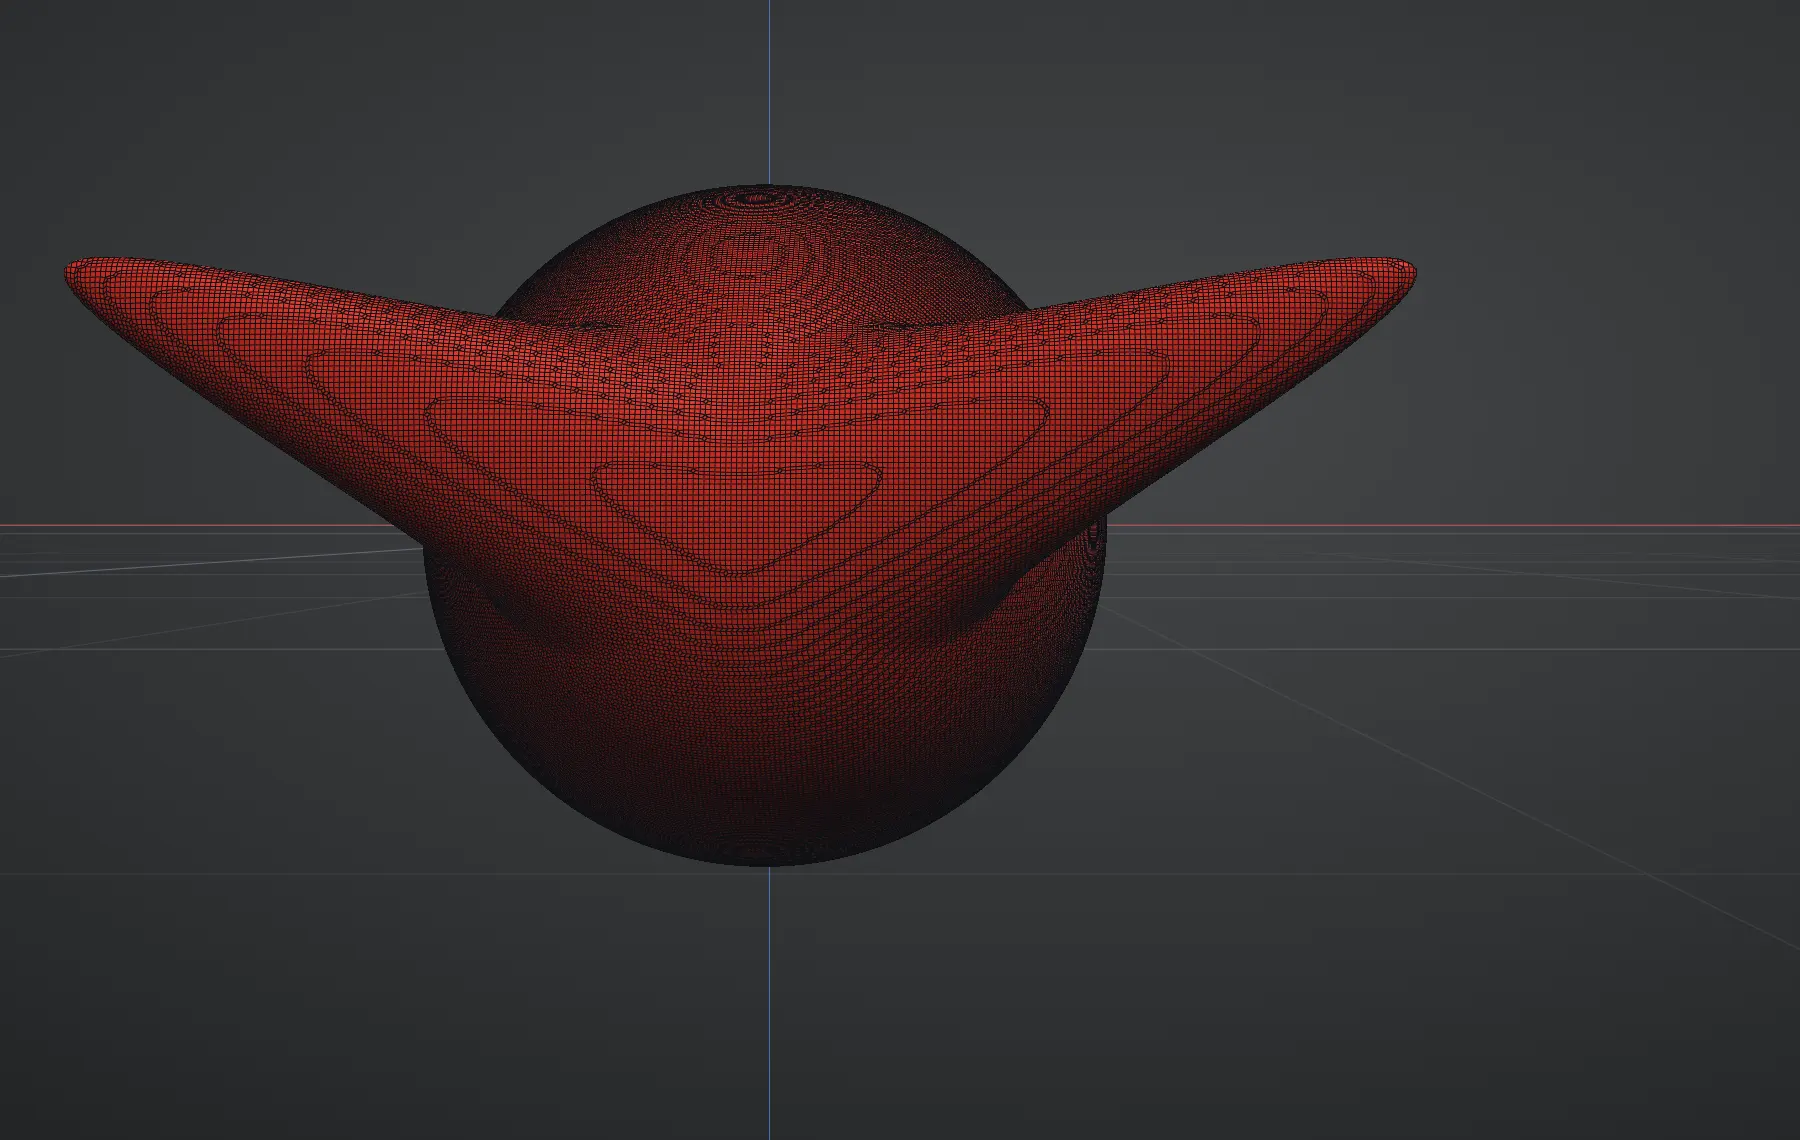
After merging, the parts still overlap rather than truly join. One press of Remesh rebuilds everything as a single continuous surface — intersections become real geometry, and the print becomes one object. Pick the Resolution to match your finest detail; 256 and up suits printable miniatures and busts.
3. Set the real-world size
In View ▸ Grid (or right-click Grid on the options bar), the Unit mm slider declares how many millimetres one world unit is — and every export scales by it, so your slicer reads true sizes instead of guessing.
Practical route: switch to Ortho (5), turn on the measurement grid, and read your sculpt's height in world units against it. If the sculpt stands 2 units tall and you want an 80 mm print, set Unit mm to 40. The line under the slider does the arithmetic with you (grid square size and export scale).
4. Export
File ▸ Export ▸ STL is the slicer-native route Pro; OBJ (every plan) prints just as well — every slicer opens both. Drop the file into your slicer and the model arrives at the size you declared.
Design-for-printing notes
- Thickness: spindly fingers, whiskers and fabric edges that read on screen can be fragile below a couple of millimetres at print size. When in doubt, Inflate delicate parts a touch.
- Detail floor: printers have one. Detail much finer than your printer's resolution at the printed size costs triangles and gains nothing — sculpt for the size you'll print.
- Orientation and supports are the slicer's department; deep undercuts and long horizontal overhangs will earn supports, so consider them while posing.
Save the project before step 1 — the merged, remeshed print version flattens your layers, and you'll want the editable original the day a revision is needed.