
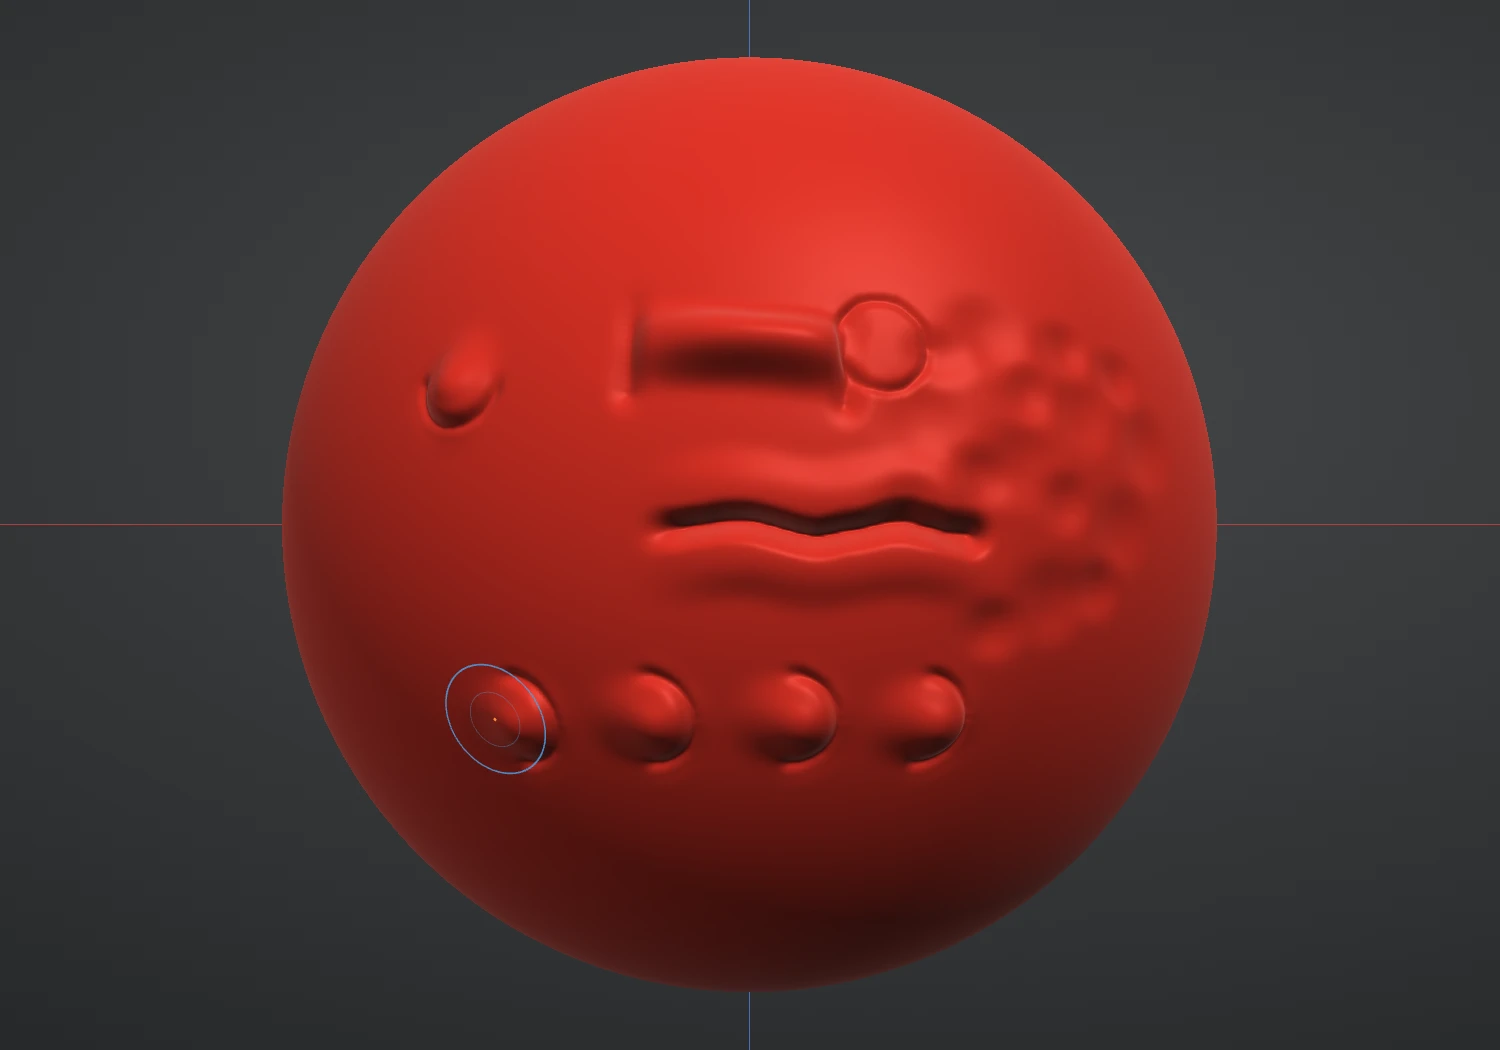
A macro is a stroke, or a short run of strokes, that you record once and then play back wherever you click. Record the three strokes that make one fish scale; after that every click lays a whole scale on the surface under your pointer. The macro is re-aimed each time: it turns to face the surface it lands on, follows its shape, and takes its size from your brush.
Where they are
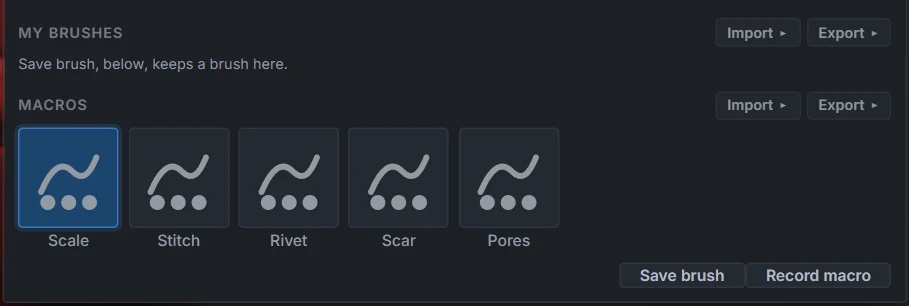
Macros live in the brush picker, beside your saved brushes: right-click the Brush tool, or click the brush preview at the top of the panel. The Macros group holds the built-in set first (Scale, Stitch, Rivet, Scar and Pores) and then your own. Record macro sits beside Save brush at the bottom.
Play a macro
Click a macro's tile to pick it, like a brush. Then:
- Click on the model and the macro plays at the point you clicked. It faces along the surface's normal there, and its strokes are put back onto the surface one dab at a time, so it sits on the form and never floats above it or sinks into it.
- Click and drag before you let go to turn it. A line shows the way it will face; the macro plays when you release. With a plain click it keeps the direction it was recorded in, relative to your view.
- Size scales the whole macro, relative to the brush size it was recorded at. Strength scales how strongly it works. Use them exactly as you would for a brush.
- Symmetry applies as it does to a stroke: with Symmetry X on, a macro on one cheek lands on both.
One play is one step: a single Ctrl+Z takes the whole macro back, however many strokes it holds, and it is one step on the History slider too.
A click in open space orbits the view, as it does with a brush. Near the edge of a model, or over a hole, the dabs that find no surface are skipped and the rest still play.
Repeat: lay it along a drag
While a macro is picked, the brush panel shows a Repeat switch. Turn it on, then press on the model and drag: the macro is laid again and again at an even spacing along the drag, each copy turned to follow it. Macro spacing sets the distance from one copy to the next as a share of the macro's own width: 100% lays them edge to edge, less overlaps them (good for scales), more leaves a gap (good for rivets). The whole drag is still one Undo step.
Back to brush puts the macro down. Picking any brush does the same.
Record your own
- Set up the brush you want to start with, and find a fairly flat patch of the model to work on.
- Open the brush picker and press Record macro. The picker closes and the brush panel shows that you are recording.
- Make the strokes. Change brush, size, strength or alpha between strokes as you like: sculpt, paint and mask strokes can all be part of one macro, each with the brush and the settings it used. Ctrl+Z takes the last stroke out of the recording too.
- Press Stop recording in the brush panel, and give the macro a name. It appears in the Macros group, already picked.
A macro remembers where it was recorded: the surface point and normal under its first dab, the direction of its first stroke along the surface, and the brush size at the time. So the first stroke sets the macro's origin and its direction: start a scale at its root and draw towards its tip, and a later drag will point the tip where you drag.
A few things are worth knowing:
- Only strokes are recorded. If you subdivide, remesh, clip, fill, or change layers while recording, the recording stops there and tells you why. The strokes you had made so far are kept.
- Some strokes cannot be re-aimed and stop the recording in the same way: Grab (it moves a region it picks at the press), the Project paint brush (it paints through the camera of the moment), Morph, and any stroke made with Live Topology on.
- Record on a flat patch. A macro recorded on a flat area plays well on curved ones. Recorded on a tight curve, part of that curve is baked into it.
- Record at the size you will use most. A macro scales cleanly, but its strokes were made on the triangles of the day. Played much larger on a coarse mesh, fine strokes soften; subdivide first for crisp detail.
- A recording with no strokes saves nothing.
Keep, share and tidy
Right-click a macro's tile:
- Rename and Delete work on your own macros.
- Duplicate makes a copy that is yours. The built-in macros cannot be renamed or deleted, so duplicate one to make your own version of it.
- Export .macro file saves the macro as one small file Pro. Import ▸ on the Macros header brings a .macro file in, on every plan.
Your macros are kept in this browser, like saved brushes, and are there next time you open the studio. They are not part of a project file, so export the ones you want to keep safe or move to another computer.
A played macro is written into the sculpt's history as the strokes it produced. Deleting a macro later changes nothing in the sculpts you used it on, and their History and share links still play back in full.